

-
Photo/Illustration: Greg Holdsworth (All photos)
-
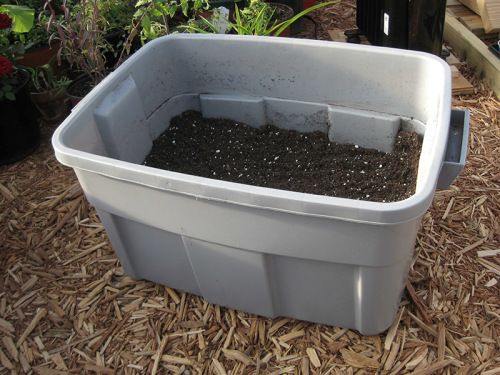
A good plastic storage bin will make soil mixing and storage easier.
-
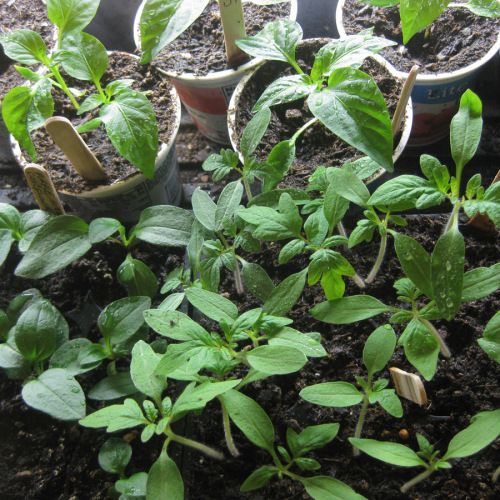
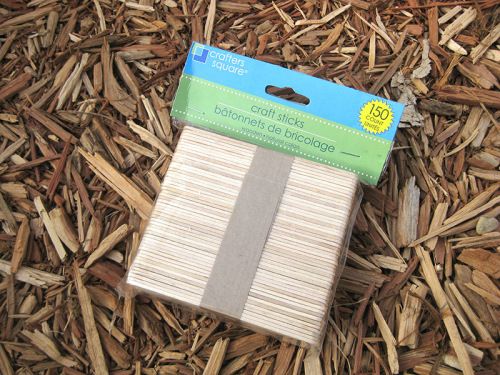
Craft sticks make awesome plant markers.
-
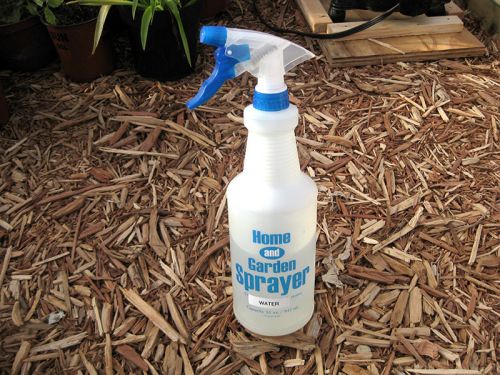
A good spray bottle is a MUST.
-
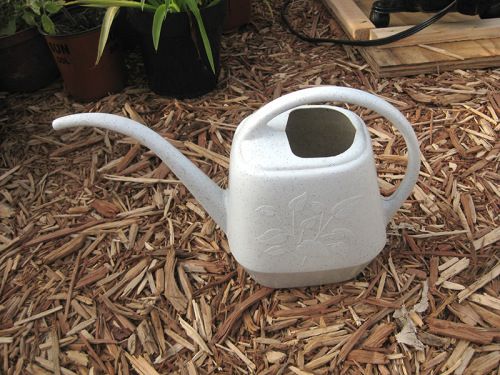
You'll need a watering can too. Find one with a long, thin spout.
-
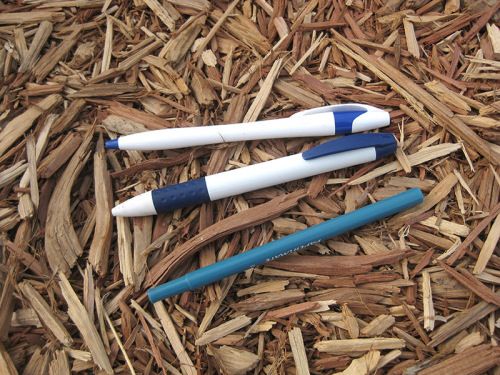
Old pens make hole-making easy.
-
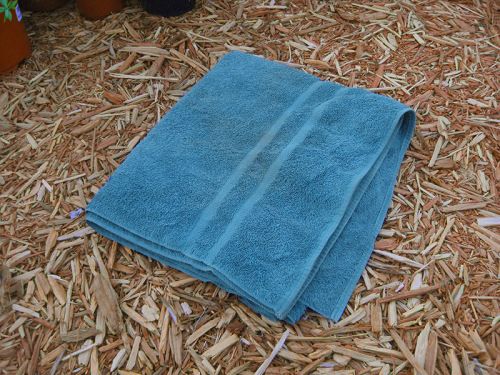
Remember to bring your towel to work on.
-
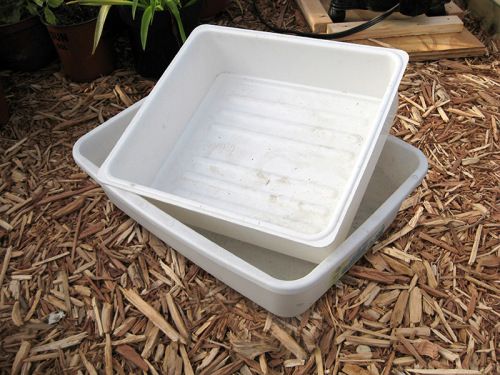
Smaller trays can hold the soil mix you're currently using, and take up less space.
-
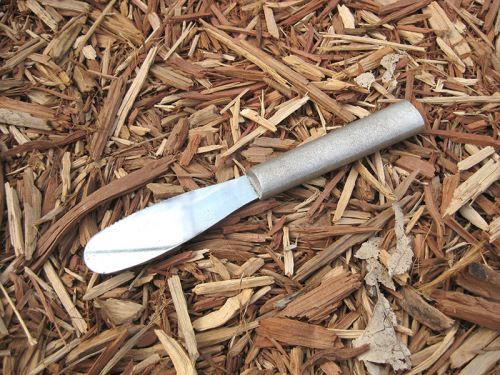
A cheese spread-style knife can help with removing finicky seedlings from containers.
-
Planting containers come in all forms. Use your imagination.

Now that we are in a new gardening year, your thoughts will eventually drift towards when you can start your own seeds. Depending on where you live, that could be days or even months from now. In north Texas, we’ve already gotten the “green light” to start both cool- and warm-season veggies.
My gardening comrade from California, Chris McLaughlin, has written a great post on seed starting, and has provided a list of materials that’ll get you off to a good start. I’m taking the baton from there.
What (Else) You’ll Need to Start Seeds Indoors:
Spray Bottle. For mist-watering and adding moisture. When you’re out looking around, get a decent one. Here’s a tip: I’ve learned that if the planting mix is dry on the surface, water tends to “run” more, than if it’s already moist. If you moisten the surface, the water seems to soak in quicker.
Labels (again). You can repurpose old metal blinds or use craft sticks (my favorite). What do you put on it? I would recommend writing the plant, variety and date of seeding or transplanting. Here’s another tip: if the surface of the planting mix is dry, a craft stick can double as a “moisture meter”. Simply put one in several random spots in your seed trays or containers. Check by pulling the stick out. If the bottom of the stick is still moist, you’re OK on watering (for now).
Pens & Markers. Now that you have your plant labels, you’ll be writing on ’em. If you use a rollerball or felt-tip style pen to write on your wood labels, the ink may run or bleed when it gets wet. Solution? Use a permanent ink (I like the ones from Sharpee) or ballpoint-style. Presto…no more runs.
Water Containers. I prefer to use lukewarm or room-temperature water to water my seedlings, especially the warm-season ones (peppers, tomatoes, et. al.). I’m guessing that the city water at your home tends to be cold during the winter months. Rather than wasting it while waiting for it to get warmer to the touch, why not store some in water jugs? The plastic 3-liter or gallon-sized containers are perfect for this. If you plan on feeding your plants with an organic liquid fertilizer, the one-gallon jugs fit the bill nicely for mixing.
Cheese Spreader Knife. One of my favorite choices for seed starting is the six- or nine-cell pack containers. When moving the seedlings to larger containers, you’ll want to minimize disturbing the root area. You can push on the bottom of the cell pack chambers to push the seedling up, but you may occasionally have a tricky one. Gently putting the spreader knife blade on one side of the chamber can help get the seedling out. Use it only if other removal methods don’t work.
Pen “Hole Pokers”. If you want to make smaller holes than what your fingers can do, remove the refill part of an ink pen (or even a mechanical pencil). It’s a nice way to repurpose pens that have run out of ink.
Old Towel, Sheet, etc. If you tend to be messy when planting or transplanting (me, me I do), save yourself some cleanup time by putting a cover down first. Your table or carpet will thank you for it.
Plastic Trays & Bins. Use these to store and mix your seed-starting medium. For the larger bins, look for sales, especially around the holiday season. For trays, almost anything can be repurposed. For the price of a large coffee, I got two items at a thrift store – the bottom of a cat litter box and an old crisper tray from a refrigerator.
Box Trays. If you have a membership to a wholesale club, you know how easy it is to throw a few cardboard box trays in your shopping cart. They want you to have them. These of course make moving a bunch of transplants easier.
If you have any other cool items to add to the list, chime in.


Comments
Log in or create an account to post a comment.
Sign up Log in