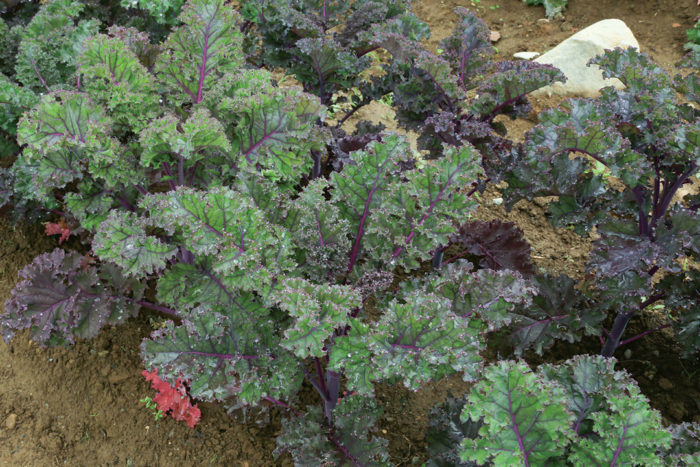
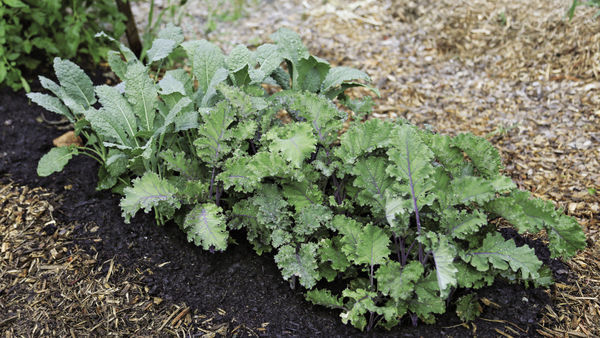
Kale’s popularity has taken off over the past decade, partly because it has been recognized by science as a “super food” but also because it is wonderfully delicious. It is now widely available in produce departments and on the menu at mainstream restaurants. If you buy kale on a regular basis, you will be delighted to discover that this crop is easy to grow at home, and that you can grow some beautiful and delicious varieties that you won’t find at the market.
Kale Step by Step
These easy greens love moist, rich soil and cool weather
1. Starts are worth the effort
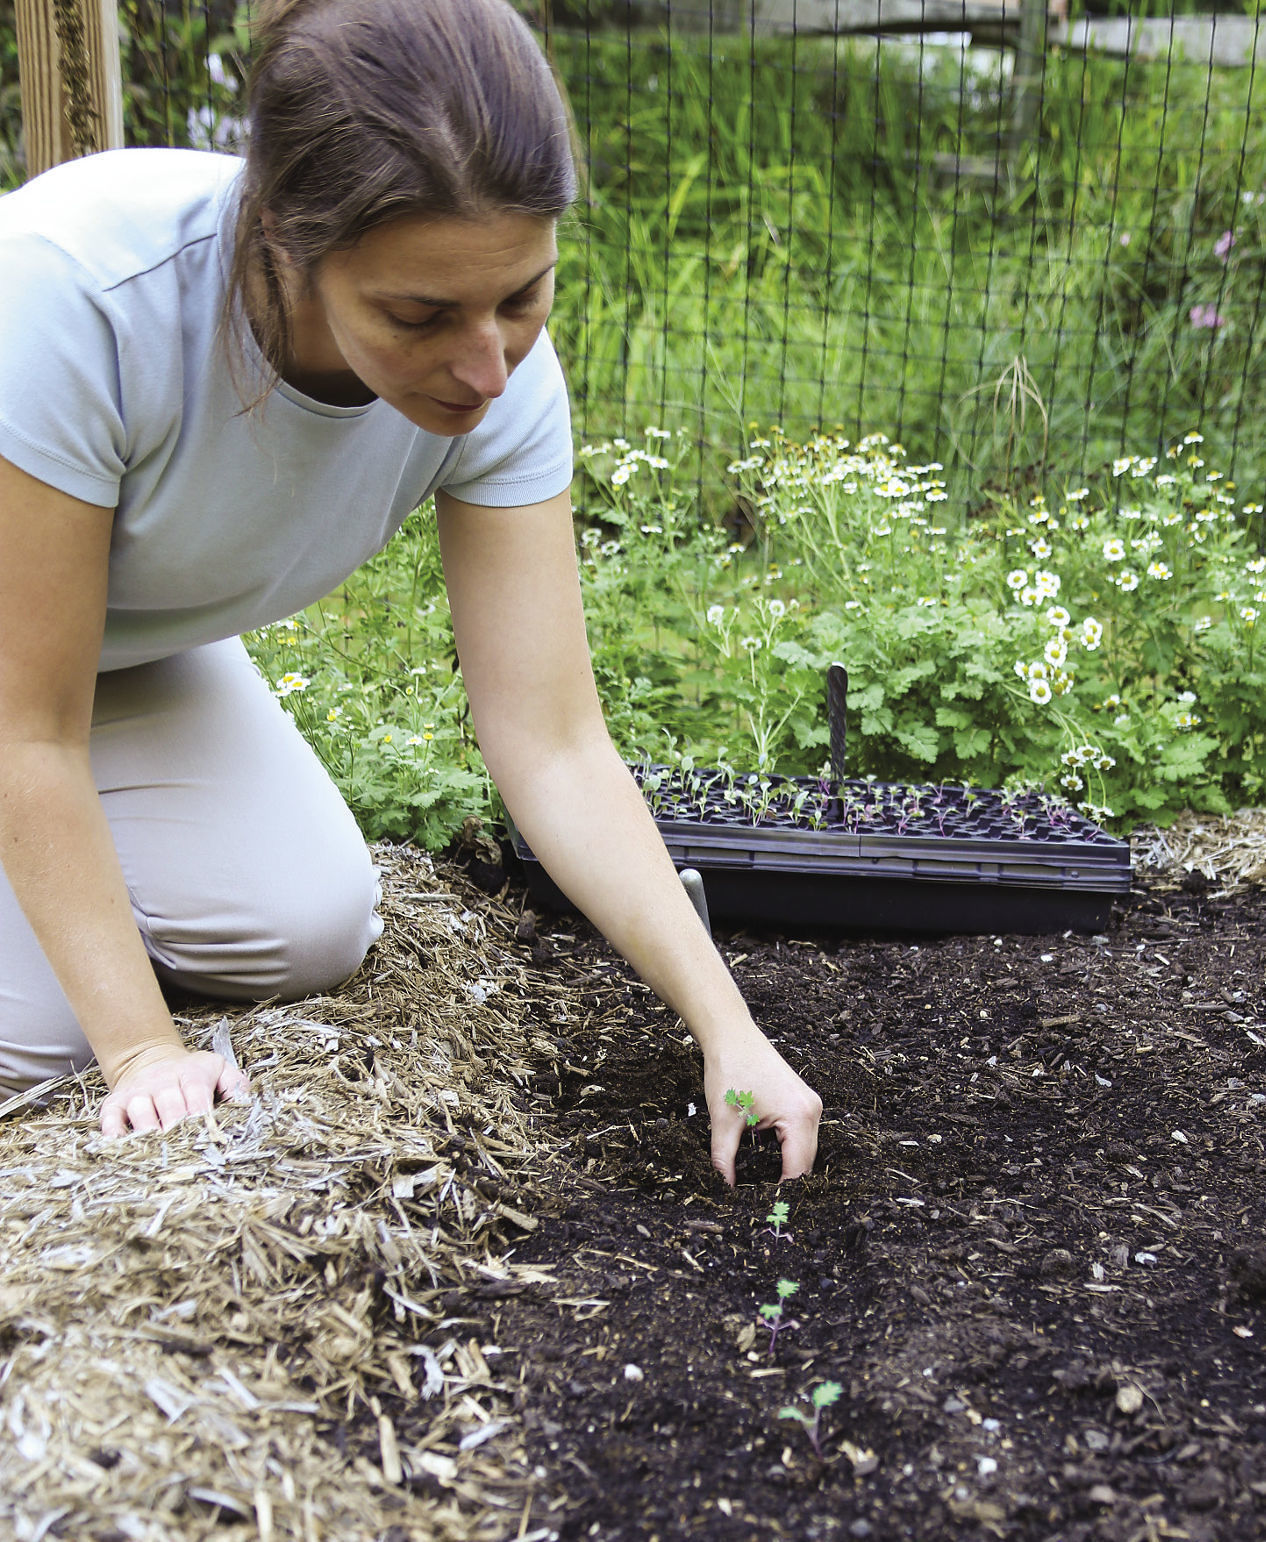
You can direct-sow kale, but I suggest that home gardeners start kale in cell packs or plug trays. Planting starts allows you to control many variables when seedlings are young and small. You can keep your starts well watered, safe from pests, and protected from extreme weather until they are 2 to 3 inches tall and strong enough to hold their own in the garden. You can even do this outside if you don’t have space indoors.
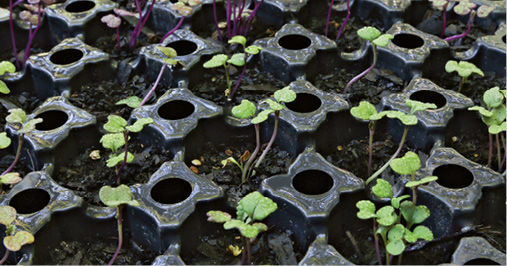
Start your seeds in premoistened starter mix, sowing two or three seeds per cell, ¼ inch deep. Gently press down to ensure good contact between seed and soil. Bottom watering keeps leaves dry and prevents tiny seeds and sprouts from being washed out of the soil. Simply set the cell packs into a tray of water, and move them back to a dry tray once the soil is completely moistened. Water once or twice a week, depending on humidity levels and seedling size.
2. Preparing a perfect planting bed is simple
Kale prefers a moist, nutrient-rich soil, though it also grows well in moderately fertile soil. Work about 2 inches of compost into the garden bed, and add a high-quality organic fertilizer if needed.
Set your seedlings 12 to 18 inches apart for full-sized plants, or about 6 inches apart if you’ll be harvesting baby leaves from a cut-and-come-again patch. Water the seedlings thoroughly, and be sure to keep them watered as they grow. Although kale can be drought-tolerant, it will look and taste best if it is kept well hydrated.
If the lower leaves of your kale start to look yellow midseason, side-dress with alfalfa meal, soy meal, blood meal, or young compost. These amendments supply nitrogen, which kale needs in abundance to grow well.
3. Time planting and harvest to avoid heat stress
Kale thrives in a broad range of environments, but it grows best when temperatures are between 55°F and 70°F. In climates where summer temperatures stay above 80°F for weeks at a time, it is easiest to grow kale during the “shoulder seasons”—from February to April or from September until November.
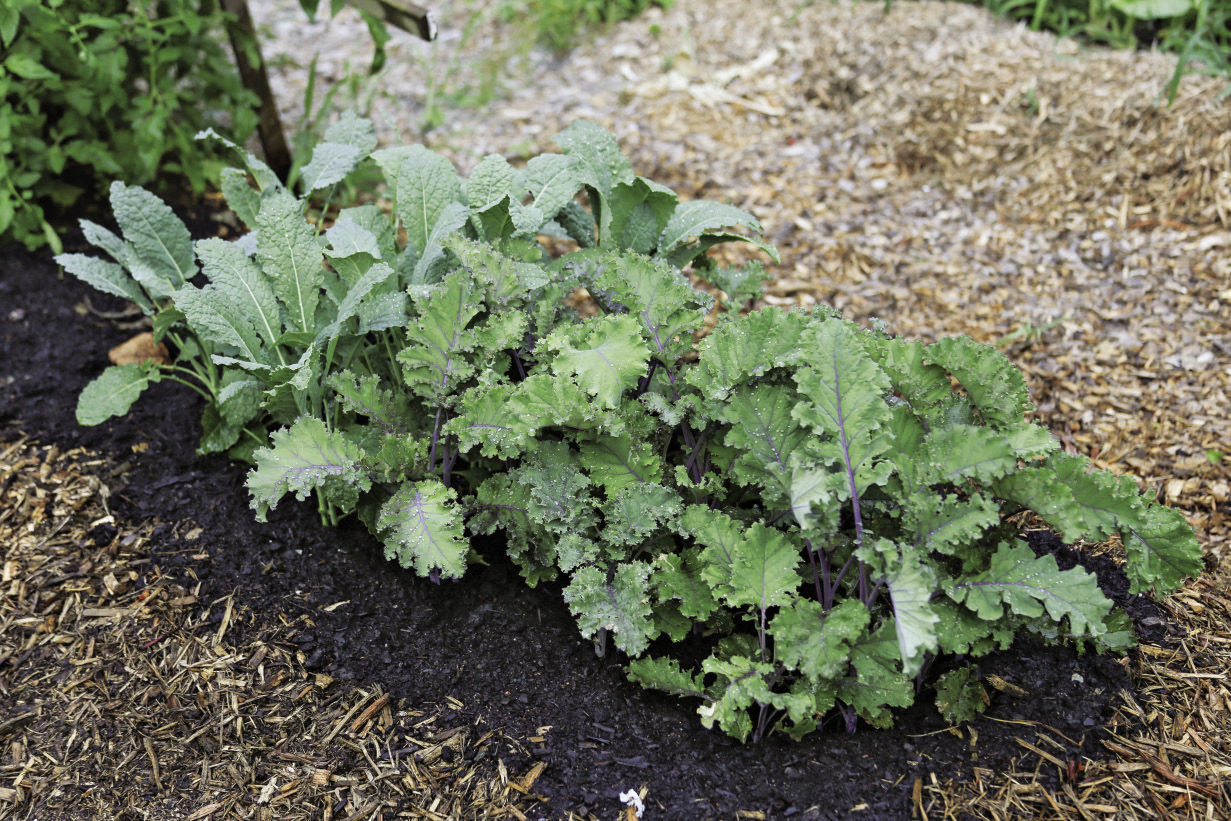
Succession plantings can help to overcome the challenges associated with heat stress. Sow seeds every other week throughout the growing season to always have some young, productive plants, even when conditions are less than optimal.
4. Overwinter for an early start to the spring harvest season
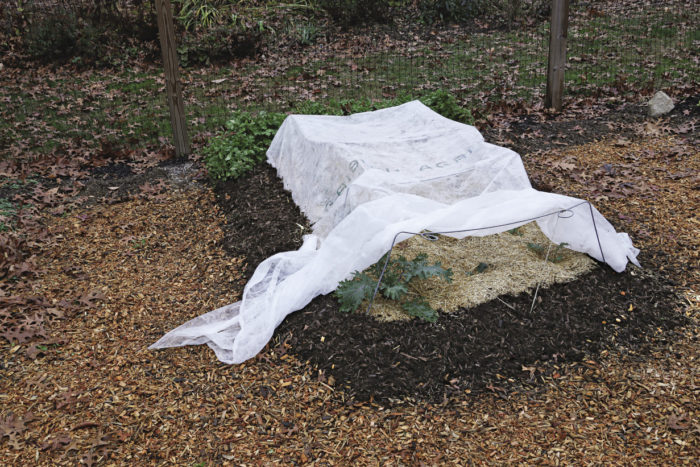
Kale is cold hardy and can be overwintered with some protection in USDA Hardiness Zones 5b and higher. Mulch with straw, and top with a floating row cover to help your plants survive the coldest months of winter. When the plants wake up in early spring, they produce big, strong leaves, followed by delicious, edible flowers.
Favorite Varieties
Are you ready to get growing? Here are six kale types worth trying.
|
|
|
|
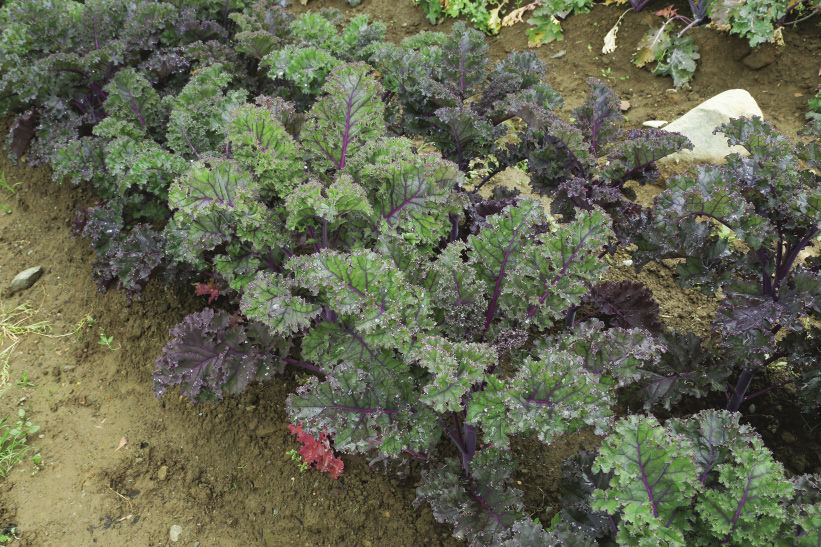
Curly RojaYou will want to plant this dense, frilly variety in a spot where its purple-sage leaves and bright magenta stems can be appreciated. Try sowing some in mid-July to enjoy a fall crop of sweet, frost-kissed leaves. |
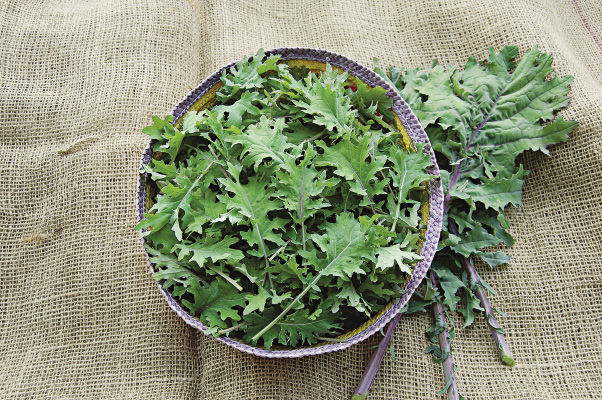
Red RussianYou probably won’t see this variety at the farmers’ market; its tender leaves do not travel well. But harvested fresh from the garden, Red Russian’s sweet flavor and tender texture are unparalleled. It keeps its mild sweetness throughout the season, and may be eaten cooked or raw. |
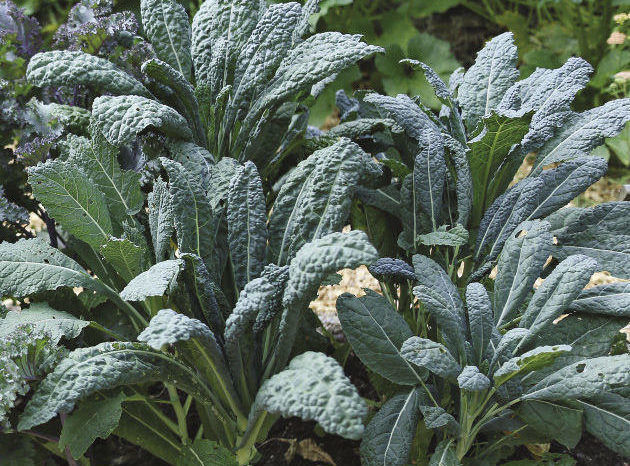
LacinatoAlso known as dinosaur kale or Nero di Toscana, this Italian heirloom has been around since the 18th century. Although it can be a slow grower, especially during the summer months, Lacinato stalks eventually grow up to 3 feet tall and often produce new leaves well into the winter months. |
|
|
|
|
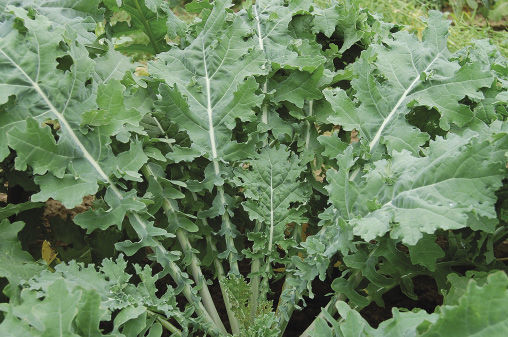
White RussianThis pretty, pale-ribbed plant offers superb flavor and texture, with even higher yields than its sibling Red Russian. It tolerates wet soils and cold weather without skipping a beat. |
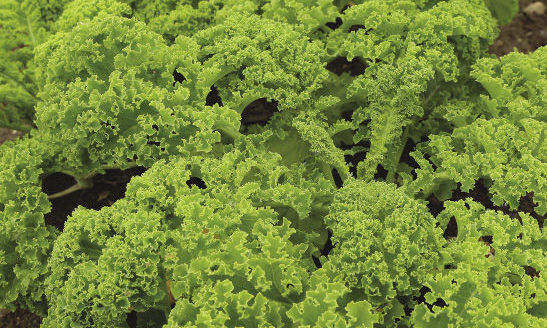
WestlanderThis vigorous variety from Germany is uniquely aromatic and very hardy. Compact plants grow a bit larger than Dwarf Green Curled kale but remain a good choice for a smaller garden. |
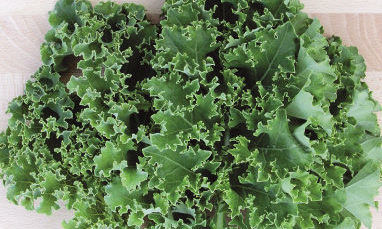
Dwarf Green CurledThis robust, frost-hardy variety only gets about 18 inches tall, making it a good choice for containers and raised beds. It is very cold hardy and insect resistant. Try it at the baby leaf stage to add loft and texture to salads. |
Protecting Kale Plants
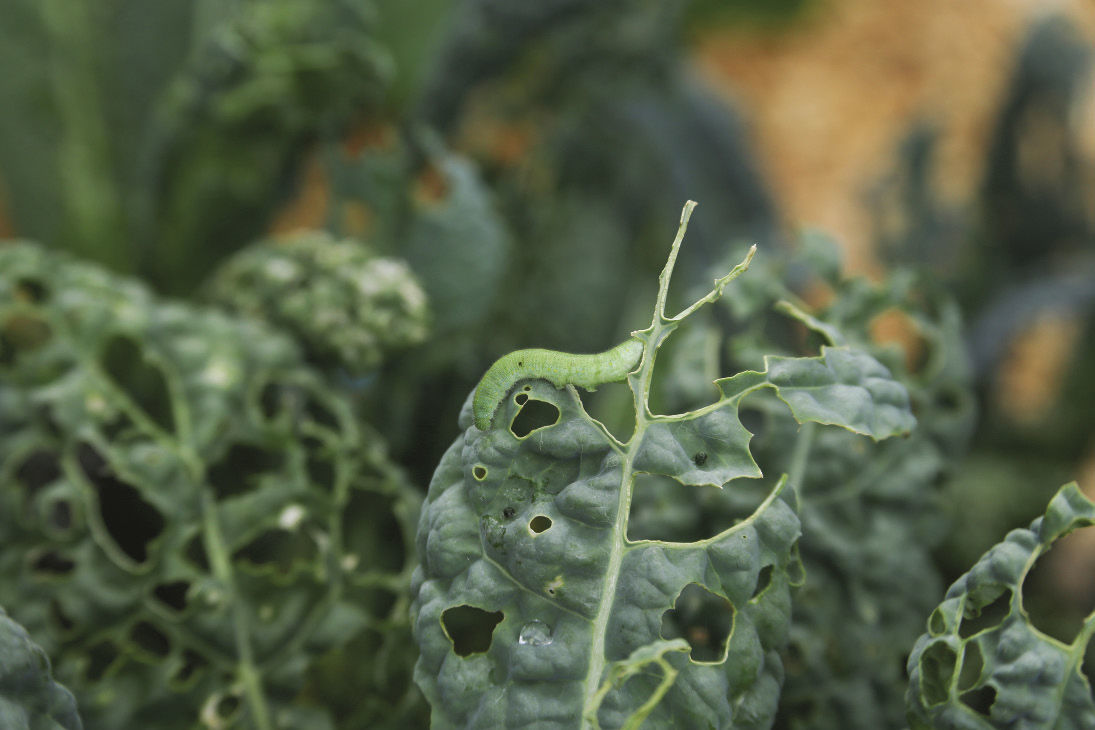
If flea beetles or caterpillars are a problem where you garden, it may be worthwhile to cover your kale crop with a floating row cover for the first month after it is set out in the garden.
Caterpillars also can be controlled with organic pesticides. Bt (Bacillus thuringiensis) is available as a spray or powder. Since it is most effective when caterpillars are small and actively feeding, it should be applied as soon as the pests appear. Spinosad (the active ingredient in Monterey Garden Spray and Captain Jack’s Deadbug Brew) also can be used for caterpillar control. Alternating between Spinosad and Bt can help keep pest populations from developing pesticide resistance, a problem made worse by the proliferation of genetically modified crops that produce Bt in their tissues. All pesticides should be applied in the early morning or evening to minimize exposure to nontarget species like butterflies.
Tom Stearns is the founder of High Mowing Organic Seeds in Wolcott, Vermont.
Photos: Carol Collins; (Red Russian, White Russian, and Dwarf Green Curled varieties) courtesy of High Mowing Organic Seeds



Comments
Log in or create an account to post a comment.
Sign up Log in