

-
Photo/Illustration: Greg Holdsworth (All photos)
-
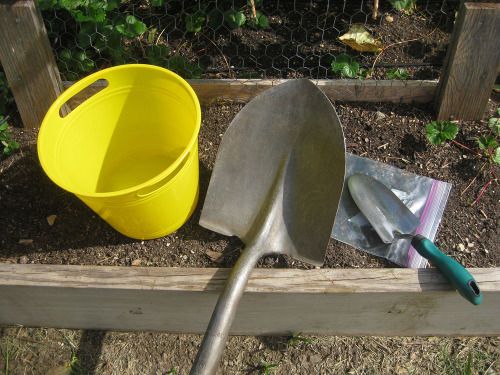
The tools you'll need.
-
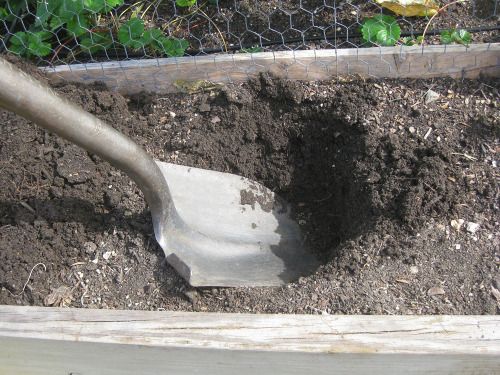
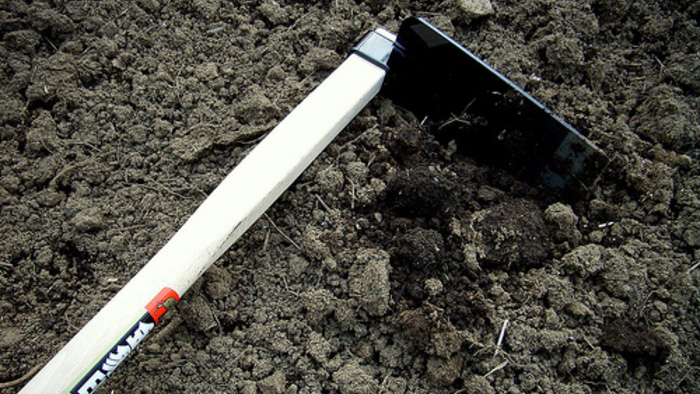
The spade-sized hole dug out and the soil removed.
-
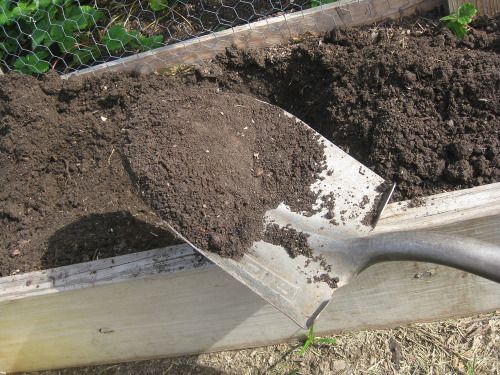
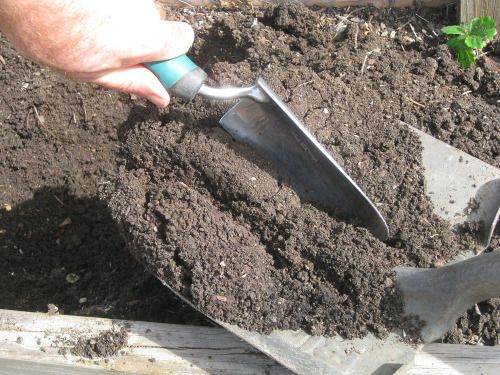
The "wedge" of soil to be used for the sample.
-
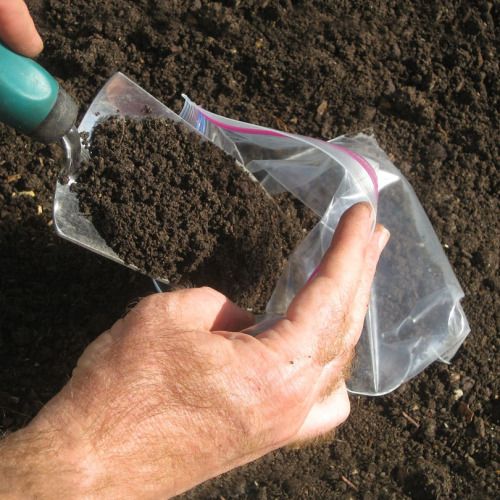
Dividing the wedge to obtain the subsample.
-
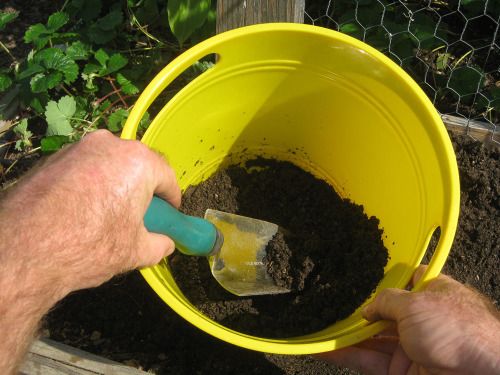
Mixing the subsamples.
-
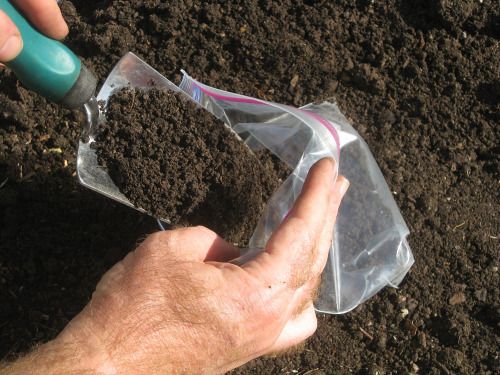
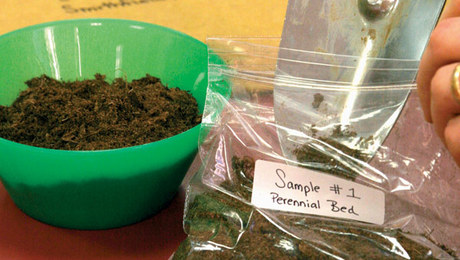
And into the bag it goes... to be mailed off to the lab.
If you’ve ever wondered, “Does my soil have problems”, “Does my soil need amendments?”, or “How much amendments do I need?”, a soil test may be an option to consider. Available through local cooperative extension offices or private laboratories, you can get a fairly comprehensive and informative test done fairly inexpensively. Soil testing laboratories test the soil’s pH level and nutrient contents. Most vegetables prefer a slightly acidic soil, about 6.2 to 7.0 pH.
The nutrients most commonly tested for are phosphorus, potassium, calcium, sulfur and magnesium. The lab may or may not include nitrogen as part of their basic test. The reason? Because the nitrogen content of your soil can change dramatically and quickly. Each testing lab will have its own types of tests, so check to see what’s available to you locally or online.
The two most critical points to remember when doing this are “cleanliness” and “variety”. You will wanna use clean tools (without rust or corrosion) to sample the soil, a clean container to mix it, and clean bags to store it. Small amounts of contaminants can distort the testing results. In addition, you’ll want to take samples from different areas of your garden to get a reading that’s representative of your entire garden area. In my case, since my garden uses raised beds, it was a matter of taking samples from each bed.
What do I need?
• Spade or shovel (preferably made of steel)
• Hand trowel
• Plastic bucket
• Quart-size plastic bag(s). Thin plastic bags, such as sandwich bags, are better than thicker plastic bags. Do not use brown paper bags.
• Permanent waterproof marker to label the plastic bags
Procedure:
1. Clear mulch, leaves, plant growth, or other large surface objects from the sample spot.
2. Dig a hole about as wide as your spade, and about 6-7″ deep. Set the soil aside.
3. With the spade tip placed one inch outside the edge of the hole, cut down to remove a slice of one side of the hole wall.
4. Keeping that slice on the blade of the spade, use the hand trowel to cut away the sides of the slice, leaving a center section about 1-2 inches wide. This vertical section of the soil is your “subsample”.
5. Place the subsample in the plastic bucket.
Note: If the soil is wet, allow it to air-dry by spreading it out on clean paper or plastic. Do not heat the soil.
6. Repeat steps 1-5 for the other locations you want to test a sample for.
7. Mix the subsamples in the plastic bucket together well using the hand trowel.
8. Remove about 2 cups (1 pint) of the soil mixture and place it into the plastic bag. This is the composite sample that you’ll be sending to the testing lab for analysis. You may want to put this bag into a second bag, just in case of a breakage or spill.
9. Mark the bag with a sample ID number using the permanent marker.
10. Fill out the appropriate forms and mail them, along with the soil sample, to the testing lab.


Comments
Log in or create an account to post a comment.
Sign up Log in