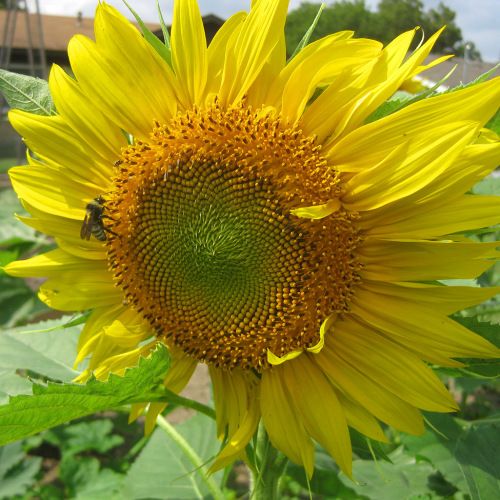
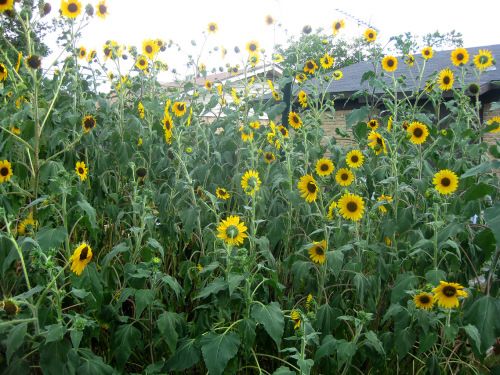
When it comes to flowers in my garden, I admit I’m rather selective. As I continue to increase the areas of the yard devoted to perennials, any annuals must be special in order to make the cut. Sunflowers have become one of those finalists. Sunflowers come in an amazing variety of sizes and colors. On one end, some varieties grow as tall as 15 feet, with flower heads larger than a foot in diameter. On the other, smaller varieties are only 1-2 feet tall. In the middle are medium-height varieties that stand 5-6 feet tall with heads 8-10 inches across. Some varieties produce a single large flower while others form several heads.
Planting
Although sunflowers can be started indoors, it is recommended to direct-sow the seeds after the last spring frost date. The soil temperature should be at least 55-60 degrees F. If your growing season is short, however, you can plant them up to 2 weeks before the last average frost.
If you are planting in rows, space seeds about 6 inches apart and 1 inch deep. Keep the seeds watered. The seeds germinate in 7 to 10 days (mine actually started in 5 days). When the first “true” leaves appear, thin the plants to about 3-6 inches for smaller varieties, and 1-2 feet apart for the larger varieties (consult the seed packet first). Spacing between rows will again be specific to the variety.
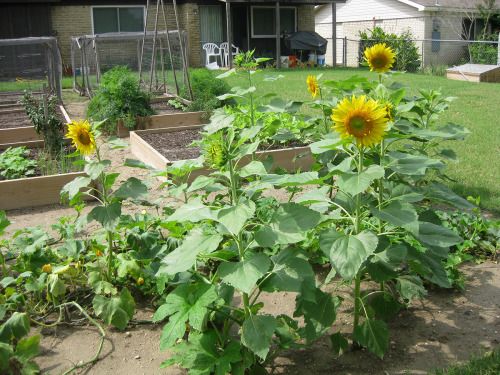
Sunflowers grow best in full sun, and prefer long, hot summers to flower well. They aren’t too finicky about soil types, but they will do better in well-drained, slightly acidic to somewhat alkaline soil (pH 6.0 to 7.5). Since high winds can be a factor in their growth when they are larger, plant them in a sheltered area if possible (i.e. along a fence or near a building).
Care & Feeding
The nice thing about sunflowers is that their roots spread quickly and the main stem becomes very strong. Most varieties can withstand some drought (a necessity in north Texas), but will grow more vigorously when they are watered regularly. Deep, regular watering will encourage root growth, which is obviously helpful with the taller, top-heavy sunflower varieties.
Another advantage is that sunflowers do not require much fertilizer. However, if you do wish to feed them, don’t overdo the nitrogen because this will delay flowering. Of course, mulching them with a 2- or 3-inch layer of organic matter will help retain moisture and discourage weeds. The taller varieties can require support or staking, as they are vulnerable to summer winds and rain.
Pests
The primary pests to sunflowers will be birds and squirrels, especially during harvest time. To shield the plants, some type of barrier is most effective. As the flower/seed heads mature, cover each one with polyspun garden fleece, mesh bags, cheesecloth, or old pantyhose. They will let light and air in and keep the critters out. You may also want to eliminate the leaves that are closest to the heads to make it harder for the birds to perch and feed.
Fortunately, sunflowers are relatively insect-free, except for the gray sunflower moth. Its larvae are greenish-yellow with 5 brown stripes down their backs. They feed in the flower and destroy the seeds. You can hand pick them off, or use a product containing Bacillus thuringiensis (Bt) as soon as you see the larvae.
Diseases
The main issues I’ve had with my sunflowers are fungal diseases and rusts. Downy mildew and powdery mildew can affect leaf surfaces and eventually destroy them. The oldest leaves (at the bottom) are usually infected first. These diseases are most likely to occur on cool damp nights and warm humid days. The good news is that fungal diseases usually will not kill a mature plant (it just makes it look bad).
Rust appears on the leaf surfaces as yellow or white spots that eventually turn brown or black. In severe cases, the disease may spread to stems and flowers causing distorted growth. If fungal diseases are spotted early enough, spraying with a fungicide as directed on the product label can help protect the foliage. You should remove and destroy plants that are severely infected. Another tip is to disinfect your tools by dipping them in a solution of 1 part bleach to 4 parts water.
Harvesting & Storage
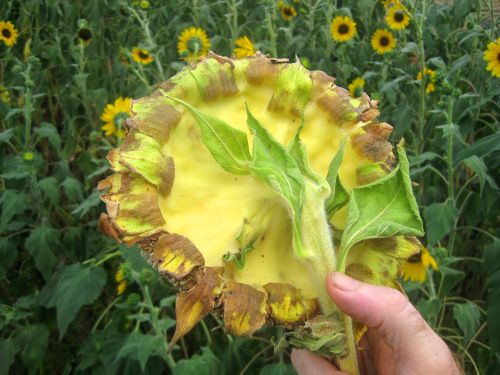
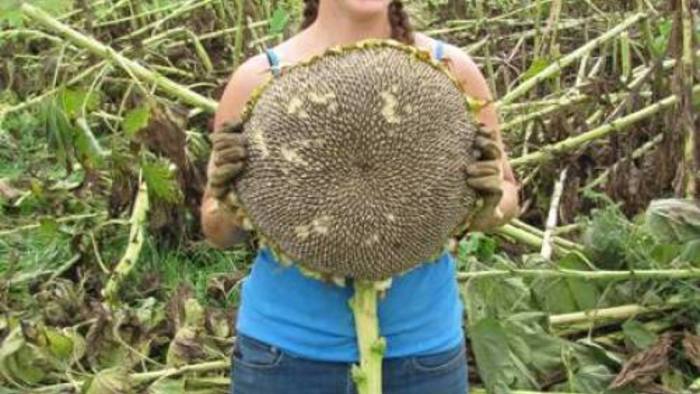
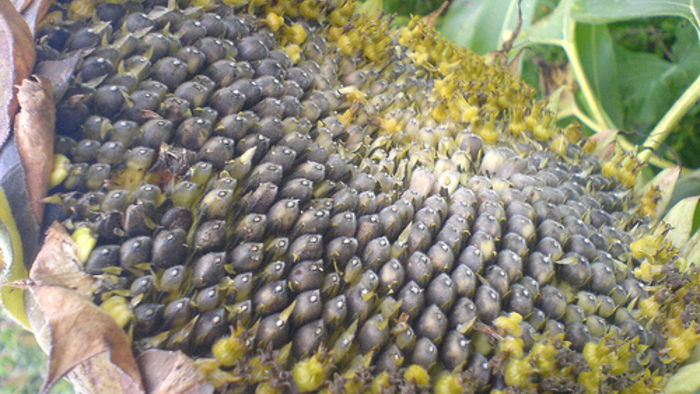
The common sign that sunflowers are ready to harvest is when the reverse side turns from green to a yellowish color. The other sign (mainly with the large heads) is that they will “nod” downward. The petals covering the developing seeds will dry up and fall out easily.
To beat the birds and squirrels to the punch, cut off the seed heads with a foot or so of stem attached and hang them in a warm, dry place. It should be well-ventilated and protected from rodents and bugs. If you are planning on eating the seeds, they usually need to be dried on the plants. To prevent molds, keep the harvested seed heads out of humid areas and let them cure for several weeks. When the seeds are thoroughly dried out, dislodge them from the flower by rubbing two heads together, or by brushing them with your fingers. Once this is done, allow the seeds to dry for a few more days. Store them in an airtight glass jar.
If you are using them as cut flowers or indoor bouquets, cut the main stem before its flower bud has a chance to open to encourage side blooms. Cut stems in the morning, when the buds are just beginning to open. Place sunflowers in tall containers to provide good support for their heads, and of course change the water often to keep them fresh.
Eat ‘Em Up
Sunflower seeds are rich in vitamins, protein, and minerals, as well as linoleic acid. The seeds are also a great source of iron, potassium and phosphorus, and contain vitamins A, B and E. The seeds are great for snacks, either alone or mixed with dried fruit or nuts. Want ’em salted? Add a cup of salt into a gallon of water and soak them overnight. Then, dry them again and cook them in the oven at 250 degrees F for 4 to 5 hours.





Comments
Log in or create an account to post a comment.
Sign up Log in