
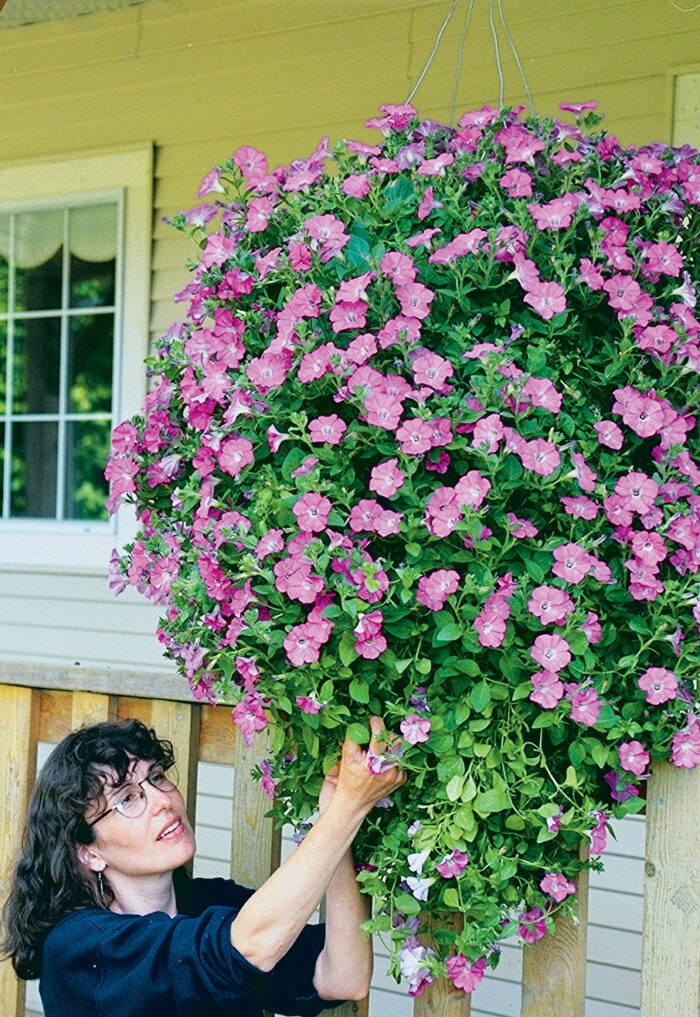
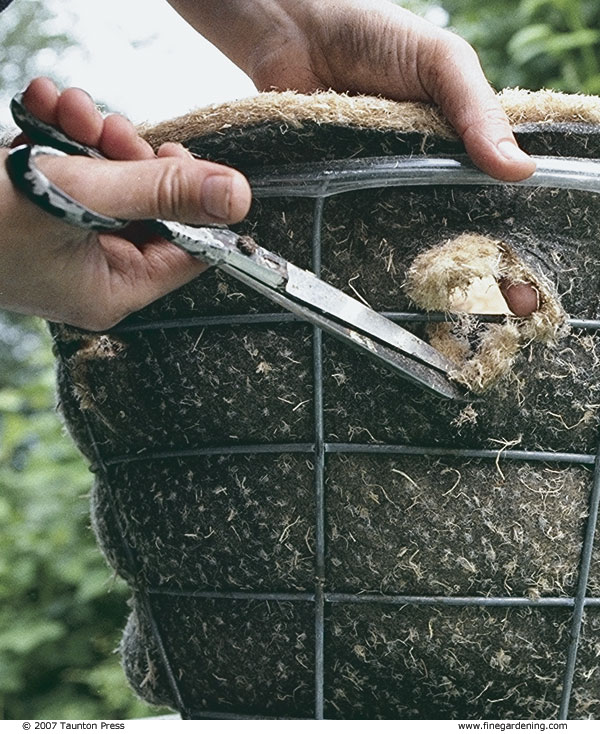
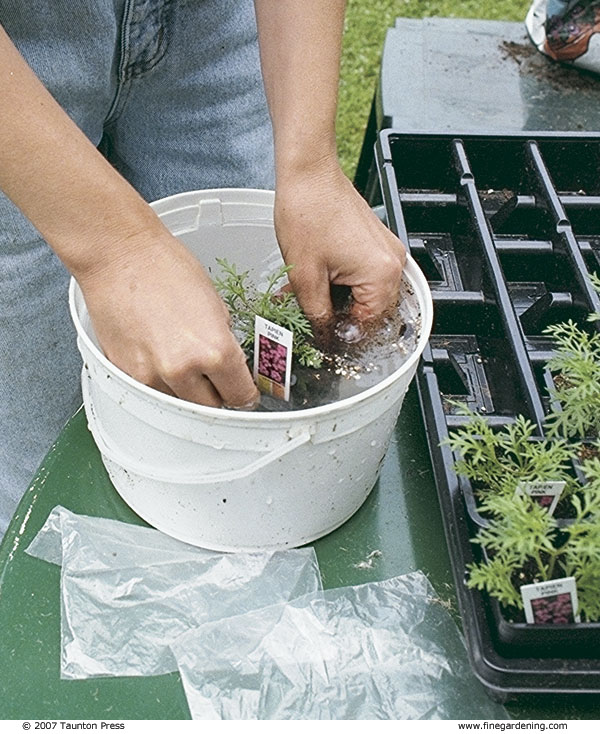
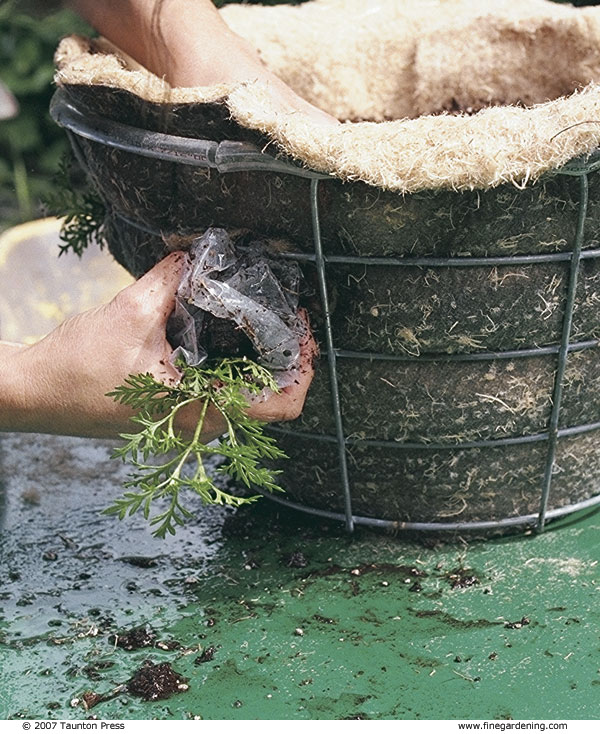
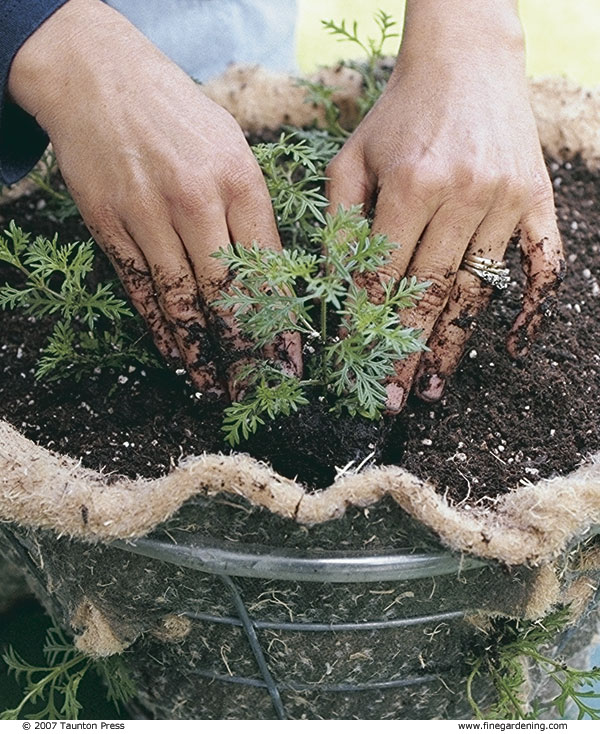
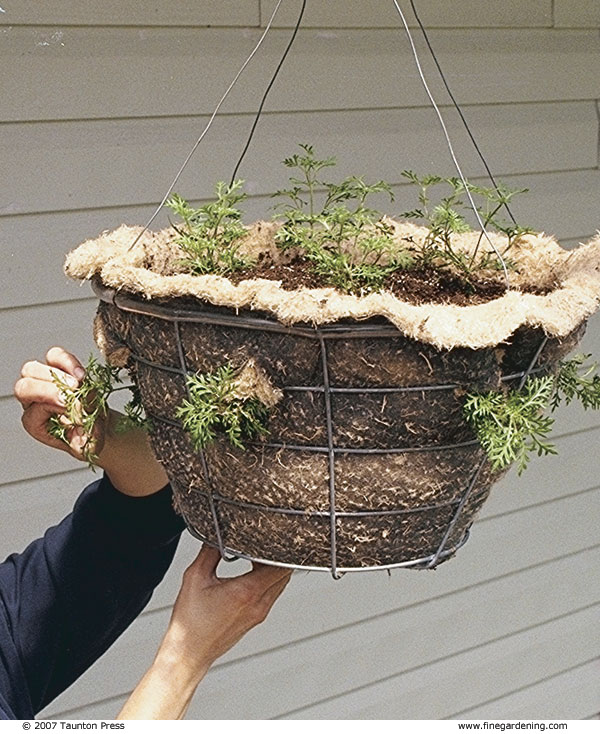
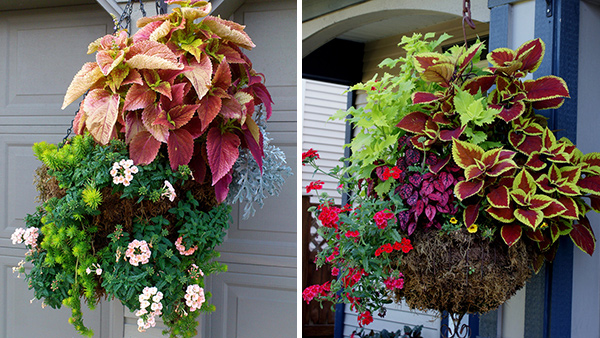
The first step toward creating a lush, beautiful hanging basket is in choosing your plants. Long-trailing plants such as trailing petunias require only top planting. For short-trailing plants such as ‘Tapien’ purple verbena, plant on the sides of the basket as well as the top for a full-looking floral display. Purchasing healthy plants is essential. I look for plants with several stems, since they will produce prolific growth. Plants in 2-1/2-inch containers are easiest to insert through a wire frame.
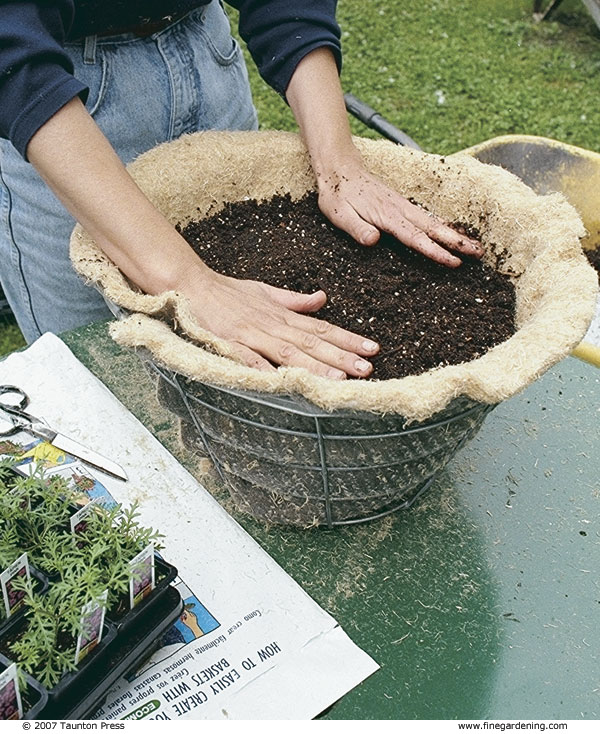
Most soil mixes for hanging baskets are peat-based, and can be difficult to moisten after they dry out, so I add some loam- or humus-based potting soil, as well as kelp meal for trace elements. Baskets lose water through evaporation, so closely monitor their moisture level–in hot weather, check baskets daily. Water thoroughly but allow baskets to dry out slightly between waterings. Besides a tablespoon of slow-release fertilizer at planting, I feed trailing petunias—those of the “Supertunia,” “Surfinia,” or “Wave” series—every third watering with a 20-20-20 fertilizer that contains iron. These extra nutrients are needed for voluminous floral displays. In mid-July, I check to see if the slow-release beads have dissolved. If they have, I add one tablespoon more.
To assemble a hanging basket, collect the materials and follow the steps outlined below. For baskets with trailing petunias, skip Steps 3 and 6, and use only six plants.
Materials for a hanging basket
- Wire-frame basket (16 inches across, 9 to 11 inches deep), plus hanger
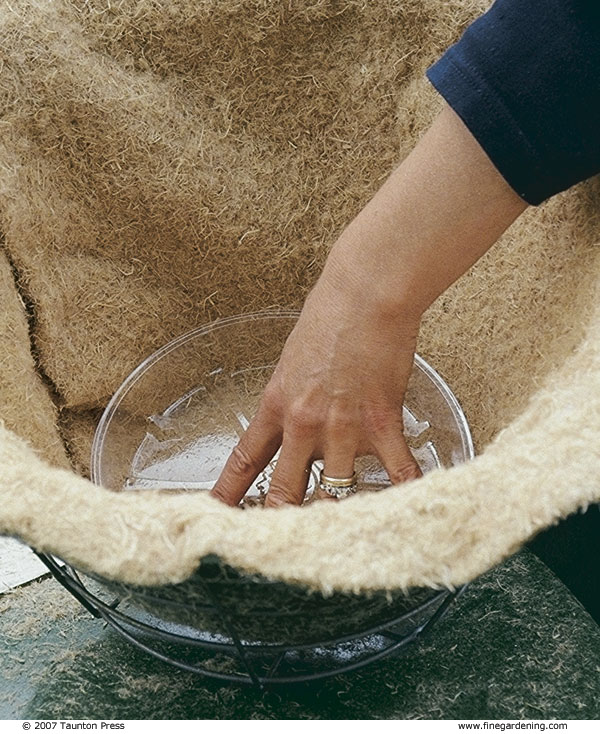
- Wood-fiber liner to fit frame
- One meter of landscape fabric or burlap (for arid climates only)
- 8-inch plastic water saucer
- 51 inches of 1/2-inch clear-vinyl tubing
- 20 quarts of soil mix (16 quarts of lightweight, hanging-basket soil and 4 quarts of loam- or humus-based potting soil), plus one tablespoon kelp meal
- 4 quarts of water
- One tablespoon slow-release, 15-15-15 fertilizer beads
- Plants in 2-1/2-inch pots: 15 short-trailing plants, such as Bacopa, Brachycome, Fuchsia, Lantana, Lobelia, or Verbena; or six trailing petunias such as “Supertunia,” “Surfina,” or “Wave”
- Large container for mixing soil
- Scissors, felt-tip pen, small plastic bags, and glue (optional)
- To hang from a wall or post: a sturdy bracket with a horizontal bar measuring 12 inches or more
- To hang overhead: a 1-1/2-inch screw hook, an S hook, and a length of chain
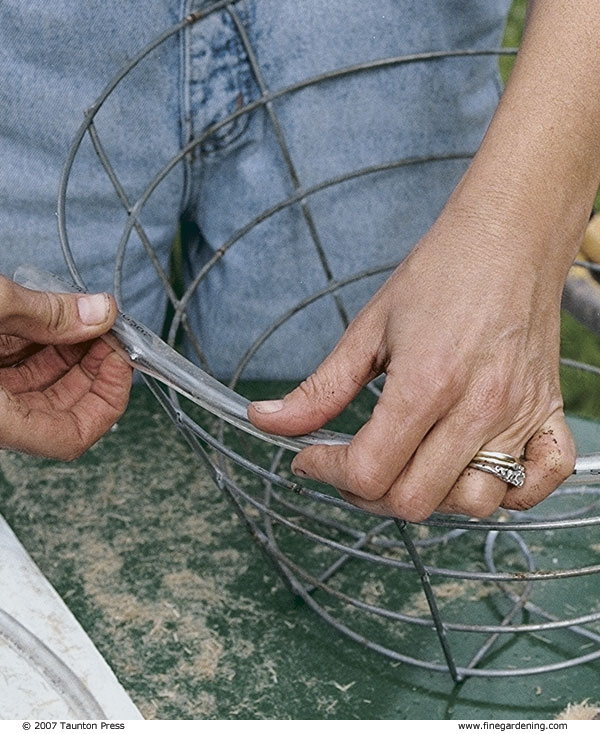
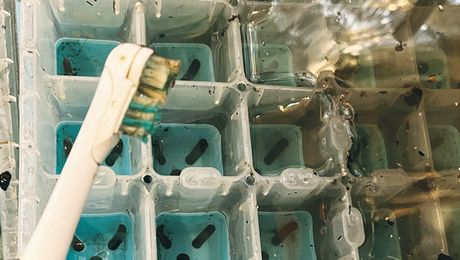
Step 1: Pad the basket’s rim with vinyl tubing to prevent trailing stems from breaking. To do this, cut tubing into lengths to fit between the spaces for the hangers. Slit the tubing lengthwise with scissors, then wrap it around the rim.


Comments
Log in or create an account to post a comment.
Sign up Log in