


As the Fall season makes its appearance by bathing our gardens with cooler air, it’s time to prepare for the colder weather ahead. This includes thinking about how you would need to protect your crops in the event of an unexpected overnight freeze or damaging cold winds. This hoop bed cover is very functional and is tough enough to support most of the coverings you would need to wrap around it. It basically takes the concept of a tent and applies it to your garden beds. It’s the perfect solution for raised beds because it can fit inside the raised bed’s edges for added support. When the cold weather’s safely past, it can be disassembled for easy storage.
• 4 – 1″ x 2″ x 4’/6’/8′ plywood stripping (length will be determined by how wide your bed is) • 2 – 10′ half-inch diameter PVC tubing • 4 – 3/4″ two-hole metal electrical straps • 4 – 3″ four-hole metal corner brackets • 24 (minimum) 1″ wood screws (I used #10 flat head phillips type) • 2 1-1/2″ wood screws • Drill & drill bit • 2 – plastic tie strips, wire, string, etc. to anchor the PVC pieces together at the top • Saw • Pencil
Easy to intermediate, depending on your wood building skills.
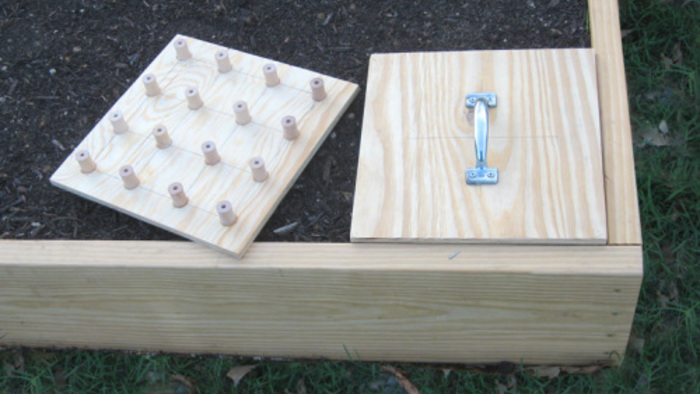
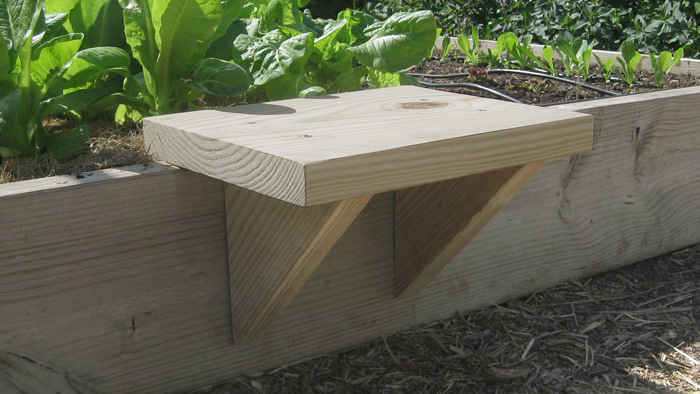
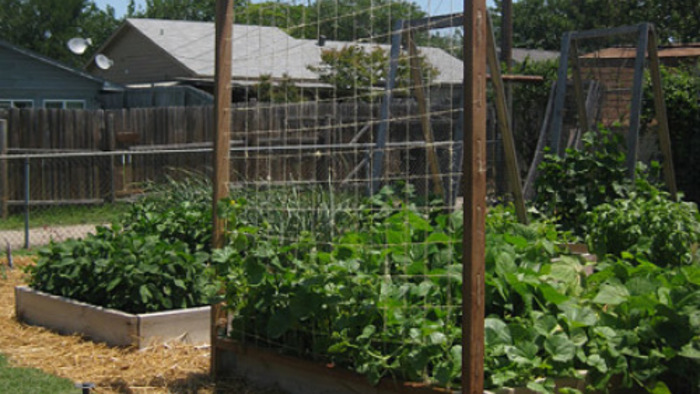
1. Measure your raised bed or row to determine the width you’ll be making your PVC hoop cover. For the purposes of this post, my raised beds are approximately 5 feet by 5 feet. 2. Cut TWO of the four 1″ x 2″ plywood stripping pieces to the measurement you determined in Step #1. Then, if you are fitting the PVC hoop cover in a raised bed, subtract 1 1/2″ from the length you just cut the first two pieces of stripping. This is to compensate for the thickness of the two side pieces. You’ll end up with 4 pieces, two different lengths (Photo A). 3. Gather up your hardware – brackets, screws, and straps (Photo B). 4. Arrange the four plywood stripping pieces as they will be put together. Place the bracket where two of the wood pieces meet in the corner. While holding it in place, mark the holes with a pencil. Then, drill the holes. 5. Drill the four holes, hold the bracket and wood together as before, and put in the screws (Photo C). Repeat for the remaining 3 corners. 6. Now it’s time to screw on the “strap” pieces. Place the strap next to the bracket, and again mark the 4 holes with a pencil. Drill your holes (Photo E). 7. Screw in the strap piece. Repeat for the remaining 3 corners (Photo F). 8. This where you might be more efficient with a buddy to help out (although I accomplished it alone). Put one end of the PVC tubing in one of the straps. Then, carefully and slowly, bend the PVC tubing over to the opposite corner’s strap. Repeat with the other PVC tubing (Photo G). 9. Using a couple of plastic cable ties, wire, string, etc. (whatever you have available), secure the two PVC pieces together (Photo H). 10. Secure the PVC tubing to the strap by drilling a hole from the opposite side of the wood, through the PVC tubing, and putting in the 1 1/2″ wood screw. That way, you don’t need to worry about the tubing “falling” through the strap hole. 11. Your PVC hoop cover is pretty much ready for action (Photo I). You can now attach whatever type of cold weather barrier you need to your hoop bed cover. This design is not only lightweight, but quick to make and scaleable for larger areas (Photo J). Your veggies will thank you for keeping them a little warmer. |


Comments
is there a way to see all the photos? I only get the top, finished product, picture. thanks
Log in or create an account to post a comment.
Sign up Log in