

-
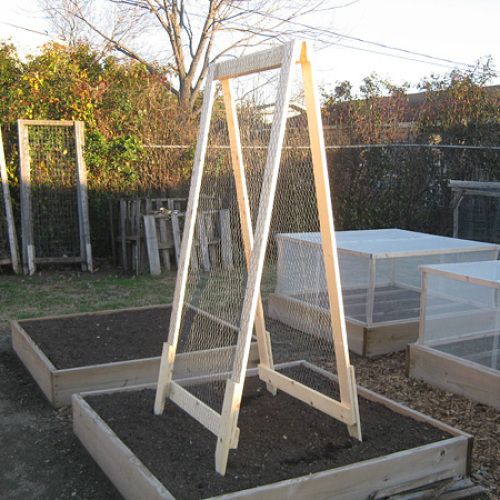
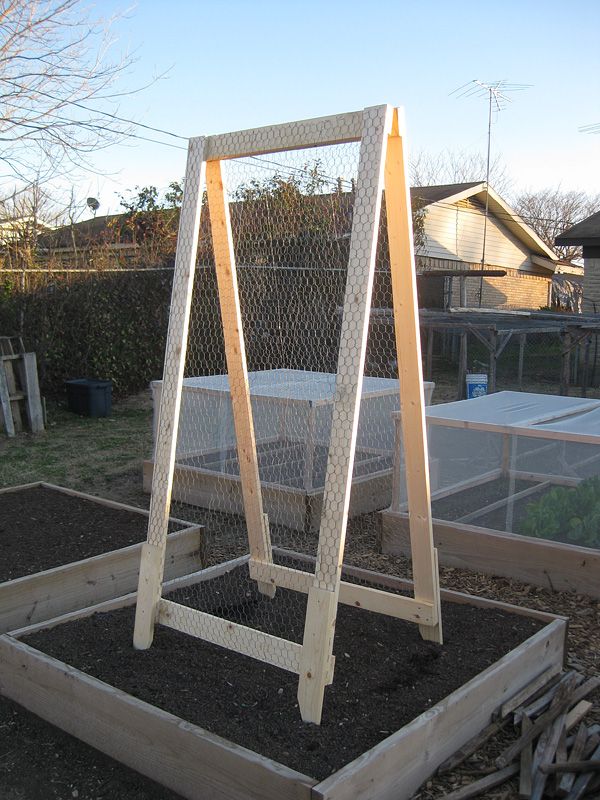
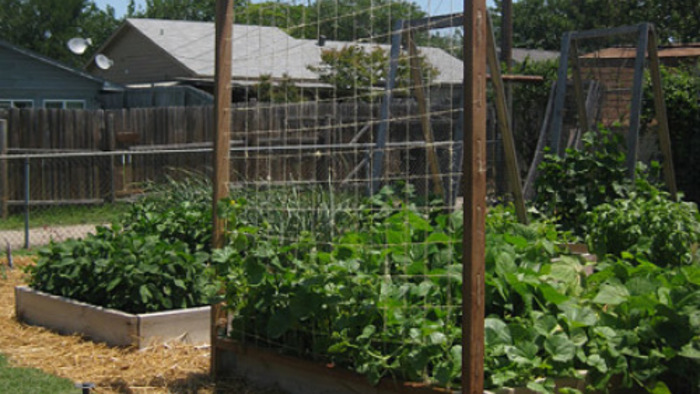
With some plywood, hardware cloth, fasteners, basic tools, and a little time, you can fashion a hinged A-frame trellis to support peas, beans, tomatoes, or other vining plants.
-
Download the plan for this trellis, and build it soon. You'll be glad you did.
Illustration by Greg Holdsworth; © 2010 Your Own Victory Garden -
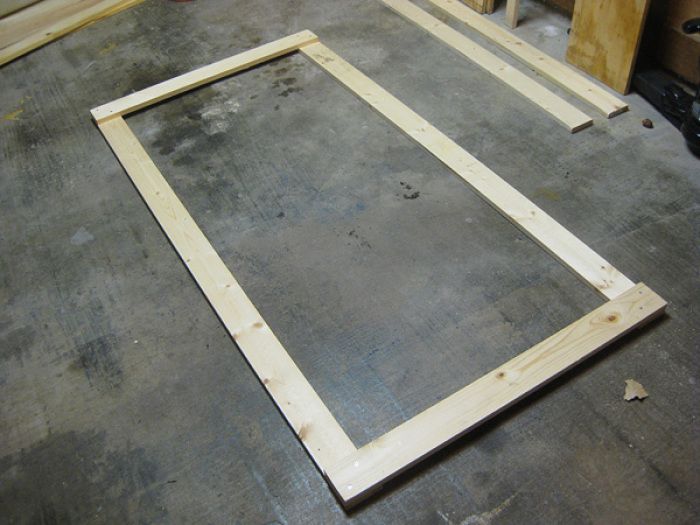
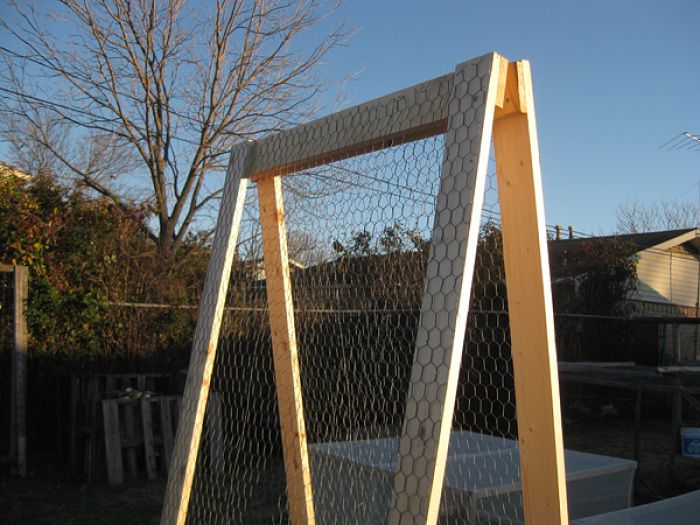
The "frame" of two 3-foot and two 6-foot pieces
-
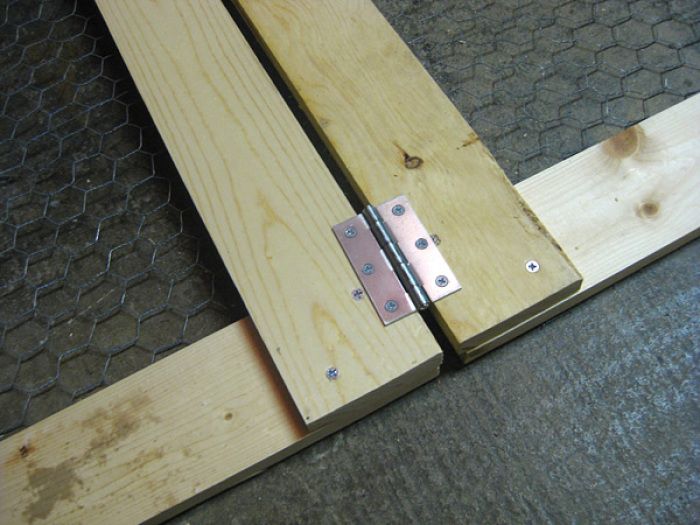
The two frames, attached by way of the hinges
-
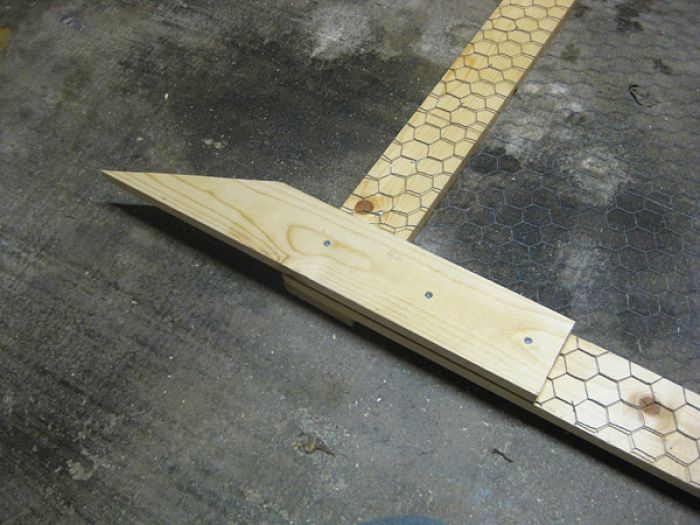
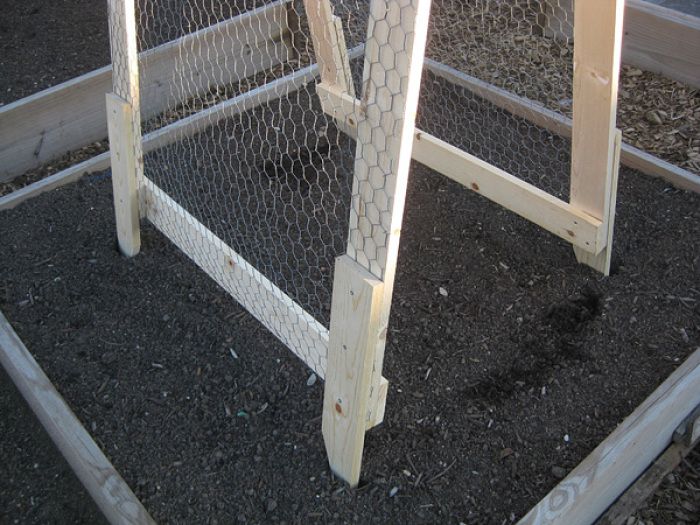
The cut "foot"
-
-
-

I would guess you’ve probably already swept up the sawdust from the last project I gave you, the DIY soil sifter. If so, don’t put away those wire cutters just yet. I’ve got another reason for you to head back over to the hardware store – the DIY trellis.
This design represents one of the many different ways you can employ what Square Foot Gardening‘s Mel Bartholomew calls “vertical growing”. I’ve used this design for years, so it’s a “once you build it, you have it” kinda thing. If you use raw plywood as I do, it will take at least 3-4 years for the wood to weather to the point of needing replacement. If you use higher quality wood or weather stain it, it will go even more. My design has a unique feature that I haven’t seen anywhere else. It actually came out of necessity due to some termite damage and rot the trellis sustained one year. It builds in replaceable “feet” that you know in time will deteriorate. That way you’re not having to replace the main lengths of wood. This design will produce one trellis approximately 6 feet tall by 3 feet wide. Moving along… The list of things you’ll need: • 7 Pieces of 1″ x 4″ x 6′ plywood, treated or untreated (you only really need 6 – one’s for backup) Optional: Construction 1. Cut 2 of the 6-foot pieces in half to get 4 3-foot pieces. 2. Put two of these 3-foot pieces, along with two of the 6-foot pieces together at the edges, forming a “picture frame” shape. 3. Connect these four pieces with wood screws. Then repeat with the other 3-foot and 6-foot pieces. So now you have the two “sides” of the trellis. 4. Roll out enough hardware/fencing material to cover one side. Using your staple gun, staple it to the frame. Tip: Pull the hardware cloth tight as you are stapling it to the frame, otherwise it will sag in the middle. 5. Repeat for the other side/frame. 6. Screw in the two hinges at the top of the frame to connect the two frames. Tip: Do this while the two frames are laying open on the ground. 7. Make the “feet” pieces by first cutting another 6-foot piece into two 3-foot pieces. 8. Then, cut diagonally across the 3-foot piece to create two “feet” pieces. The pointed side will point downward and stick into the ground. 9. Repeat for the other two feet pieces 10. Screw the four feet pieces to the frames The warmer weather is just around the corner… get ‘er done!
|


Comments
Log in or create an account to post a comment.
Sign up Log in