

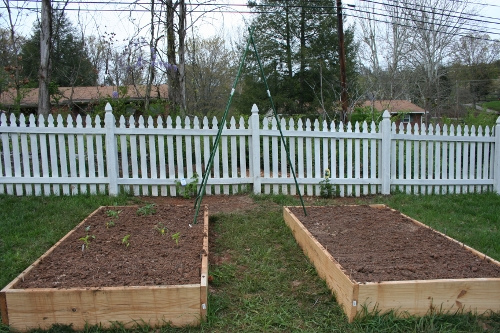
It’s never too early to think about the next major planting season as far as I’m concerned. But that could be because at my age, six months isn’t even close to the vicinity of long-term. So while I’m planting my fall garden, I’m also thinking ahead to next spring. I’m always trying to squeeze in another vegetable or herb bed around here.
So now that I have you thinking about adding yet another bed to your place, let’s talk sandwiches. I’m referring to compost sandwiches, otherwise known as sheet composting or lasagna gardening. Whatever name you want to call it, if you make it this fall, you’ll have a fabulous new bed come spring. Some of you may be toying with the idea of making the ultimate sacrifice and giving up part of the lawn for a garden bed. I wholeheartedly approve.
When you start a garden bed off with a compost sandwich, it will have excellent water-holding capabilities, thus making terrific use of any rainfall. This bed will have few, if any, weed problems. If weeds do appear every so often, they will easily slide out of the crumbly soil. Best of all, the bed will be pliable, healthy, and ready for spring seeding.
Materials needed
- Cardboard
- Newspaper
- An assortment of carbon materials (browns) such as leaves, straw, weedless grass, newspaper, shedded bark, and 100% cotton clothing
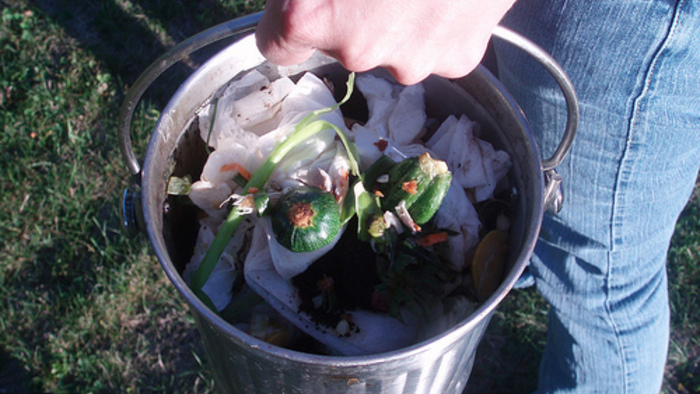
- An assortment of nitrogen materials (greens), such as grass clippings, vegetable peelings, seedless weeds, perennial plant clippings, coffee grounds, and tea bags
- Topsoil
- Manure from herbivores (chickens, rabbits, horses, etc.—but no dog or cat poop)
- Water
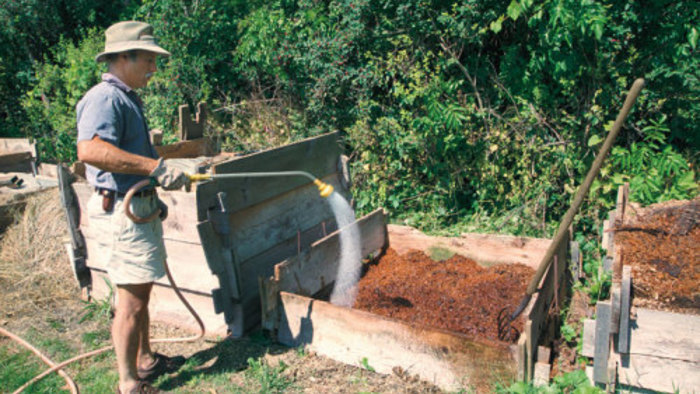
Start with covering the entire garden area with cardboard. It can be corrugated or noncorrugated. Next, take some newspaper and lay it over the cardboard. Make this a solid layer about 2 inches thick. Have a hose nearby to water in between the layers to get everything moving along down the path of decomposition.
The next layer is greens. Use whatever greens your heart desires, but if you choose grass clippings, keep the layer thinner than the other materials, as the grass seems to compact and not let air inside. Next, spread a manure layer and then a thin layer of topsoil. At this point, go back to your carbons.
I can’t stress enough that composting of any kind is an art, not just a science. While there’s certainly a basic chemistry to it, you don’t need to measure and get precise. Make your sandwich the best you can, and use various materials while creating. The last layer is topsoil.
Be sure to water between the layers while you’re building the sandwich. You’re not trying to flood it, but the sandwich needs to be wet. Water the last layer of topsoil. Now, other than watering the sandwich if you have spell of dry weather, leave it alone. Don’t do a darned thing to it all winter. You’re going to be so thrilled with the soil in your new bed next spring.
Two final items:
- If you build this sandwich in the spring, be sure to add topsoil to the layers and maybe some peat moss for good measure. You can plant it with veggies right then and grow a garden while everything is breaking down. The plants will do great—and next year’s crop will do even better.
- While the organic matter is breaking down, it will rob some of the nitrogen from the soil that was there to begin with. To combat this, you can add extra greens, bone meal, or my favorite ingredient—good old manure.


Comments
Log in or create an account to post a comment.
Sign up Log in