


-
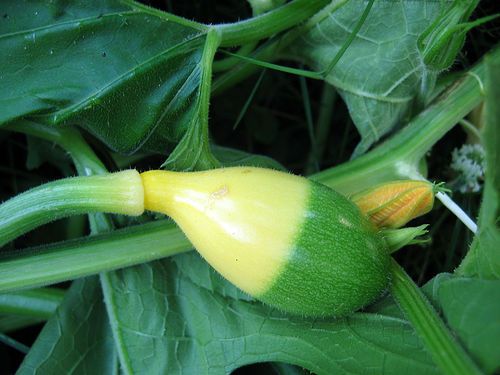
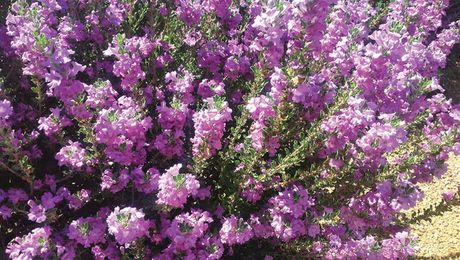
This photo is by Radisha Simmons under the Creatve Commons Attribution 2.0 License.Photo/Illustration: Radisha Simmons
-
Photo by Unhindered under the Creative Commons Attribution 2.0 License.
-
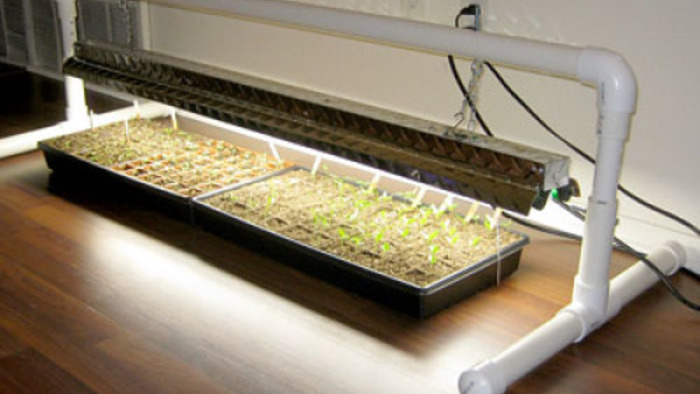
Photo by Scottks1 under the Creative Commons Attribution License 2.0.
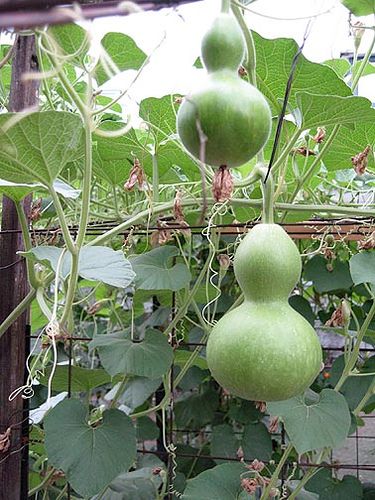
While you’re planting food and flowers in your garden, why not plant a garden craft, as well? Birdhouse or bottle gourds (Lagenaria siceraria) are one of the thick-skinned gourds that are mainly grown for crafts or decoration.
Growing birdhouse gourds and then preparing them as a bird’s next prime real estate is a garden project that anyone can do and a great circle-of-life lesson plan for kids (or you, if you need one). Gourd birdhouses are attractive to many species of birds including wrens, chickadees, swallows, bluebirds, titmice, and nuthatches.
The birdhouse gourd is the white-flowering gourd species that produce the hard-shelled fruit mainly used for crafts. The yellow-flowering gourds (Cucurbit spp.) are the thin-skinned and used as colorful decorations. You can purchase birdhouse gourd seeds from local nurseries or seed catalogs. It’s preferable to get them into the ground as soon as the last frost date in your areas has passed since they can take anywhere from 125-140 days to mature.
Birdhouse gourds can be grown on the small “hills” that is the traditional way of growing squash or gourds. However, because they are a long-season crop, they end up sitting on the ground for long periods and could become rotten on the side touching the ground. One way to avoid this problem is to use 3” or so of mulch around the vines and under the fruit, however, it’s just as easy to grow them up trellis’s, fences or cages instead.
In fact, as a suburbanite, I’m always game for doubling up on space. So, you can try planting another veggie like peas right up the trellis or fence with the gourds. The nice thing about peas is that they are a legume, so instead of stealing nitrogen from the growing gourds, they actually fix nitrogen into the soil.
How to Plant Birdhouse Gourds
Outdoors: Soak the seeds in water overnight to give them a leg-up on germination. Plant the seeds in situ (in their permanent spot) as soon as the last frost date has passed in your area. Plant 5 seeds per composted hill about 5” apart. When seedlings begin to take off, you’ll want to thin them to one seedling per hill, ideally.
If you want to train them up a trellis or fence, plant the seeds about 2’-3’ apart (intersperse pea seeds in between if you’d like). Birdhouse gourds like well-drained soil and some compost or composted manure tossed in there once in a while.
Indoors: You can start the seeds indoors by a few weeks (soak them first) before the last frost date, but plant them in peat pots so you can plant them directly into their permanent beds without disturbing their sensitive roots. Then go ahead and plant them outdoors after the last frost date.
Harvesting Birdhouse Gourds
The gourds will tolerate a light frost, so let them ripen on the vine as long as possible. But soon after that, you’ll need to harvest them and bring them indoors for several months to cure the rest of the way. The gourds will be ready to harvest when the stems turn brown, but as I said, if Jack Frost has brought more than two suitcases, he’s there to stay so go ahead and bring the gourds inside.
Take a sharp knife and cut the stem of the gourd from the vine. Handle the gourds carefully because they bruise easily at this stage. Wipe off any moisture and keep them in a cool and airy place to dry for maybe 3 months. It’s hard to say exactly how long it will take for them to fully mature, but suffice it to say; the smaller ones will be ready faster, etc. If mold appears, just scrape it off with a knife. If any of the gourds get soft or mushy – toss it into the compost pile (because I know you have a compost pile).
Make a Birdhouse
During the curing process, the gourds could go from pale ivories, rusts, beiges or mottled gray colors; each one will be unique. Bottles that are fully dry or cured will be light-weight (nothing like when you first harvested them), light brown and hard. The seeds inside will rattle when you give the bottle a shake. At this point aside from the entry holes, you’ll be drilling a few others, as well.
A few small holes will need to be drilled on the under side of the gourd for drainage as well as two holes on either side at the very top of the neck. Those last two holes will be for threading a cord or wire through so that you can hang the birdhouses outside. You can also varnish the outside of the gourds before you hang them up, but they’ll last outdoors about two years if you decide not to.
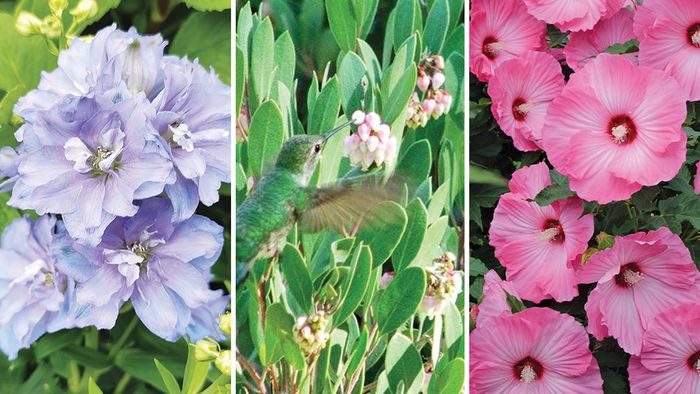
So, you plant your gourd seeds, they grow and flower. The flowers lure beneficial insects to your yard, helping to give you a great food harvest. The gourds grow and dry out. You then get your crafty hat on and create a masterpiece of a home for the birds and hang them up. The next growing season, you have birds using the condos and acting as vegetable sentries as they eat thousands of bug pests in your garden. Once again, you harvest a bountiful food crop.
The plan is simple, but gardening always brings compelling evidence of how everything is on earth is connected (I’ll stop here before I break into Kumbaya).
Specific Bird Blueprints for Birdhouse Gourds
- Nuthatch – You’ll want a gourd about 4” wide, the drilled entry hole 1 3/8” and the hole should be drilled 7” from the bottom of the gourd. Layer the floor of the gourd with wood shavings.
- Bluebird – Choose a gourd that’s about 5” wide and drill the entry hole 1 3/8” and the hole should be drilled 8” up form the bottom of the gourd. Mount the birdhouse gourd at the edge of a clearing.
- Wren or Chickadee – The gourd needs to be about 5” wide with an entry hole drilled 1 1/8” – the hole should be drilled 7” up from the bottom of the gourd. Layer the floor with wood shavings.
- Tree Swallow – Choose a gourd that’s 5” wide. Drill an entry hole that’s 1 1/2 “around and place it 5” up from the bottom of the gourd.. Mount the house at the edge of a clearing.
- Titmouse – Choose a gourd that’s 4” wide and drill an entry hole 1 ¼”. Place the hole 7” up from the bottom of the gourd and layer the floor with wood shavings.


Comments
Log in or create an account to post a comment.
Sign up Log in