

How to Grow Parsley
This indispensable, easy-to-grow culinary herb has few needs but lots of flavor
-
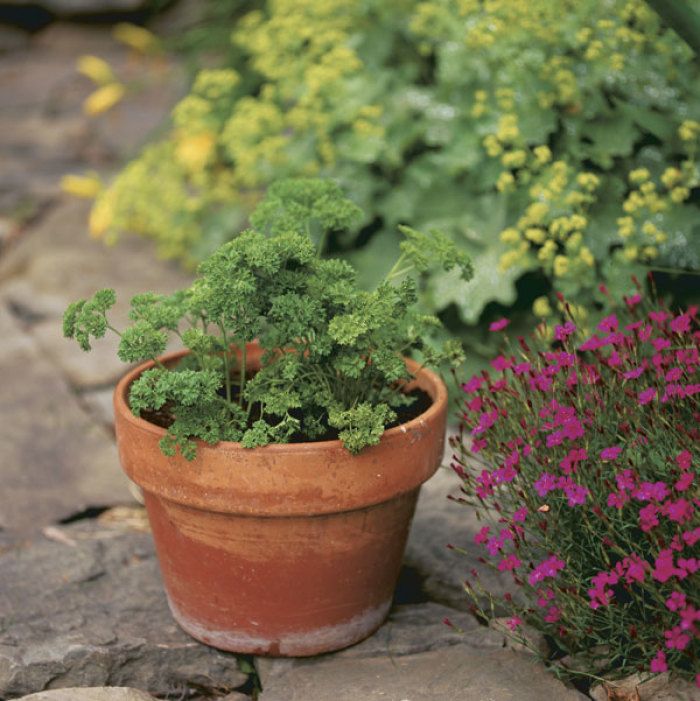
Pretty in pots or in beds, curly-leaf parsley plays a dual role as an ornamental plant and a culinary herb. Photo: Susan Kahn
-
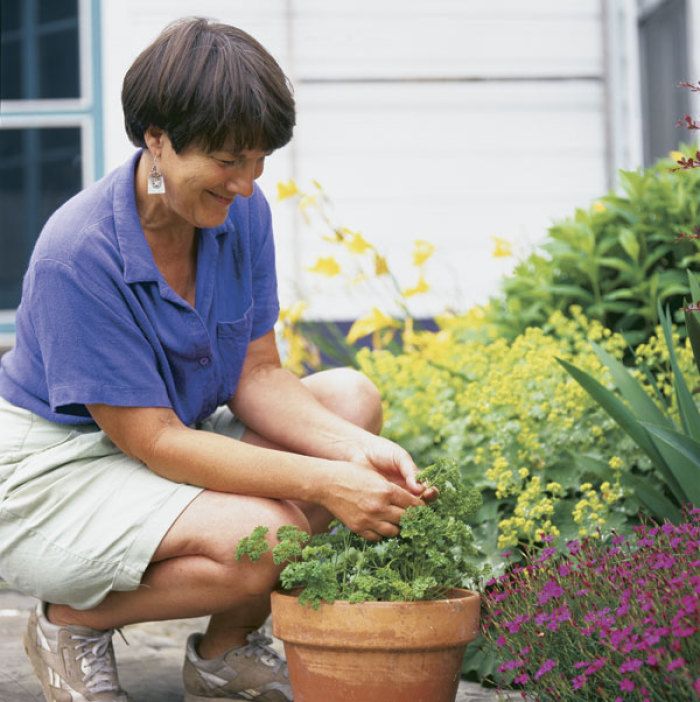
For four seasons of flavor, pot a parsley plant in the spring and move it indoors when the weather gets cold.Photo/Illustration: Susan Kahn
Consider poor parsley: What was once a wreath of glory for victorious Greek athletes is now but a flashy green garnish on countless plates of generic restaurant food. Stuck next to a rapidly drying orange slice or an unnaturally red slab of pickled apple, parsley is often left on the plate, unappreciated and uneaten.
But if someone asked me to award a prize for the best all-around herb, I would give it to modest, undemanding parsley. It’s easy to grow; it’s highly ornamental in pots, borders, and vegetable gardens; and it stores and freezes beautifully.
And then there’s the taste: refreshing, zesty, and unassuming. It’s the unassuming aspect of parsley’s flavor that makes it one of the most versatile and widely grown herbs in the world, filling more culinary roles than any other herb I can think of. If this list of accolades isn’t enough, parsley holds a rich supply of vitamins A and C, several of the B vitamins, as well as iron and calcium. Its high chlorophyll content works as a natural breath freshener.
The kitchen gardener can choose from several varieties of parsley, all of which are members of the Umbelliferae family. There are two common types of parsley: flat leaf and curly. For decades the most familiar type has been the decorative, dense curly or moss-curled parsley. In the last few years, Italian or single-leaf parsley has been gaining in popularity due to the superb flavor of its flat leaves. I have both in my garden, and I pot an extra curly-leaf plant to bring in for winter. Most seed catalogs carry both curly and flat-leaf parsley. This year I’m also growing ‘Giant Italian’. Although the name suggests a huge plant, it actually refers to the large leaves that reportedly have a stronger flavor than those of the regular Italian parsley.
Hot water helps parsley seeds to sprout
About the only aspect of growing parsley that can cause trouble is starting the seeds. Parsley has a reputation for being difficult to start, and many herb books include an adage about parsley going to the devil seven times before it sprouts. To help them along, I pour hot water over the seeds and let them soak for 24 to 36 hours. The water softens the tough seed coats to make germination easier. I start my seeds the first week of March, and it takes two or three weeks for them to germinate.
After they’ve soaked, I pour off the water and briefly drain the seeds on a paper towel to make them easier to handle. I fill 1½-in. plastic cell packs with a seed-starting mix, and while the seeds are still moist I spread five to 10 of them on the surface of each cell. Because it’s imperative that the soil remain moist, I loosely cover the planted seeds with a clear plastic bag, leaving the end open for air.
When the seeds have sprouted, I remove the plastic and put them under fluorescent lights. After the plants have sent up their first true leaves, I thin each cell to the strongest plant by snipping its cellmates with scissors. Snipping prevents soil and root disturbance that could result if I pulled out the other plants.
Parsley is not a fussy grower
My back porch is glassed in but unheated, so it’s a great place for hardening off the parsley seedlings. In the second or third week of April, when the plants are five to six weeks old, I give them increasing doses of bright sun and chilled air.
Then it’s out to the cold frame for a week or two until the weather is settled and it’s time to transplant. Parsley can take a bit of frost, but too much cold weather will convince this biennial that it is going through winter, and it will go to seed its first season.
When transplanting the seedlings into the garden, I’m careful not to disturb parsley’s vulnerable root system. I space the transplants 12 in. apart. In my present garden, my parsley gets all-day sun, but in past gardens, it has done just fine with some shade. To ensure a steady supply of flavorful leaves, I dig in rotted manure before transplanting, mulch with straw afterward, and fertilize with liquid fish emulsion several times during the growing season.
At the same time that I transplant parsley to the garden, I pot up a couple of plants of curly parsley to use indoors: one to grow on a sunny sill for fresh use, and one to give away. Because parsley can develop long roots, I find that potting up the plants when they’re young works better than digging up large plants in the fall and cramming them into a pot. An 8-in.-tall pot accommodates the root.
Like its brethren in the garden, potted parsley likes rich, moist soil. I use half garden soil and half starting mix, and fertilize with liquid fish emulsion. Potted parsley also seems to appreciate a little afternoon shade.
Parsley goes to seed its second year
All parsleys are biennials, forming a leafy plant their first growing season and sending up flower stalks their second. In my Zone 5 windy garden, my plants rarely survive the harsh winters. I have seen these pale yellow blossoms, similar to Queen Anne’s Lace, only a few times. Perhaps it’s time for me to try ‘Banquet’, a fine, curled variety recommended for overwintering.
Where winters are milder and parsley grows back early in the spring, fresh, albeit sparse, sprigs can be harvested. The plant’s main energy, however, will go to making seeds rather than leaves. Because it is the leaves that we’re after, it’s best to start anew each year with fresh plants.
If any of your plants make it through the winter and you’ve got the room and the inclination, allow your overwintered parsley to bloom. The flowers attract beneficial garden insects such as parasitoid wasps. A further bonus is collecting enough seeds for the next year’s crop.
A quick guide to growing parsley
• Soak parsley seeds in hot water for 24 to 36 hours.
• Start seeds in cell packs, five to 10 seeds per cell. Cover loosely with a clear plastic bag.
• With scissors, thin each cell to the strongest plant.
• Transplant when the plants are five to six weeks old.
• Plant 12 in. apart in the garden.
• Wait to harvest leaves until stalks are at least 6 in. long.
This article originally appeared in Kitchen Gardener #5.


Comments
Log in or create an account to post a comment.
Sign up Log in