

Seed-Starting Strategies
If you get the basics right, you can have your pick of healthy seedlings
After New Year’s revelry is over and winter’s moodiness sets in, spirits sometimes sag. But when those seed catalogs start pouring in, you know spring is on the way. When I receive catalogs in January, I spend hours reading about new and old varieties, taking notes, and making cuts like a judge in a beauty pageant. And beyond the vast selections from catalogs there are seeds shared by friends, relatives, and seed-saving organizations.
What’s the best reason for starting your own seeds? Selection! For example, a seed catalog specializing in tomatoes presents a particular challenge for the tomato lover by offering more than 200 varieties. This easily makes tomato seedling selections from any nursery seem like a limited menu indeed.
Another reason for starting seeds is that commercially produced seedlings are grown for many of the same reasons as commercial produce: ease of germination, quick growth, shipping quality, color, and shelf life. When I grow any vegetable, it’s for flavor, period. My favorite tomato is called ‘Carrot’, and even though it’s not a heavy producer, I’d trade a dozen ‘Better Boys’ for one ‘Carrot’ any day.
Plan to start your seeds indoors so they are at the proper stage of development to set out at the optimum time. For northern gardeners, this is crucial because the growing season is short and good timing increases your production.
For mild-weather gardeners like me, it can mean getting two or three crops (of corn, for instance) in a season by removing the remnants of a harvested crop and planting three-week-old seedlings in their place. Perfecting this technique requires good timing and seed selection, understanding your climate and soil, and some practice in starting seedlings.
Seed, container, starting mix—go!
Your first step is to acquire seeds. If you want to grow plants from your own seeds in the future, be sure to use parent seeds described as open pollinated or heirloom. Seeds from a hybrid, which is the result of crossing two plants, will not produce a plant identical to the hybrid.
Choose seeds of varieties that do well in your area. Ask friends, neighbors, and county extension agents. Buy some tried and true varieties and do some experimenting as well.
You’ll need containers that have drainage holes, and a tray or something to catch excess water. Old plastic plant six-packs or 4-in. containers will do. Styrofoam cups and plastic tubs are great for sharing seedlings with friends. You can make a long-lasting wooden 12-in. by 16-in. seedling box that fits well under standard grow-light tubes.

You can also buy a gadget that compresses soil into blocks or one that molds newspaper into little biodegradable pots. Peat pots tend to restrict the progress of the seedlings’ roots; peat pellets work a little better. Just be aware that organic pots dry quickly and need to be watched. My favorite tray is a foil baking dish with holes poked in the bottom, with another one it can slip into to catch excess water. Whatever you use, be sure it’s clean and sterilized. Wash recycled containers in a weak solution of laundry bleach to sterilize.
Once you have containers, you’ll need a starting mix. There are some great seed starting mixes on the market. Look around for one that fits your budget, or mix your own. A starting mix should be a lightweight medium that will stay moist without compacting. Standard ingredients for achieving this are vermiculite, perlite, peat moss, and sphagnum moss.
Stay away from unsterilized soil, compost, or worm castings until the seedlings are ready for transplanting. If the seedlings must remain in the container for a while, fertilize with a weak solution of fish emulsion or seaweed.
Using a soilless mix lessens the chance of a common seed starting disease called damping off, which rots stems and topples seedlings. The first step in prevention calls for cleaning containers and tools in hot, soapy water. A top layer of perlite will keep moisture away from emerging stems. Some gardeners advocate covering newly sown seeds with plastic to maintain moisture. If you try this method, be careful not to produce a jungle environment because too much moisture and warmth will promote fungal growth. If you spot any mold or fungus, uncover the seedlings immediately.
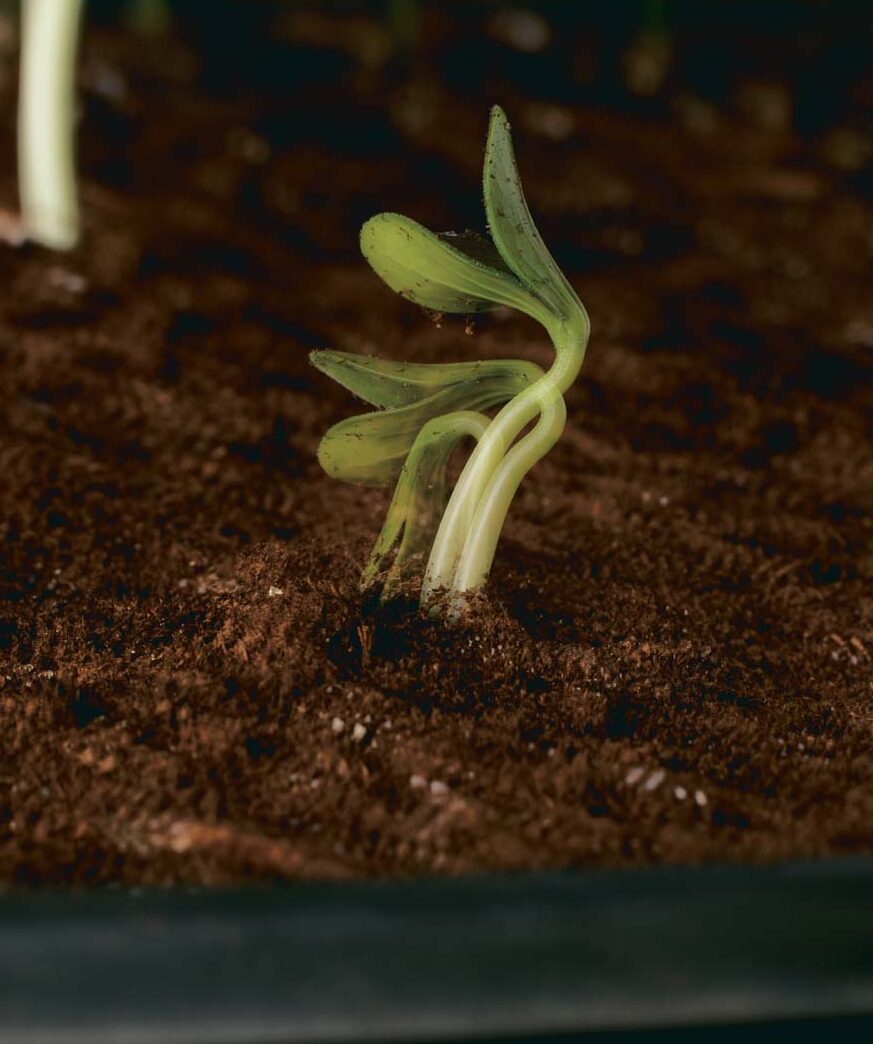
Successful sprouting
Fill your container with 3 in. to 4 in. of your starting mix, up to about ½ in. from the top. Moisten thoroughly with warm water; this eliminates the need for top watering immediately after sowing so the seeds won’t be displaced.
Next, take a look at the size of the seeds; this will dictate how deep and how far apart to plant the seeds. The three-seed rule applies whether starting seed in a pot or in the ground. Place three seeds in a line, the length of this line is how deep you should plant the seed. For example, plant peas about 1 in. deep; spinach seeds, ¼ in. deep.
Tiny seeds like lettuce and parsley should be broadcast (sprinkled) across the top of the soil or planting medium and then covered ever so lightly. When broadcasting, be sure not to sow too many seeds, or they will be difficult to separate later. The ideal distance between seeds provides enough space so the resulting seedlings and their roots do not touch or intertwine. Basically, the longer you plan to leave the seedlings in their first home, the farther apart the seeds should be sown.
Once you have planted seeds, you must keep the planting medium moist and warm. Place freshly planted containers on a heated seed-starting mat, or in a warm spot in the house. Any place the cat likes to hang out will be appropriate, or try the top of the dryer, near a heater, on the gas stove, or on a window sill. I leave my foil container on top of my gas stovetop, where the pan conducts heat from the pilot light.
Individual varieties have different temperature requirements for germination. Some seed packets will furnish this information, but you can figure most will germinate between 60° and 80°F. Seeds germinate at warmer temperatures than those needed by seedlings for growth, so after the sprouts have true leaves, you can move them to a cooler home. Some seeds need light to germinate, so check the packet for this information as well.
Remember that warmth can reduce moisture, so check the soil daily. Setting the container in direct sunlight will also dry out the potting medium. Letting the potting mix dry out or allowing the soil temperatures to fluctuate widely will reduce your germination rate. If you must water freshly planted seeds from the top, do so very gently; it’s preferable to water from the bottom.
Light is necessary once the seedlings emerge. When growing seedlings indoors you have two choices: natural or artificial light. Seedlings need a lot of light, and spindly growth will tell you if they’re not getting enough. Incandescent lights won’t do because they don’t provide the full spectrum of light that growing plants need. Grow lights or fluorescent lights are best. Place seedlings under them for 12 to 16 hours a day. Longer than that, and the plant won’t be able to go through the metabolic processes required for growth.
The key to using lights is positioning the plants at the right distance from the source—nearly touching when the plants are newly emerged, increasing up to 4 in. later. Plants in a sunny window can grow leggy reaching for the sun, so rotate them a quarter turn each day to keep them straight.
Seedlings need room to develop healthy roots and stems. Overcrowding will diminish air circulation and light. Even with the best effort at careful spacing during planting, you may have to pinch out some seedlings. Pinch or use small scissors to nip plants at the soil line; this makes for less root disturbance to remaining seedlings.
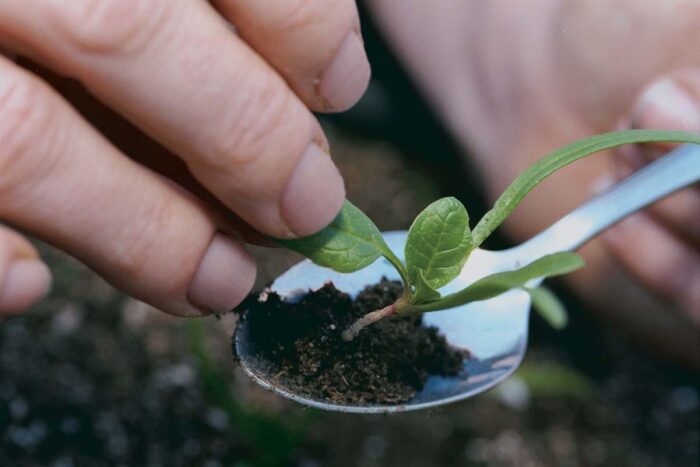
If seedlings appear overcrowded and it’s not yet time to plant them out, transplant them to larger accommodations. Transplant gently, holding the plant by a leaf to prevent damaging the stems.
 |

Transplant seedlings after they have at least one set of true leaves. Grasp the seedling by a leaf rather than by its stem to avoid damaging the stem.
Harden off seedlings. The timetable for hardening off plants depends on outdoor temperatures (and on your careful calculation of the lead time required by each plant). Your seedlings should be ready once they have two or three leaves beyond the seed leaves. Gradually introduce tender plants to the garden. Place them in a cold frame or in dappled shade for about five days, and then move them into a sunny location for another five days before transplanting them into their new home.
Lastly, keep records, or at least label seedlings properly. If you have the tenacity to keep a record book, you will learn quickly from both your successes and errors. If keeping a record book is not for you, then use small plastic or wooden stakes and write on them with a permanent marker. You can also write on the outside of plastic pots with gold or silver markers. I like to use wooden stakes and write the variety on one side and the date I started the seedlings on the other. I transplant the stakes along with the seedlings. This is also a simple way to keep track of how many days a plant takes from sowing to harvesting. There is something quite magical about looking at the planting date on a stake when you’ve harvested a head of cauliflower, and remembering when it was just a tiny seed. Or just a description in a catalog.
When to start your seedlings
Resist that urge to start everything in January just so you can see something young and green. If you start seed too soon, the plant may languish inside, waiting for settled weather. Check your last date of frost and group your seeds according to starting date. Label your varieties and their starting dates. And remember that some seeds take longer to germinate than others. Here’s a rough estimate of the lead time for popular seeds:
Onions: 8 to 12 weeks before the set out date of 4 to 6 weeks before last frost.
Lettuce: 5 to 6 weeks before the safe planting-out date, which is 4 to 5 weeks before the last frost.
Cabbage, broccoli, collards: 5 to 6 weeks before planting out.
Peppers: 8 to 12 weeks before the last frost.
Eggplant and tomatoes: 6 to 8 weeks before the last frost.
Cucumbers and melons: 2 to 4 weeks before the last frost.
Wait until the weather is warm and settled to plant out your peppers, eggplant, tomatoes, cucumbers, and melons.
Seed-starting equipment
If your local garden center doesn’t have what you need, try these mail-order sources.
W. Atlee Burpee & Co.
300 Park Avenue
Warminster, PA 18974
800-333-5808
www.burpee.com
Gardener’s Supply Company
128 Intervale Rd.
Burlington, VT 05401
800-876-5520
www.gardeners.com
This article first appeared in Kitchen Gardener #13.


Comments
I find it helpful to consult a frost date calculator like: https://soilcalculator.com/gardening/frost-date
It uses 30 years of historical weather data from the National Centers for Environmental Information to show the chance of frost on differentdates.
Log in or create an account to post a comment.
Sign up Log in