

-
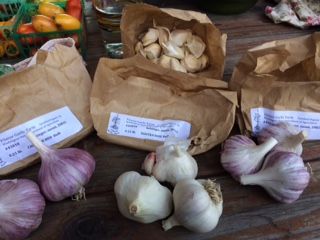
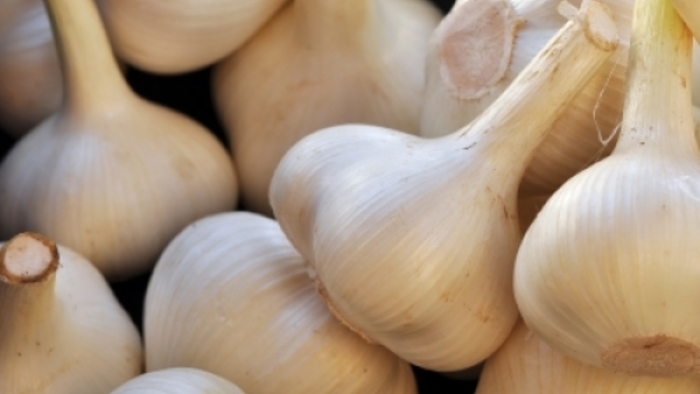
This year's choices for planting garlic: Chesnok Red, Inchelium Red (I have a fondness for the purple striped and marbled purple hardnecks), Metechi, and Nootka Rose. Click on pix to enlarge and read captions.Photo/Illustration: Susan Belsinger
-
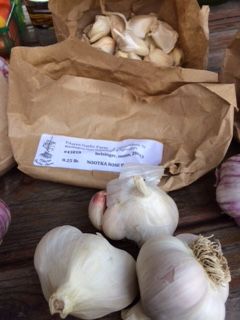
'Nootka Rose' is a softneck garlic, that makes beautiful braids and is strong in flavor.Photo/Illustration: Susan Belsinger
-
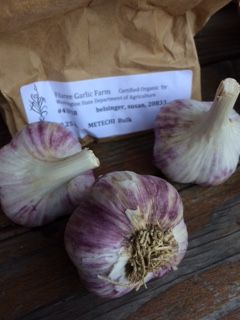
'Metechi' is a marbled purple stripe, hardneck garlic; it produces large bulbs that store well.Photo/Illustration: Susan Belsinger
-
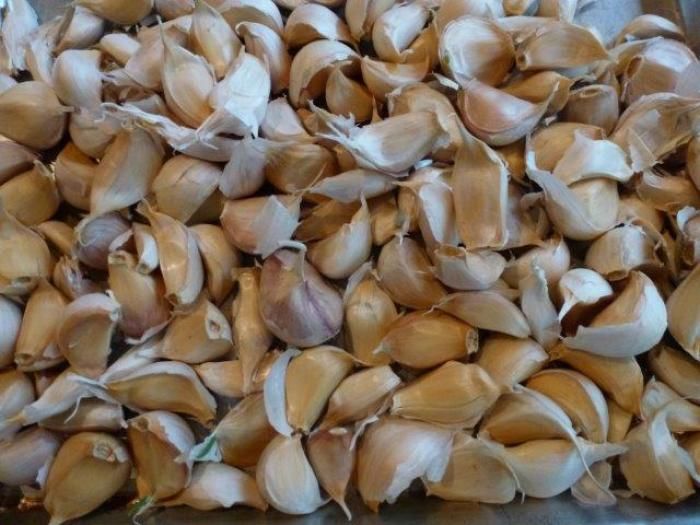
Bulbs are broken into cloves and ready to be planted.Photo/Illustration: Susan Belsinger
-
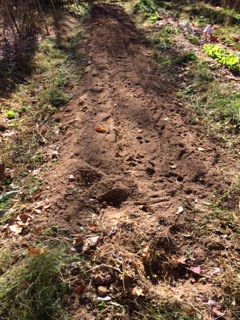
Amended and tilled soil ready for garlic.Photo/Illustration: Susan Belsinger
-
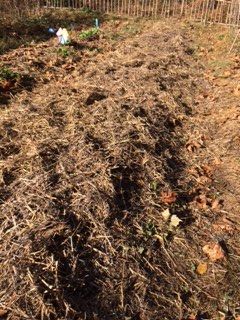
Garlic bed covered with loosely shaken wheatstraw mulch.Photo/Illustration: Susan Belsinger
It’s that time of year again… as the leaves begin to fall, it is time to think about getting your garlic bed ready to plant. It is so worthwhile to grow your own because there is such a vast array of types to choose from, which you just cannot get at the grocery store. I personally prefer hardnecks (A. sativum L. var. ophioscorodon) over softnecks (A. sativum L. var. sativum) , although I always grow some of each for their flavor and for storage. Softnecks tend to store longer than the hardnecks do (although I’m still eating hardneck bulbs that I harvested in July and it is now mid-November).
Ready your bed by adding amendments to the soil and tilling or digging them in. Garlic needs loamy soil with good drainage and full sun. Compost and aged manure will make the soil more friable allowing the roots to grow faster and penetrate deeply so that they can absorb nutrients. It will also help them to retain moisture. I also add organic fetilizer for nutrients as well, and minerals like rock phosphate (helps produce bigger bulbs), greensand and potash (for drainage). Remember to rotate your crops, so don’t plant garlic where you had last season’s crop.
I order my garlic from online sources; you can grow garlic that you buy from the grocery, however it is often sprayed with a growth inhibitor to keep it from sprouting under the supermarket lights, so it is iffy. Better to get bulbs from the local farmers’ market or organic, untreated garlic from the healthfood store if you want some rightaway, which I have done with some success. Although, using garlic from a grower will provide you with the best quality and biggest selection of bulbs. It is good to purchase garlic from a similar locale as to where you live, since the garlic will be better acclimated to your climate. (ie: If you live in the southern states, order from a grower in the South, if you live in the North, order from growers in New York or Washington state.)
Here are a few growers that I have used:
Filaree Garlic Farm https://www.filareefarm.com/
Gourmet Garlic Gardens www.gourmetgarlicgardens.com/
Grow Organic (Peaceful Valley) https://www.groworganic.com/
Territorial Seed Company www.territorialseed.com
For great garlic info and an informative newsletter, check out Garlic Seed Foundation at https://www.garlicseedfoundation.info/
Once the bulbs arrive, open the box and keep in a cool place–I leave mine on the backporch where they will acclimate to outdoor temperatures. When ready to plant the cloves, I peel away the outer papery skins. Then I carefully separate the cloves from the bulb. Take care not to break off the root or bruise the cloves while breaking them apart. I keep the different varieties separate and label them in the rows so that I can keep track of which ones I like the best or may or may not want to plant again.
I make shallow rows with my hoe about 1 1/2 to 2-inches deep in the prepared bed. I push the individual cloves, root-end down and pointed end up, snuggly into the row about every 6 to 8-inches apart. Then I fill in the row with the soil so that they are planted about 2 inches deep.
At this point you can go ahead and spread wheatstraw mulch, or you can wait until they sprout. I usually go ahead and spread the mulch after planting since it keeps the earth protected from erosion if it rains.
Now I can look forward to green sprouts before the cold weather sets in and dream of savoring spring green garlic, early summer scapes and firm fat bulbs to harvest in late June or early July.


Comments
Log in or create an account to post a comment.
Sign up Log in