

Tools for Working the Soil
Forget the rototiller—try these five tried-and-true hand tools for preparing seedbeds and moving dirt around
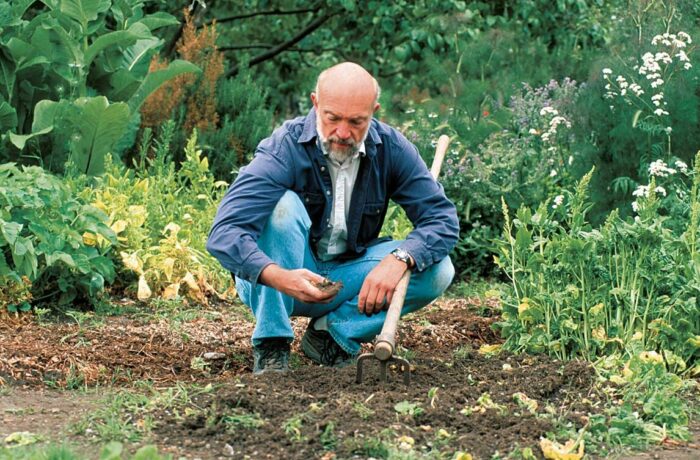
I’ve seen them shining and bright at the garden center, looking like the starting line at the Indianapolis 500. I’ve seen them silently motoring through someone’s televised garden, leaving a wake of perfectly pulverized soil. It seems that when the time comes to prepare the soil for planting, some gardeners reach for a rototiller. I’m not one of them.
Learn more: Things that Live in the Soil (and How to Care for Them)
After all, this is soil we’re talking about—the source and destiny of all terrestrial life. We should treat it with respect. I think of my garden soil as a miniature national wilderness area: no machinery allowed. Instead, I tend it with tried-and-true tools that keep me focused on the work at hand, allow me to get the job done efficiently with as little back strain as possible, and don’t frighten the birds.
Since tools are extensions of the hand, I look for simple and strong tools that keep me in touch with the ground I’m working. There are several digging tools I’ve lived with for a long time, tools I’ve learned I can trust with the heaviest work or the most delicate. No fumes, no noise, no dust—just wood, steel, and earth.
To prepare the soil for planting, I follow a sequence that involves spading the edges of the bed, using a garden fork and cultivator to loosen the surface soil, using the garden fork again or a deep spading fork to loosen the subsoil, mixing amendments into the bed with the fork, then finishing the bed by shaping and grading with a level-head rake. These tools, applied in this order, will usually persuade the soil to produce a garden.
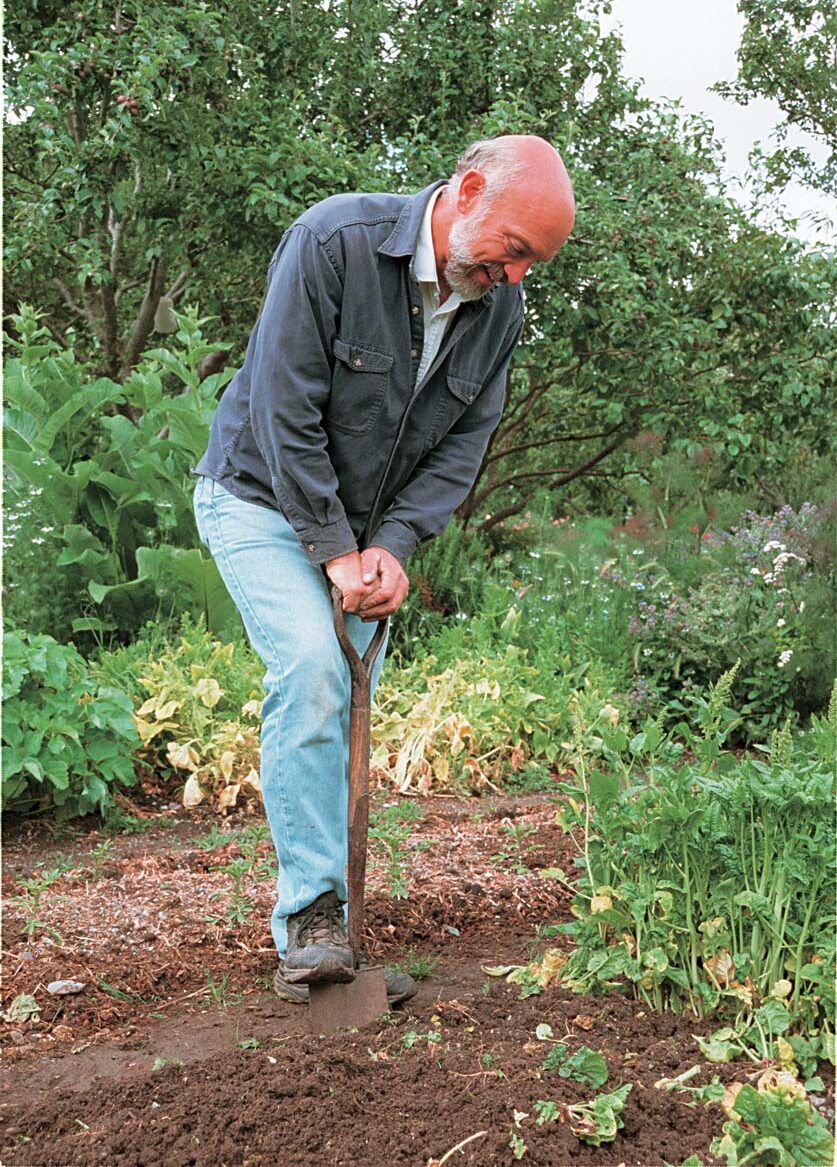
D-handle garden spade cuts a crisp bed
When I began to garden seriously, I felt the need to double dig. That’s the technique in which you remove the top 12 inches of soil with a spade and loosen the subsoil with a fork. In clay soil this can be hard work. I went out and bought an English gardening spade with an ash handle and a forged-steel blade. The shaft is short, about 36 inches, and ends with a handle shaped something like a “D.” The D-shape allows you to push and pull the tool with the least amount of strain to your wrist. The short shaft allows you to put your weight on top of the tool for leverage. And the 11-inch hardened steel blade cuts through the soil easily and holds up to any amount of leveraging. In double digging, you use the spade to cut a chunk of soil and lift it carefully onto your loosened subsoil, setting it down like a piece of cake. The flat blade allows you to dig to a uniform depth.
My soil has been worked for so many years that I rarely double dig anymore, though I still use the spade to define the edges of the beds. Because its blade is straight rather than curved like a pointed shovel, a spade can make neat corners and even vertical sides. I also find it useful when transplanting young trees and shrubs. Its long blade gets under the roots and allows me to lift a rootball. It’s equally useful for dividing clumping perennials.
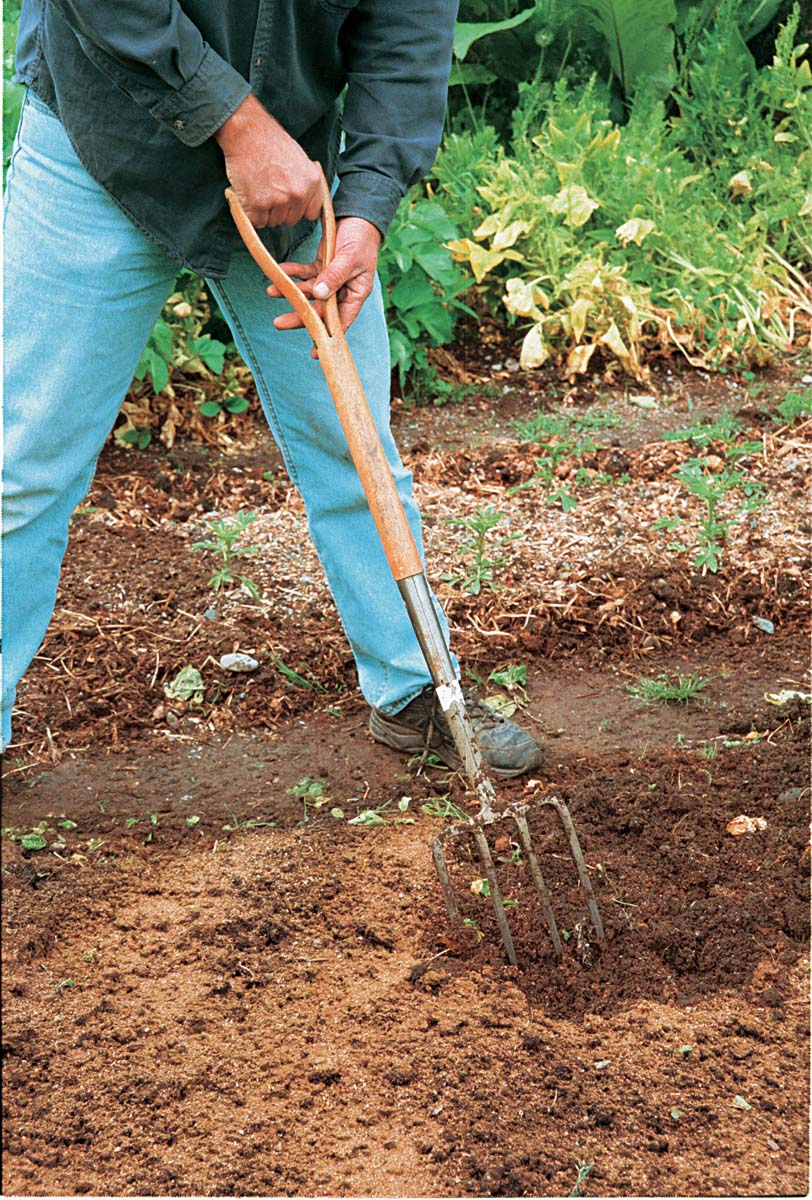
D-handle garden fork does it all
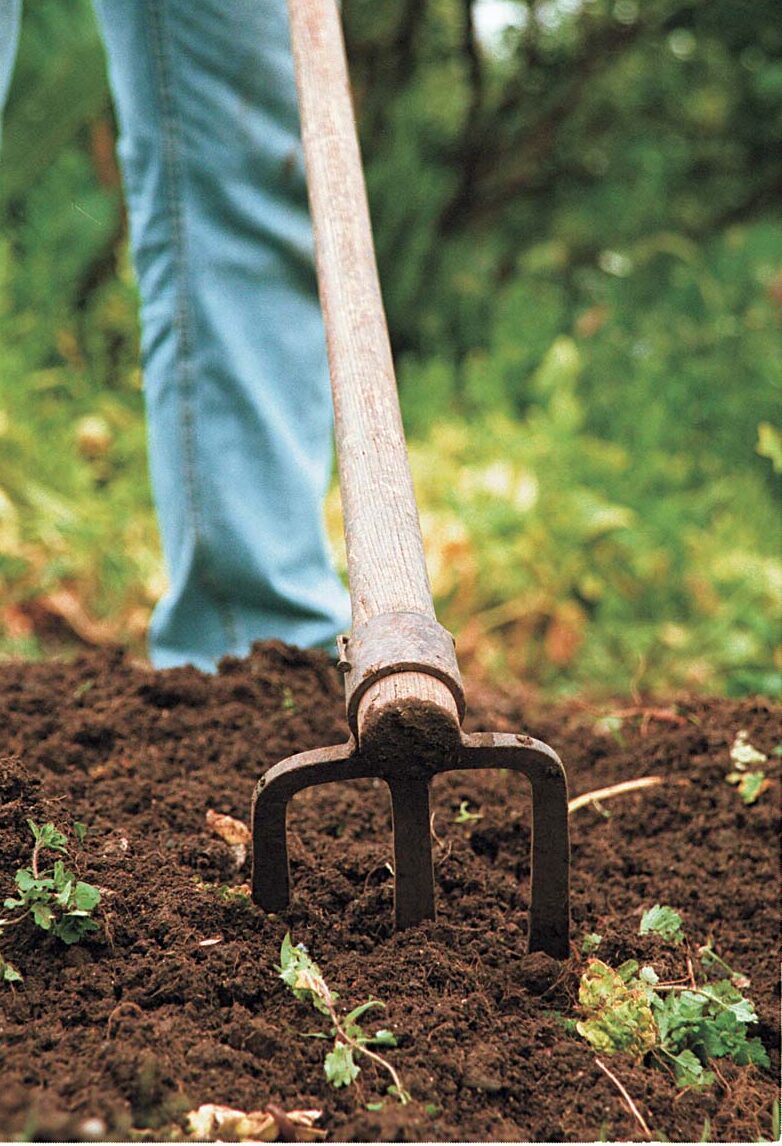
This tool is my right hand. I never leave the garden shed without it. Built like the D-handle spade with its short ash handle, the fork features a forged steel head with four 11-inch tines. Legendary gardener Alan Chadwick is said to have carried a smaller version, called a tilthing fork, as he leapt about the garden testing the friability of each bed. I use my garden fork for many jobs: to loosen, cultivate, and aerate the soil; to mix soil amendments into the surface of a bed; to break up large clumps of soil; to prepare planting holes for perennials; to lift refuse out of the wheelbarrow onto the compost heap; to aerate compost; and to dig potatoes. My garden has wide beds but narrow paths. The short D-handle allows me to twist and lever the fork in tight spaces.
After edging a bed with the spade, I use the fork and a cultivator to break up the soil in the bed. If the soil is friable, the fork is sufficient to work it into plantable shape. (If it’s tough, I use the cultivator first.) The fork comes in especially handy to loosen, but not turn over, the subsoil. I work the fork into the soil as deep as it will go, using a back-and-forth motion, then pull back on the handle to pry and loosen the deeper soil. This allows me to improve drainage and give future roots some breathing room. I’m careful not to try this around irrigation lines. The garden fork works like a water witch; I’ve located and perforated far too many irrigation lines this way.
Garden forks are available in various lengths to match the stature of the gardener and are made of various materials to suit the pocketbook. I prefer the look and feel of wood and the rustic forged-steel blades. Beware of garden center versions with rolled steel tines, which won’t hold up well in tough soil.
Cultivating fork chops out weeds
Built like a large hoe with flat tines instead of a single blade, the cultivating fork works like a muscle-powered rototiller. With this tool in hand, I can quickly plow through the soil, dislodging weeds, breaking up compacted surface soil, loosening, mixing, and generally getting a bed ready for planting. One common variation has three pointed tines, a good design for breaking up tough soil. My favorite, though, and the one I use almost daily, has three flat, 7-inch, chisel-like forged-steel tines with which I can either chop or chip away at the soil.
When I tackle a weedy, neglected bed, I use the cultivator first. After I work my way through the bed, I can simply rake out the weeds. Then another pass with the cultivator prepares the bed for amendments or for deeper cultivation with either the garden fork or the deep spader. When I’m adding manure or compost to the bed, I use the cultivator to chop and mix.
My Italian grandfather, who grew up in the foothills of California’s gold country, once told me that all the Italian market gardeners used a tool just like this cultivator. When I work with it, I feel as if I’m holding a piece of history in my hands.
I bought my cultivator some 12 years ago from Smith & Hawken, although they no longer carry it. Hida Tools (800-443-5512) sells a similar tool with a shorter handle called a farmer’s rake. Other three-pronged cultivators exist, some with curved tines, others with straight, rolled-steel tines. These are useful in loose, well-cultivated soil but are not nearly strong enough to break up new soil.
After a dozen years of almost daily use, my cultivator is beginning to wear down. The chiseled edges are rounded and smooth. Bent nails are holding the head on. My gardening has become so integrated with this one tool that I can hardly imagine working the soil without it. If it ever wears out, I may have to retire.
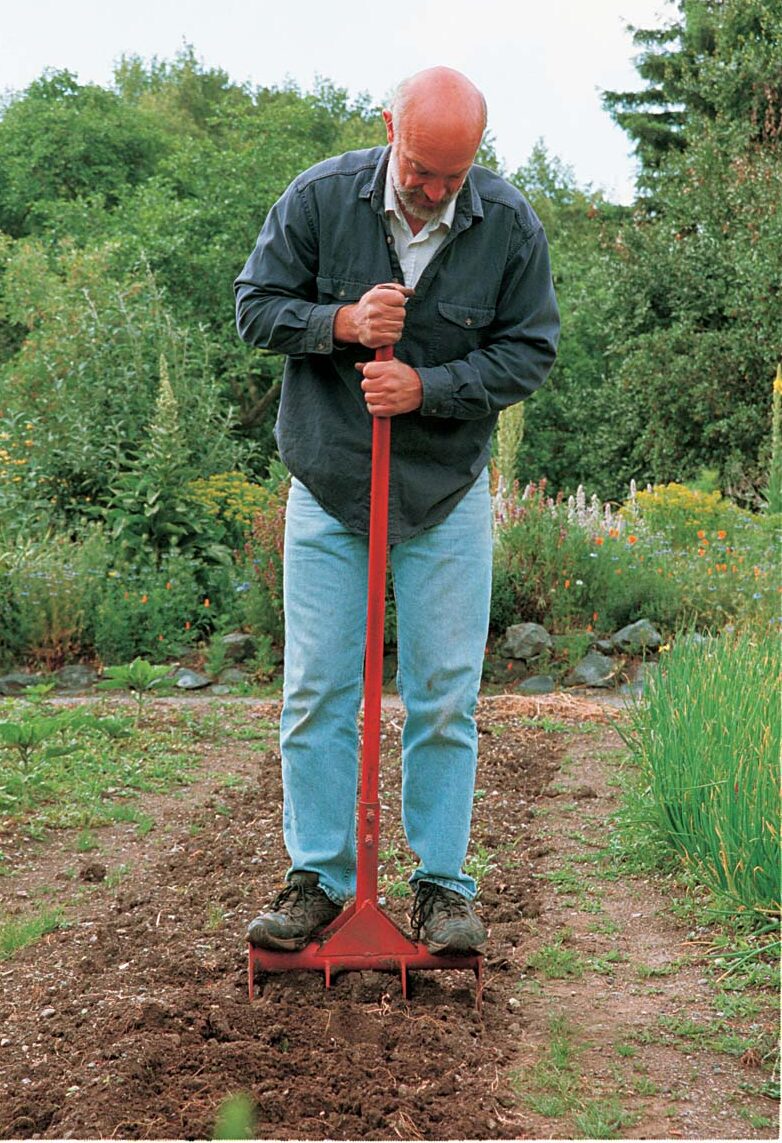
Deep spader loosens tough soil
When I need to loosen the soil deeply—deeper than I can go with the garden fork—for planting tomatoes or potatoes or any other deep-rooted summer vegetables, I grab my deep spader. The word “grab” doesn’t quite convey the heavy lifting required to use this thing—it weighs in at about 25 pounds—but for serious, large-scale gardening, you can’t beat it for breaking up the subsoil.
Shaped like a large fork with a handle made of 1-inch pipe, a tubular crossbar, and four 16-inch-long pointed triangular blades, the deep spader is built to penetrate tough soil easily, even if it hasn’t been deeply cultivated before. You get the benefits of double digging without the backaches.
To use the deep spader, carry (or drag) it to the bed you want to work and heave the tines into the soil. Hold onto the handle, and stand on the bar to which the tines are attached as if you were getting on a pogo stick. As you rock the tool back and forth and side to side, the tines will sink into the earth. When they won’t go any deeper, step off backward and pull the handle toward you. As you pull, the spader will break up the subsoil without exposing it to too much light and air. Lift the giant fork out of the ground and repeat as many times as necessary. I can spade a 100-square-foot bed in about 20 minutes. It’s a workout, but the deep cultivation is worth the effort.
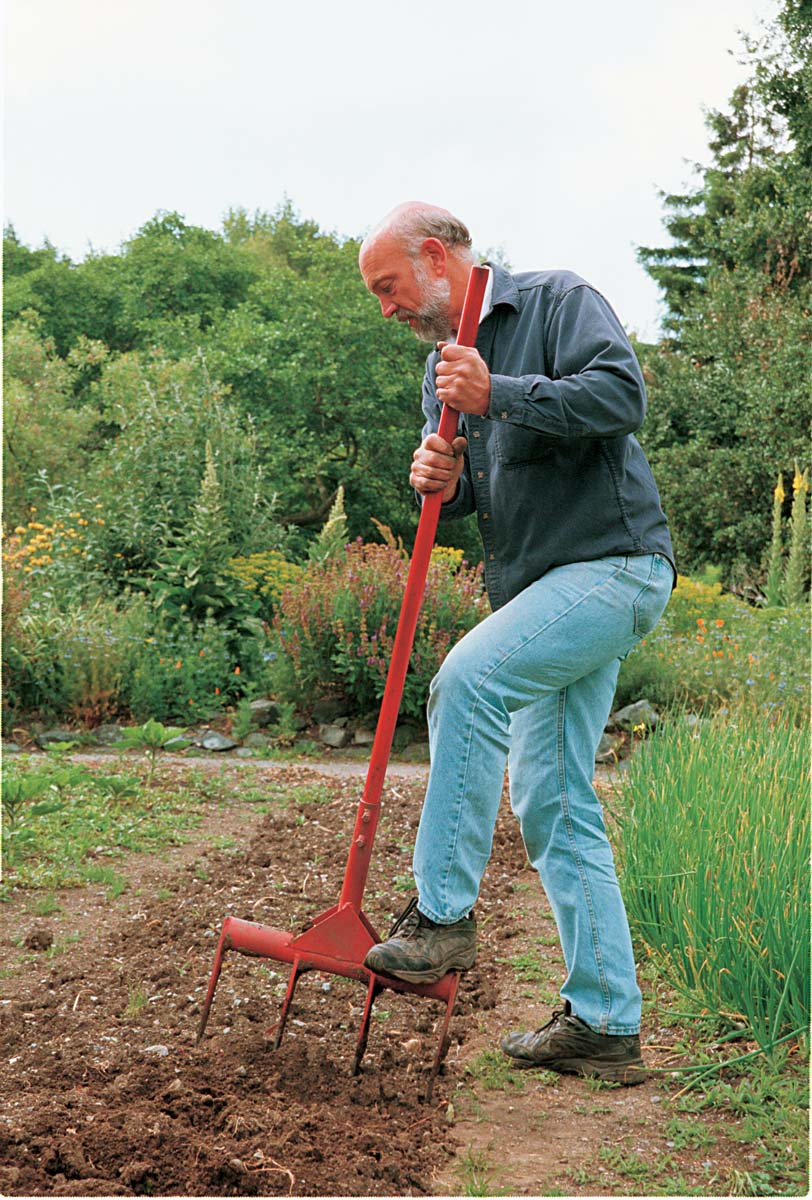
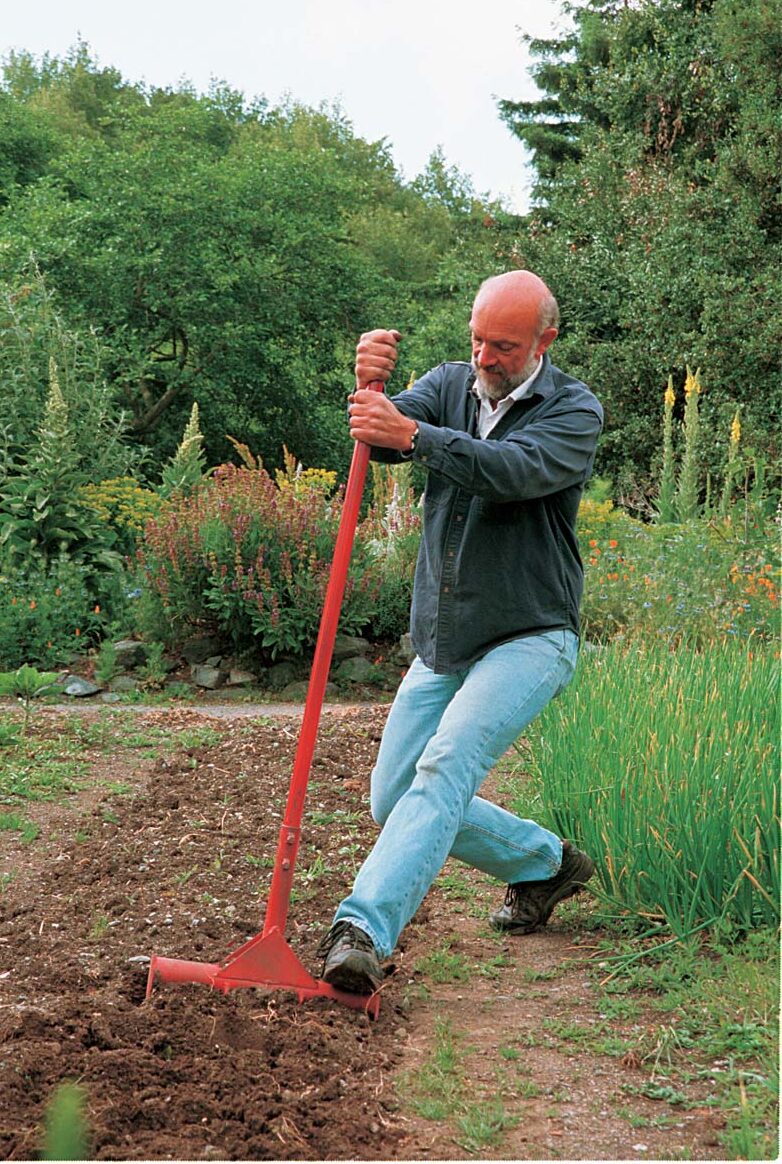
The labors of Hercules might have been easier with this heroic fork. To loosen the soil deeply, thrust it into the ground, stand on the crossbar, then step off backward and pull the handle toward you, really putting your weight into it. If you can pick up the deep spader and hurl it, you’re a god.
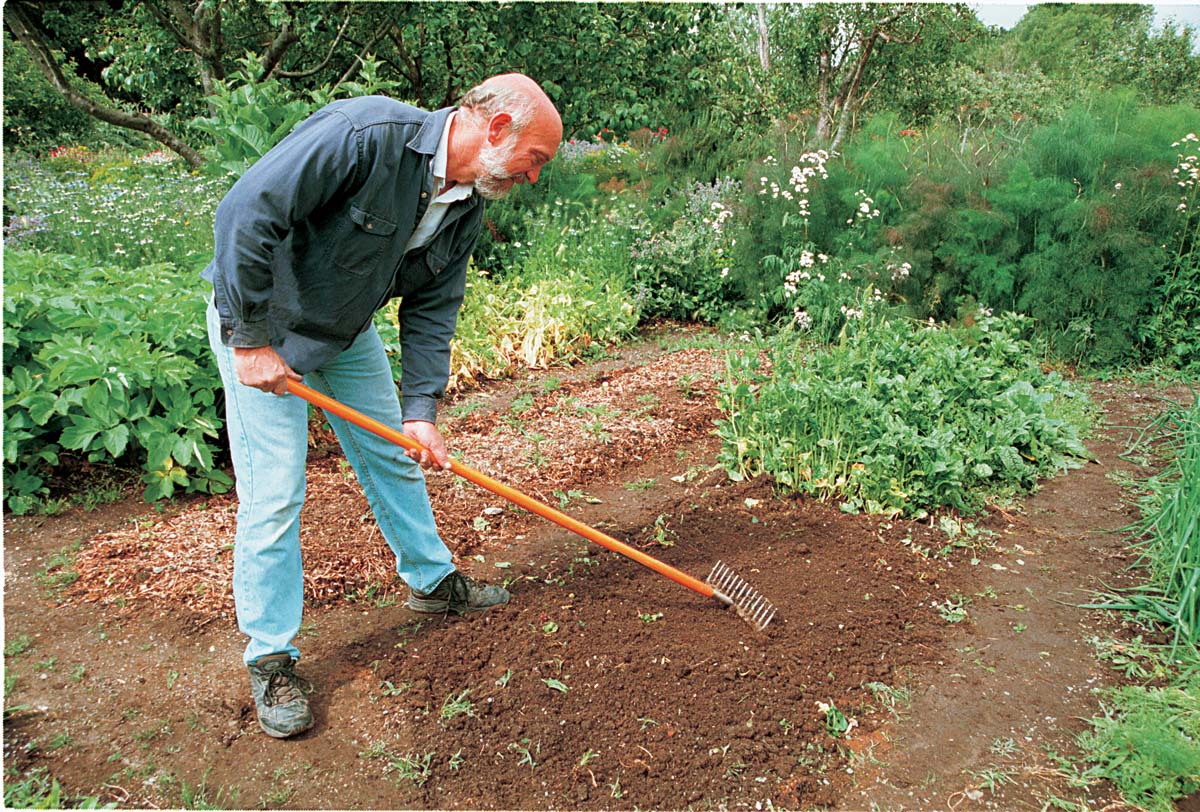
Level-head rake tidies up
When a bed has been shaped, dug, and cultivated, I use a level-head rake to finish it, to give it a final shape, to smooth its surface, and to pulverize or rake away any large dirt clods. This gives me a fine surface for broadcasting seeds or transplanting.
I use the rake once again after broadcasting to lightly chop the seeds into the soil. I can do this only with small seeds such as carrots and beets. Bean and corn seeds seem to slip past the teeth.
I like the feel of a level-head rake better than that of a bow rake. A bow rake seems to flex when you’re breaking up soil. A strongly attached level-head rake transfers more force to the ground. And I use the back of the rake to smooth surfaces and make hills and raised beds. I also use the back to clean paths between beds. A level-head rake also does an excellent job of mixing soil amendments into the top few inches of the soil.
This article first appeared in Kitchen Gardener Issue #23


Comments
Log in or create an account to post a comment.
Sign up Log in