

The Best Fruits to Grow in Containers
Not enough space for a backyard orchard? Try these space-conscious plants instead
Unlike many other edibles, fruit trees and shrubs can take up a lot of space when grown in the ground. An average semi-dwarf apple tree, for example, takes up anywhere from 15 to 30 feet in all directions. If you want to enjoy delicious, organically grown fruit but don’t have a lot of space, growing certain dwarf varieties in pots is the solution.
Many fruit varieties have cultivars (or can be grafted on dwarf rootstocks) that are well-suited to spending their whole lives in containers. Container growing is great for people who don’t have land to plant into the ground, their soil is terrible, or they are planning on moving in the future and want to take their small orchard with them. It also allows you to grow plants that would not otherwise thrive in your location because you can move them to take advantage of microclimates or protect the plants from weather extremes. The following fruit options are some of our favorites to grow in pots due to their outstanding flavor, ease of care, and ability to produce viable fruit quickly.
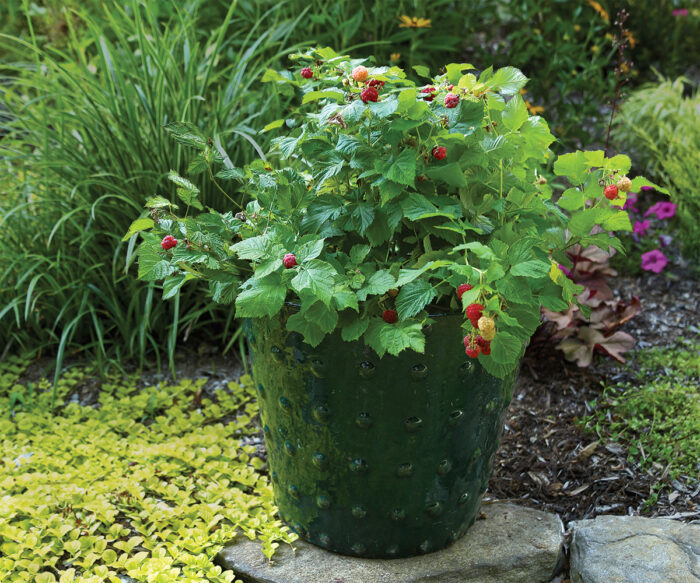
Dwarf thornless raspberries offer full-size fruit

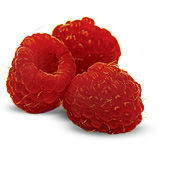
There are a few dwarf varieties out there, but Raspberry Shortcake™ is the best. It may be a dwarf plant, but the berries are big, numerous, and flavorful. This shrub makes a beautiful dense shape with lots of green thornless foliage and dots of pretty red fruit. It spreads lushly to fill any size pot, no matter what the shape. This specific cultivar fruits on second-year canes. Following harvest, clip off the spent, old-looking canes at their base. This leaves room for the new green, first-year canes to continue growing. Next year, those first-year canes will produce fruit.
Zones: 5–9
Pot size for mature plant: 10 to 15 gallon or smaller
Mature plant size: 2 to 3 feet tall and wide
Light conditions: Full sun
Gooseberries are tart and sweet

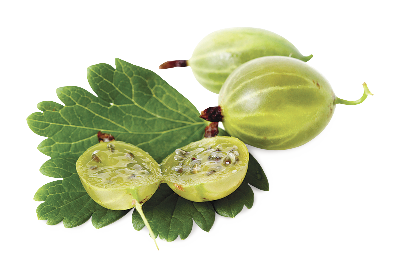
The most flavorful European gooseberry cultivars have tart skins but sweet, delicious flesh. There are options that require cross-pollination to produce fruit, but we prefer self-fertile varieties like ‘Invicta’ and ‘Black Velvet’ from England and ‘Hinnomaki Red’ and ‘Hinnomaki Yellow’ (pictured) from Finland. All are excellently flavored, heavy-yielding, and mildew-resistant cultivars. Gooseberries produce fruit on 2- to 3-year-old wood, so they need to be pruned every couple of years to remove older branches and to allow new, fruiting branches to form. These shrubs are defoliated by the imported currant worm, which can be treated with organic controls such as pyrethin, rotenone, or bioneem.
Zones: 5–9
Pot size for mature plant: 10 to 20 gallon
Mature plant size: 3 to 4 feet tall and wide
Light conditions: Full sun to partial shade
Olives are always gorgeous, regardless of the season

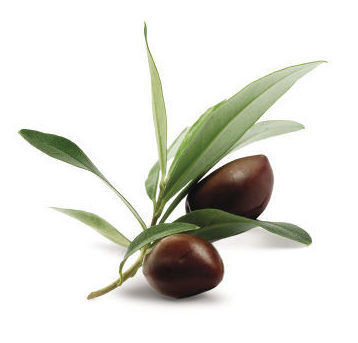
Olive trees ripen best in relatively dry climates with hot summers and moderate winters. However, an olive tree also grows easily in a pot indoors or out. Full sun and a warm spot will increase the chances of ripening a crop in marginal areas. While many cultivars need a pollinator, ‘Arbequina’ is self-fertile and makes an excellent table olive or aromatic oil.
Although when grown in the ground the tree can tolerate a temperature of 18°F or slightly below, to keep the evergreen foliage from dropping in winter and to protect the roots, avoid prolonged exposure to temperatures below 28°F. Pruning back the central leader will encourage side branches and make a more fully shaped tree. In cooler summer areas, the fruit that does not ripen in fall will ripen the following spring, if the birds don’t get it first.
Zones: 8–10
Pot size for mature plant: 20 gallon
Mature plant size: 6 feet tall and 4 feet wide
Light conditions: Full sun
Dwarf cherries make it easier to harvest
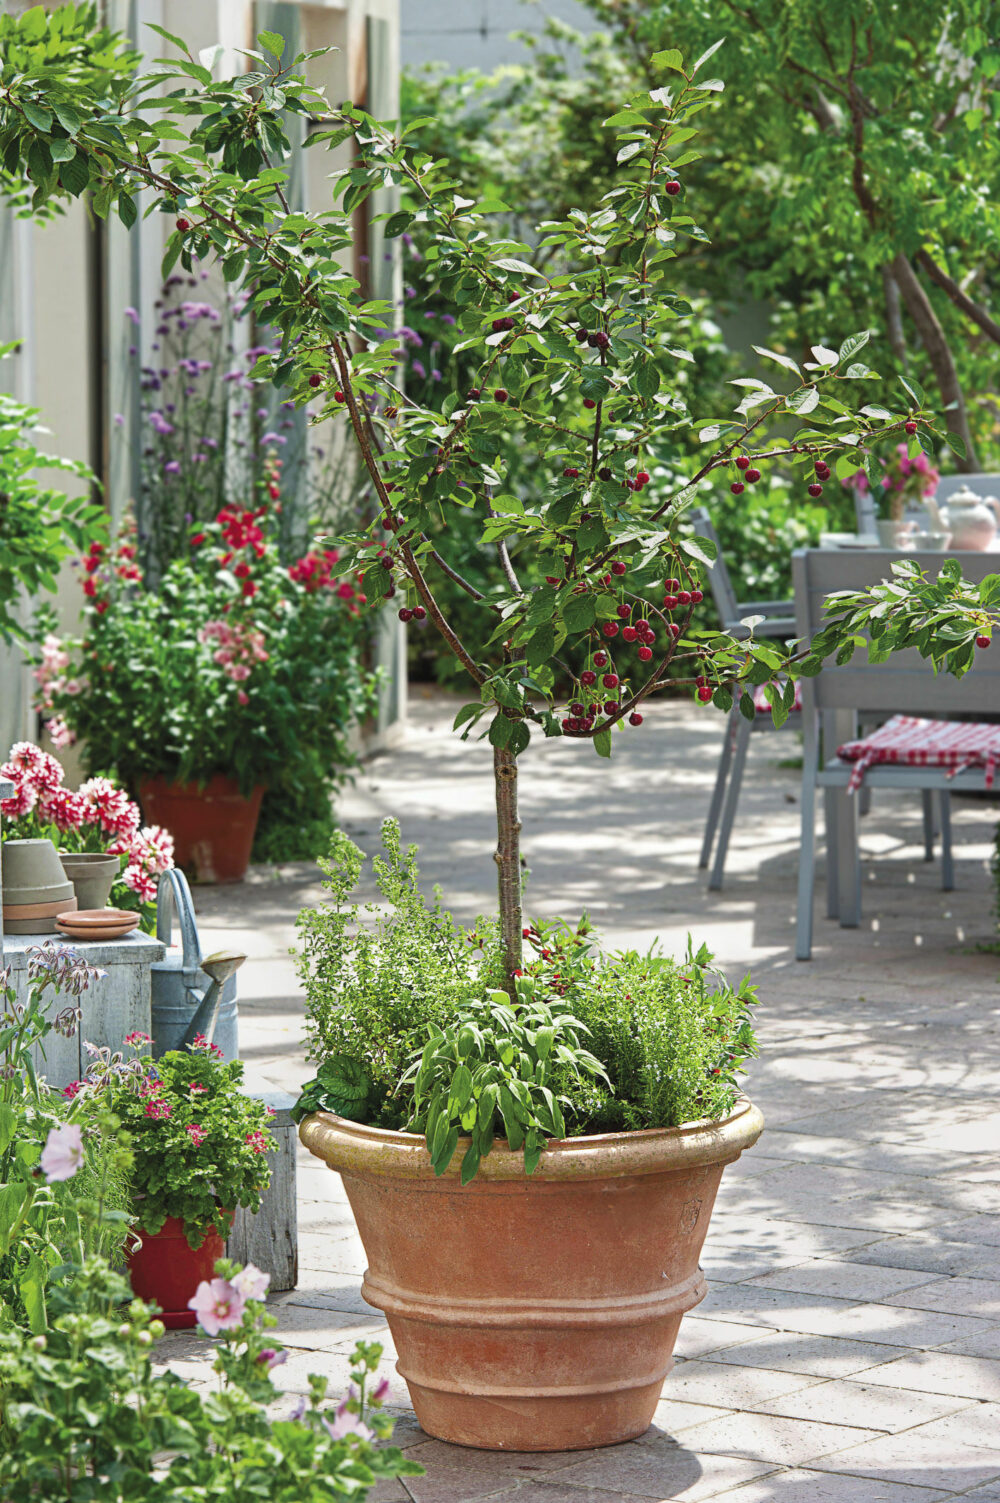
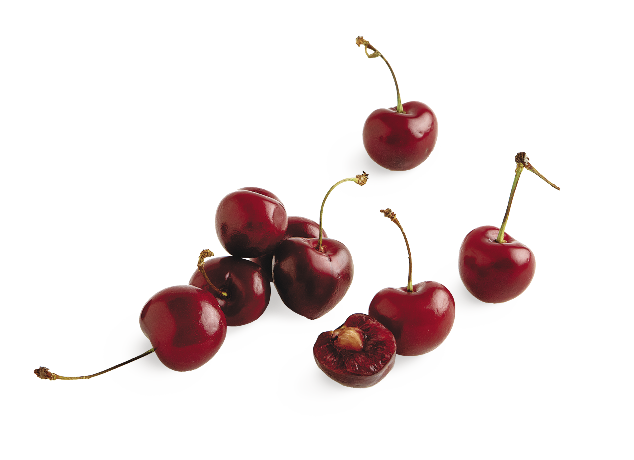
Cherries usually grow on trees that are at least 25 feet tall. You would have to risk your life to reach the limbs with fruit—if the birds didn’t eat all the cherries first. With the new Gisela 3 cherry rootstock, dwarf, fruiting cherry trees are now a reality. There is a variety of cultivars available on this rootstock, but some of our self-fertile favorites are ‘Lapins’, ‘Black Gold’, and ‘White Gold’. Tart cherries also are self-fertile, and the cultivar ‘Surefire’ (pictured) is reliable, tasty, and very productive. Since most cherry trees are purchased as whips (or are only lightly branched), cut the leader back to 2 feet or so to encourage branching. These cherries also train well as a fan-shaped espalier.
Zones: 4–9
Pot size for mature plant: 30 gallon
Mature plant size: 6 to 8 feet tall and wide
Light conditions: Full sun
Dwarf nectarines and peaches are generally self-fertile
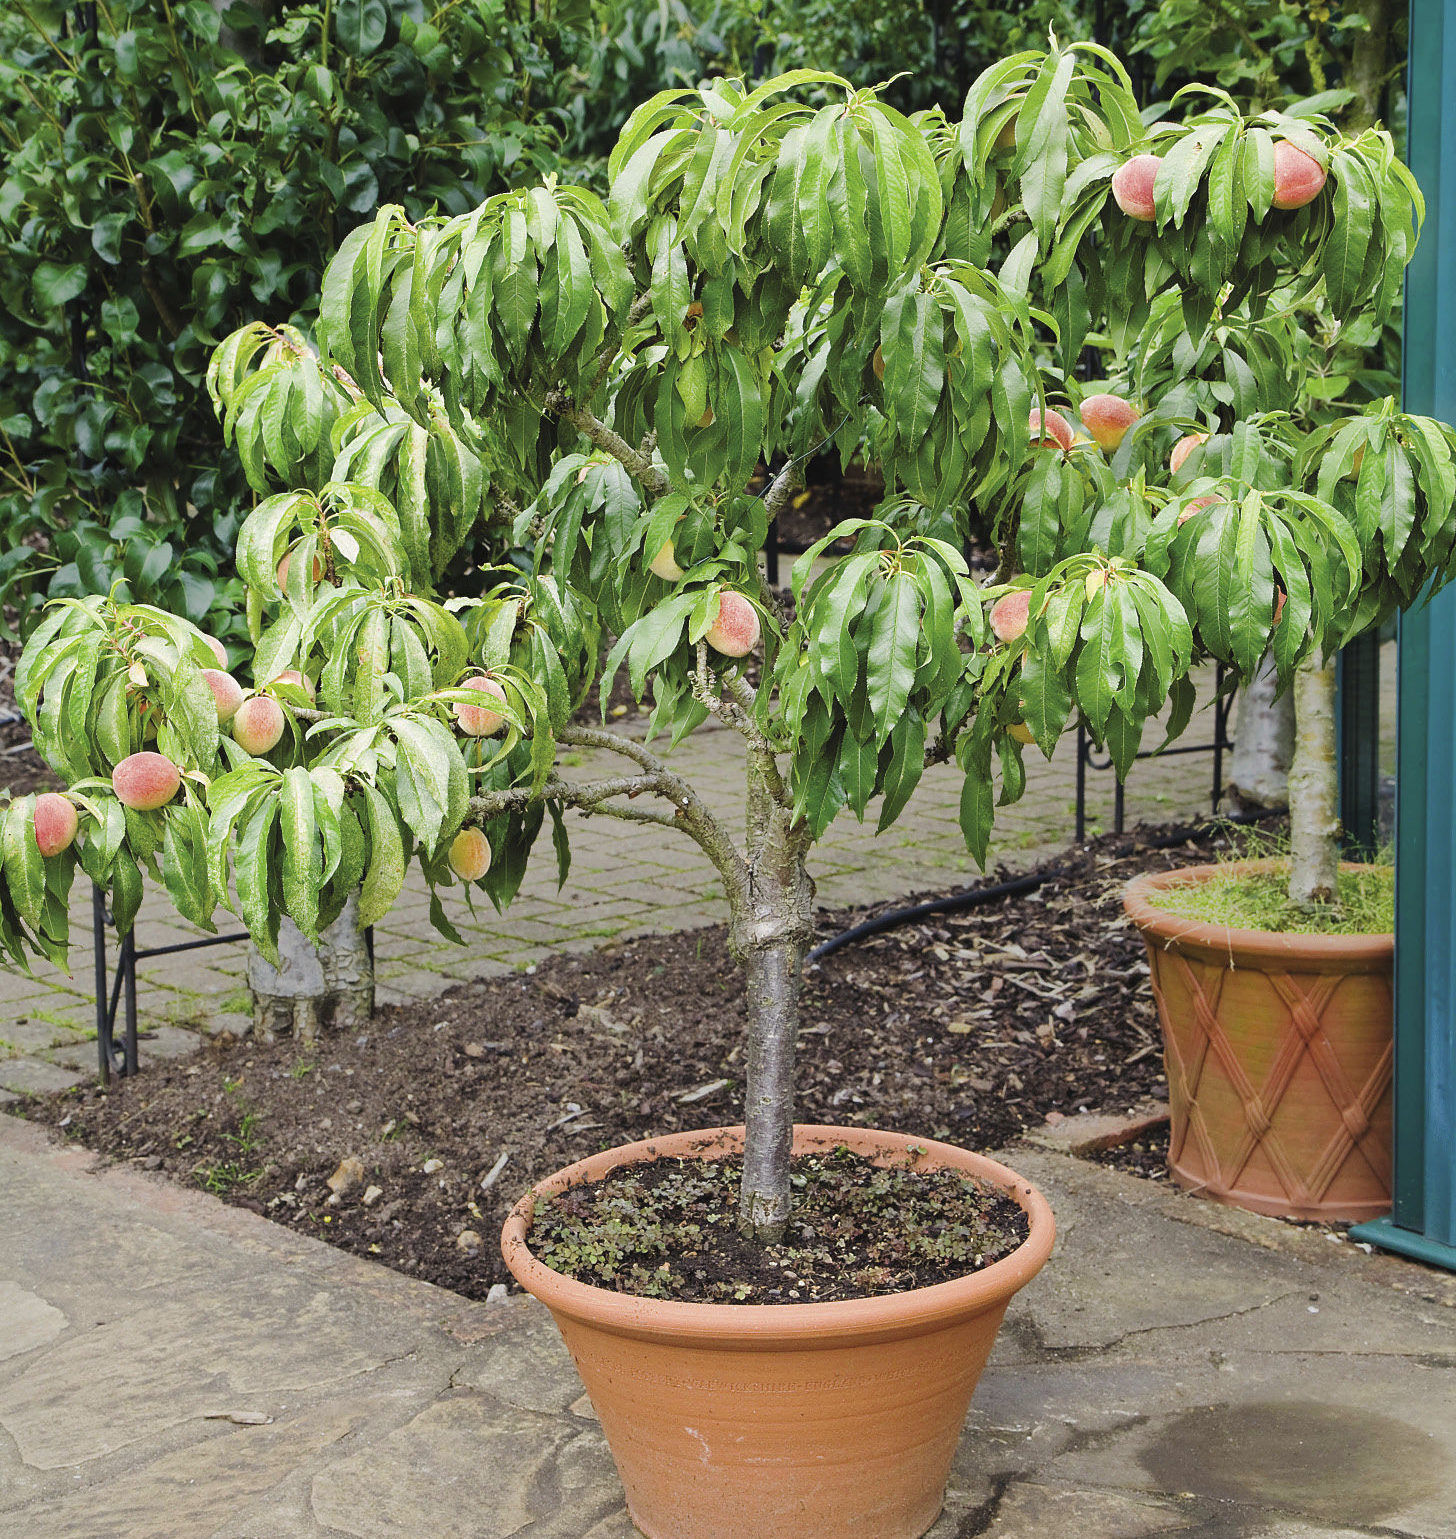
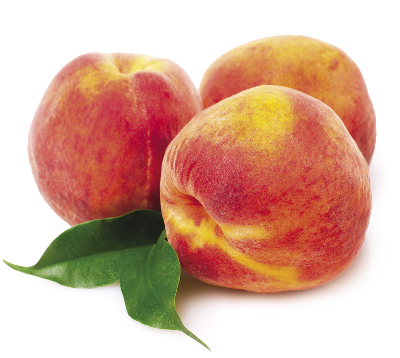
Genetic dwarf varieties like ‘Eldorado’ and ‘Empress’ peach (pictured) and the ‘Nectazee’ nectarine stay extremely compact because they have short internodes, which means their buds grow very close together. Most varieties also are self-fertile. Although peaches and nectarines are generally shorter lived than other fruit trees, at our nursery we have a potted, 20-year-old peach that is still setting delicious fruit.
The compact habit of genetic dwarf varieties means there will be lots of stem density, and you’ll need to thin out some branches to keep the tree opened up. Heat in the summer develops the sweet flavor in peaches and nectarines. But the trees will need protection from prolonged temperatures above 95°F. So in very warm areas, some afternoon shade should be provided. Unfortunately, all genetic dwarfs are susceptible to the peach leaf curl disease. Try to move the potted plants under the eaves of your roof to keep the stems dry, from early winter through early spring. Instead, you can spray the tree with an organic treatment of lime sulfur three to four times at four-week intervals starting in early winter.
Zones: 5–8
Pot size for mature plant: 20 gallon
Mature plant size: 4 to 5 feet tall and wide
Light conditions: Full sun
Apples grafted on dwarf rootstocks are surprisingly productive

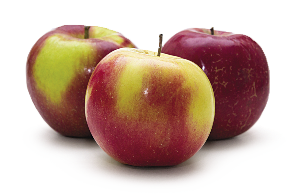
By using dwarf rootstocks to control tree size, any apple variety can be grafted to remain small in stature. These highly productive, compact trees are perfect to grow in a small backyard or pot, but you will need at least two varieties for cross pollination. We recommend disease-resistant cultivars with lots of flavor that ripen at different times throughout summer and fall like ‘William’s Pride’, ‘Pristine’, ‘Liberty’, and’ Enterprise’. A great old-time, russet choice is ‘Ashmead’s Kernal’.
We recommend cutting the main trunk back to 12 to 18 inches tall when you first get the tree. Branches will emerge from below that point and result in a stockier plant. Do not let the tree fruit for a couple years—until it has grown to the basic size and shape you want—because it can “runt out,” meaning that once it starts producing lots of fruit its growth slows or stops. Once you allow your tree to fruit, you need to thin the fruit. Place your outstretched, open hand with your thumb at a fruit you are keeping. The next closest fruit you keep should be at the end of your pinkie. Although these apple trees are winter-hardy, you should protect the roots from cold damage by preventing the container from freezing solid. Push it against your home’s foundation, or wrap burlap around the pot for insulation.
Zones: 3–9
Pot size for mature plant: 20 gallon
Mature plant size: 5 to 7 feet tall and wide
Light conditions: Full sun
The Perfect Soil Recipe

To start your plants off right, you’ll need the proper soil for your pot. Do not use native soil, though. The air pores collapse, and the roots can’t breathe. If you are going to purchase your potting mix, consider the size of your container. When potting into a smaller container, it’s best to use a higher proportion of smaller particles (peat and perlite) and a lesser proportion of the larger bark particles. As the container size increases, increase the proportion of larger particles.
The following is the basic soil mix we recommend. Adjust it as needed for the type of plant and size of pot.
Soil-mix recipe
- 50 percent medium bark
- 30 percent peat or peat/compost
- 20 percent pumice or perlite
Per 5 gallons of mix add:
- 2 Tbs. each of lime and dolomite lime
- 1 Tbs. bone meal or rock phosphate
- 1 Tbs. kelp meal
NOTE: Olives prefer less bark in the container but need good drainage, so increase the pumice or perlite. For olives and peaches, add an extra tablespoon of lime to the mixture.
Get Things Off to a Good Start

If you’re starting with a bareroot plant …
1. Soak the roots in water for 15 to 30 minutes, or up to two hours for peaches.
2. Trim all broken roots; trim all long roots so they will not wrap around in the container or be in contact with the sides or bottom of the container (pictured).
3. Plant the tree so that the root tops are just below the soil surface and the graft union (if there is one) is at least 2 inches above the soil surface. If you’ll be hand watering, the soil surface should be 1 to 1½ inches below the rim of the pot. With drip irrigation, you can fill to within ½ to 1 inch of the rim.
4. If the container is small, pick it up a few inches and let it drop. Two drops are usually enough to settle the soil around the plant, but not enough to eliminate all the air pores needed for good root development.
If you’re starting with a potted plant …
1. If the plant is pot-bound, you’ll need to prune the roots. With a serrated blade, cut around the entire cylinder of the root ball from top to bottom. Use shallow slicing cuts to remove 10 percent to 20 percent of the root-ball diameter.
2. Remove twice the thickness off the bottom of the root ball as you took away from the sides. To open up a tight root ball farther, poke into it in several places with pruners or a knife.
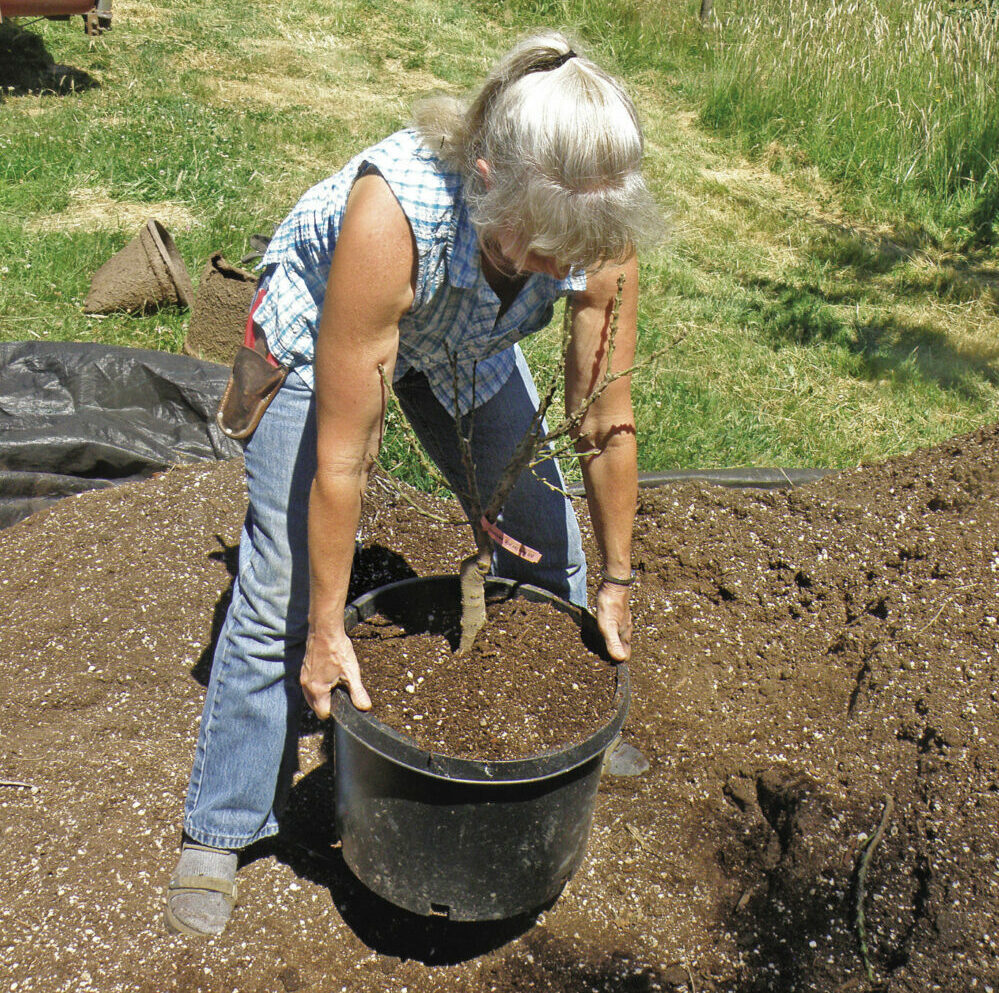
3. Add fresh potting mix to the bottom of the container so the top of the root ball will be at the same height as its previous pot. Add more mix around the sides to finish filling, and put ¼ to ½ inch of fresh mix over the top of the old root ball.
4. Pick up and drop the pot a couple times to settle the soil (pictured) and water the plant in. If you need to raise the old root ball a bit, jiggle the pot and lift the root ball.
Sam Benowitz is the owner of, and Theresa Knutsen is a horticulturist at, Raintree Nursery in Morton, Washington.


Comments
Log in or create an account to post a comment.
Sign up Log in