

Plant Some High-Yielding, Low-Growing Peas
Dwarf peas are a great choice for the home gardener
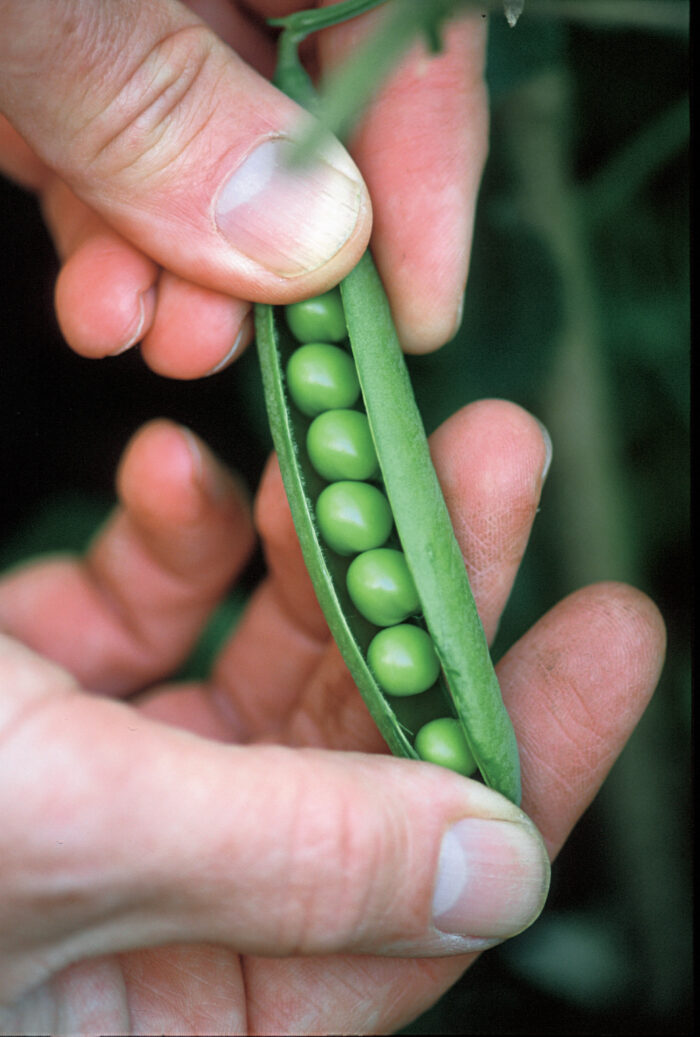
Remember canned peas? If you grew up in the 1950s, you probably do. At that time, there were two ways to get your peas: canned or fresh-picked. Today most people get peas from the frozen food section of a supermarket. But to experience the truly sublime taste of sweet peas, you need to grow your own, then pick them, shell them, and cook them as quickly as possible. Then again, freshly picked peas are so tempting that many of mine never make it from the garden to the kitchen.
I’ve been growing peas as long as I’ve been gardening—more than 30 years. At first, the yields were often disappointing, and some years, the harvest season was very short. Many garden books had sketchy or conflicting information on growing peas. Then about 20 years ago, along came PBS with the first episodes of Jim Crockett’s Victory Garden. I used some of the tricks Jim suggested, added a few of my own, and I was able to increase yields and extend the season of this special crop.
Peas are one of the oldest food crops and were commonly grown in home gardens in colonial times. Then came the 19th century and Gregor Mendel, who made the garden pea famous with his experiments in plant genetics. One of the characteristics of garden peas that Mendel studied was height. It is this trait that is one of the secrets of successful pea growing.
Shelling peas sold in catalogs vary in height from bush varieties as low as 18 inches to giant vines of more than 6 feet. The dwarf varieties are the most manageable for the home gardener and produce more per square foot. When selecting varieties, first look for seeds suited to your area, then look at vine length.
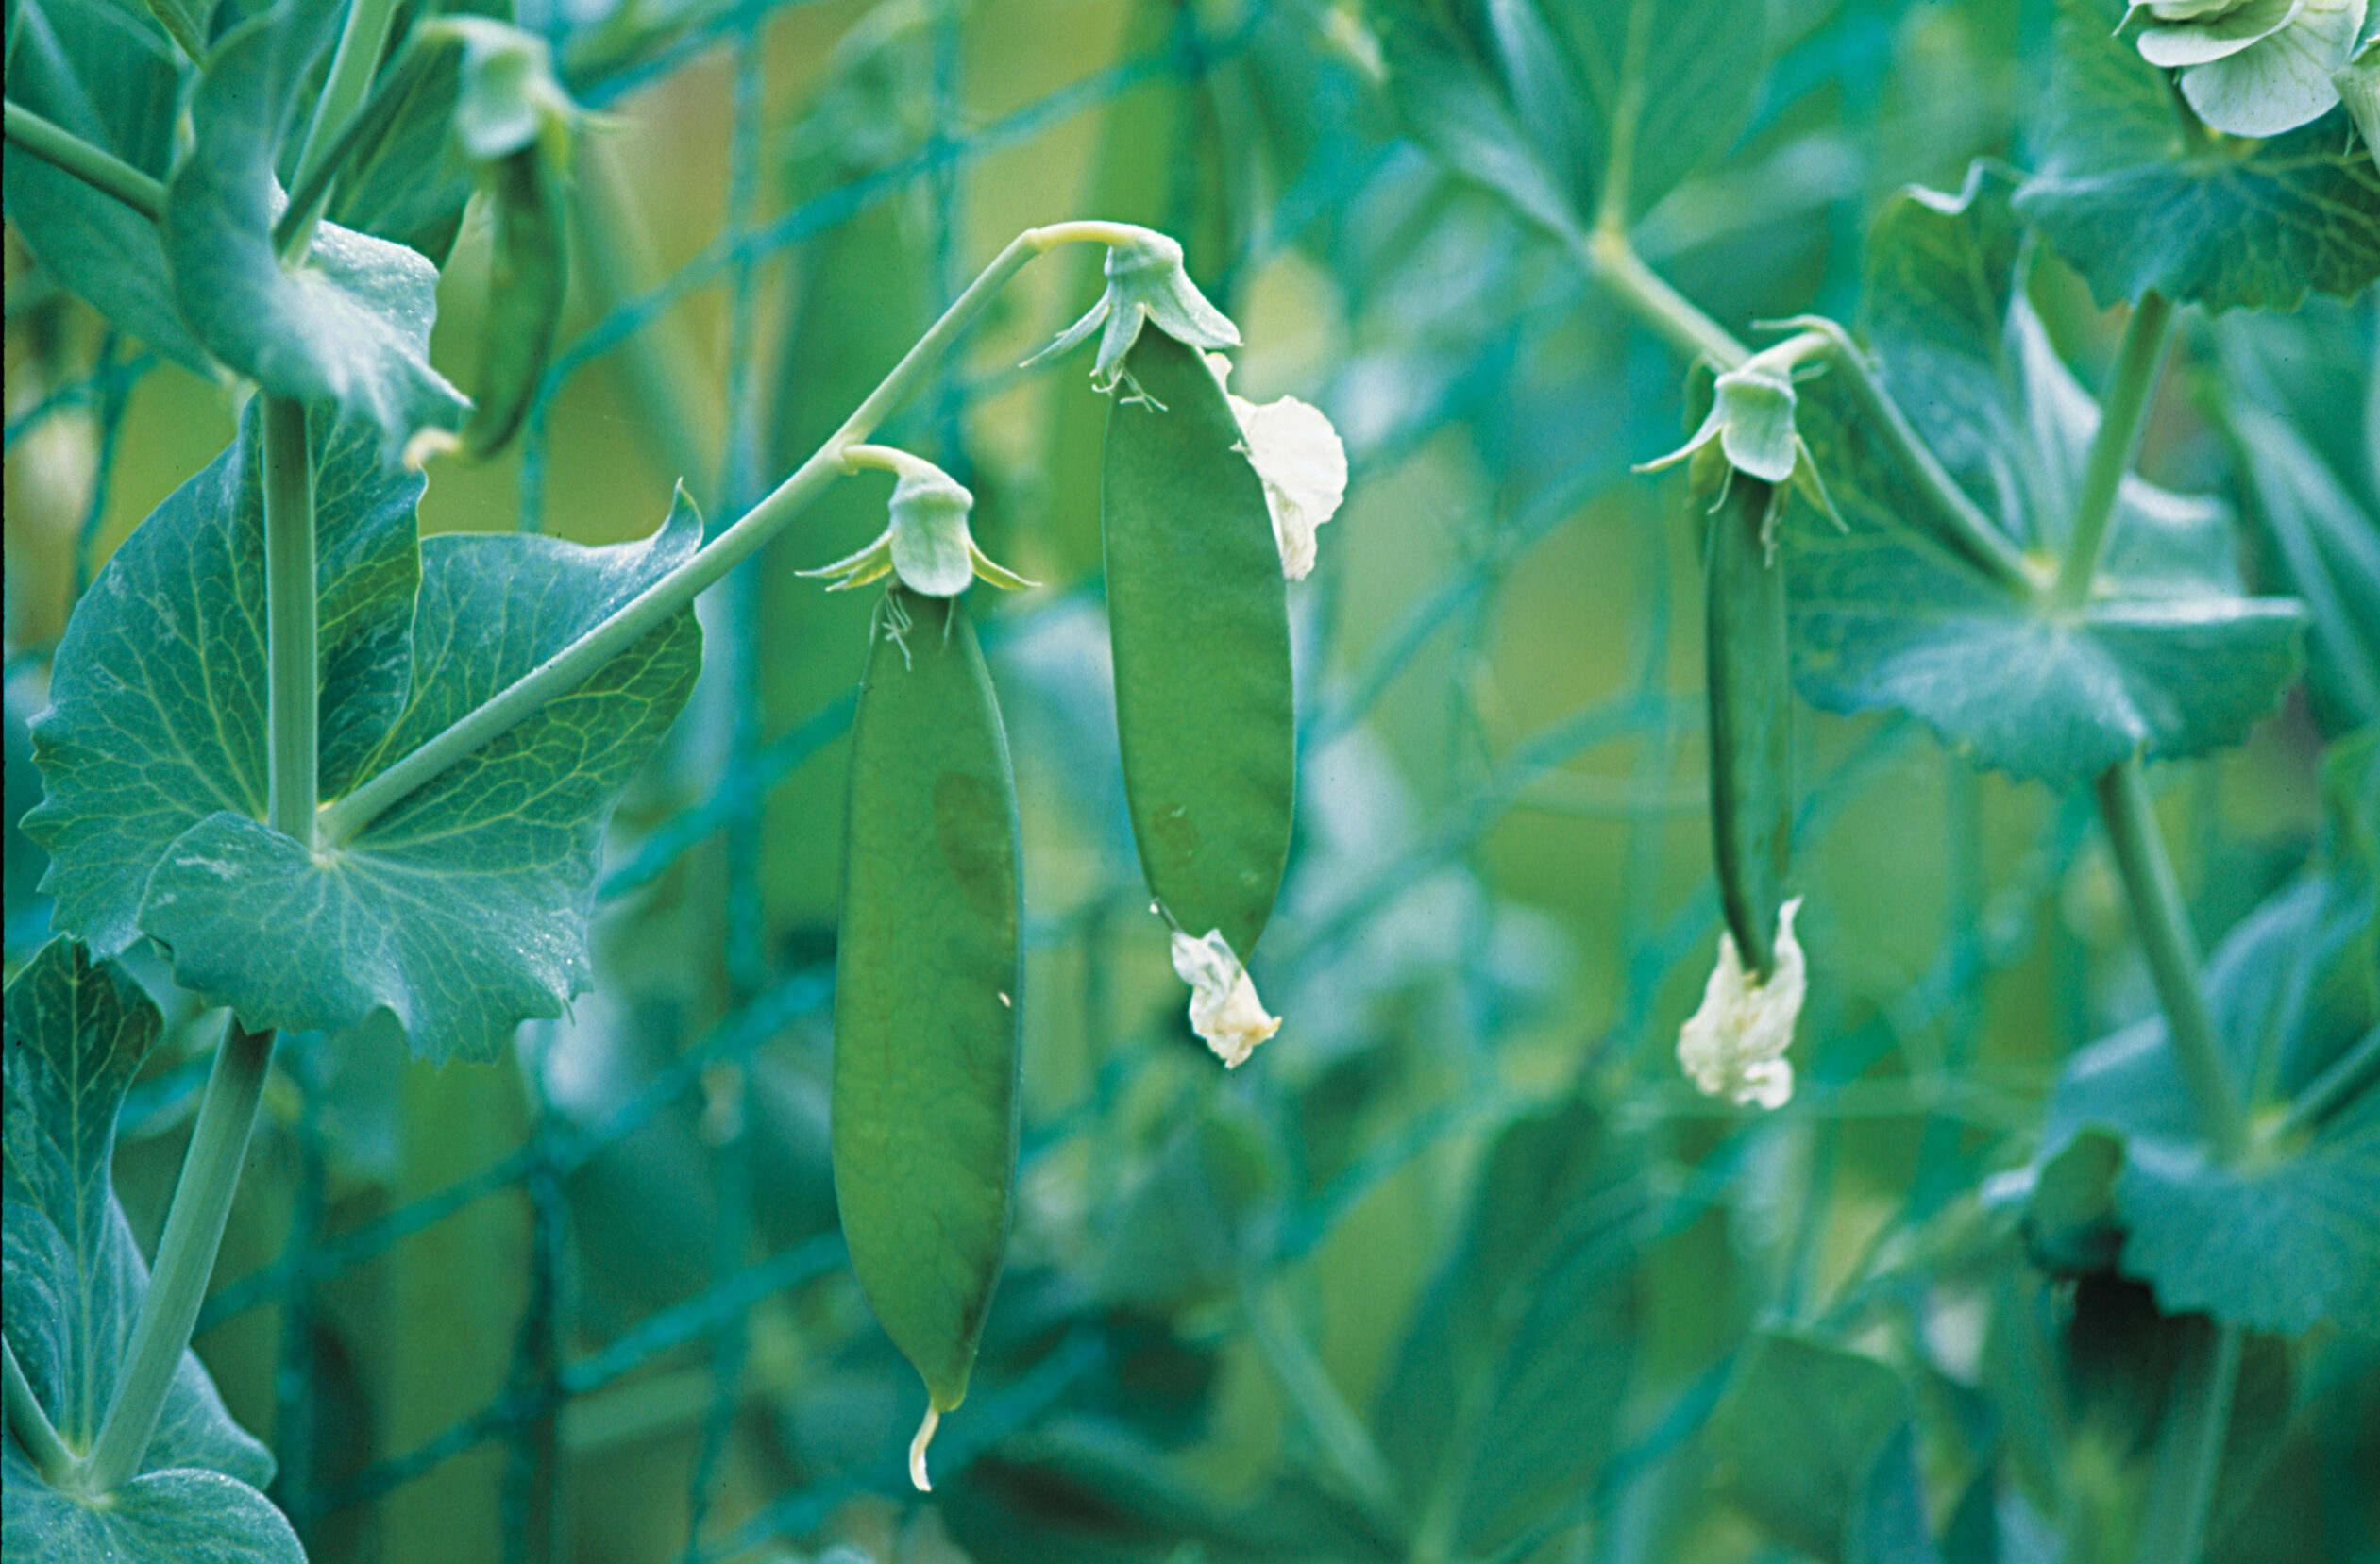 |
‘Oregon Trail’ pods will fill out in a few days. |
 |
A ‘Maestro’ pod is ready for picking. |
 |
‘Oregon Trail’ pods will fill out in a few days. A ‘Maestro’ pod is ready for picking. This cache of ‘Olympia’ peas is perfectly formed. |
Here are some varieties I recommend. ‘Maestro’ has long, thin pods, grows only 2 feet tall and is resistant to the virus enation. ‘Olympia’ has a good flavor, grows vigorously to 16 to 20 inches, and is resistant to mosaic virus. ‘Waverex’ is a tiny-pod variety with lots of flavors. It grows as a semi-bush to a height of 15 to 20 inches.
‘Improved Laxton’s Progress’ is a better version of an older variety. It has large pods but is a shortie at 16 inches high. ‘Oregon Trail’ is an open-pollinated variety that produces many dark-green double pods on vines about 30 inches tall.
Plant peas when the forsythia blooms
Common wisdom says that peas should be planted as soon as the ground can be worked. While it is true that peas will germinate in temperatures as low as 40°F, it can take weeks. Raise the temperature to 60°F and germination will occur in nine days. I have found that a happy medium is the best choice. I garden in the Pacific Northwest, where you can sometimes work the soil as early as January; however, I’ve had the best results planting my first crop of peas when the forsythia just starts to bloom, here around the third week of March. I follow this sowing with successive plantings every two or three weeks.
Peas do best in cooler weather. Once summer sets in, peas stop producing. During our long, cool springs, peas grow well and most years can be harvested into July. Although peas are mainly a spring crop, if you live in an area that usually has a long, warm autumn, you can try planting a fall crop 60 to 90 days before your hard frost date and enjoy fresh peas late into the year.

When sowing into a block or trench, above, drop seeds in a fairly thick row, the emerging vines will help support each other.
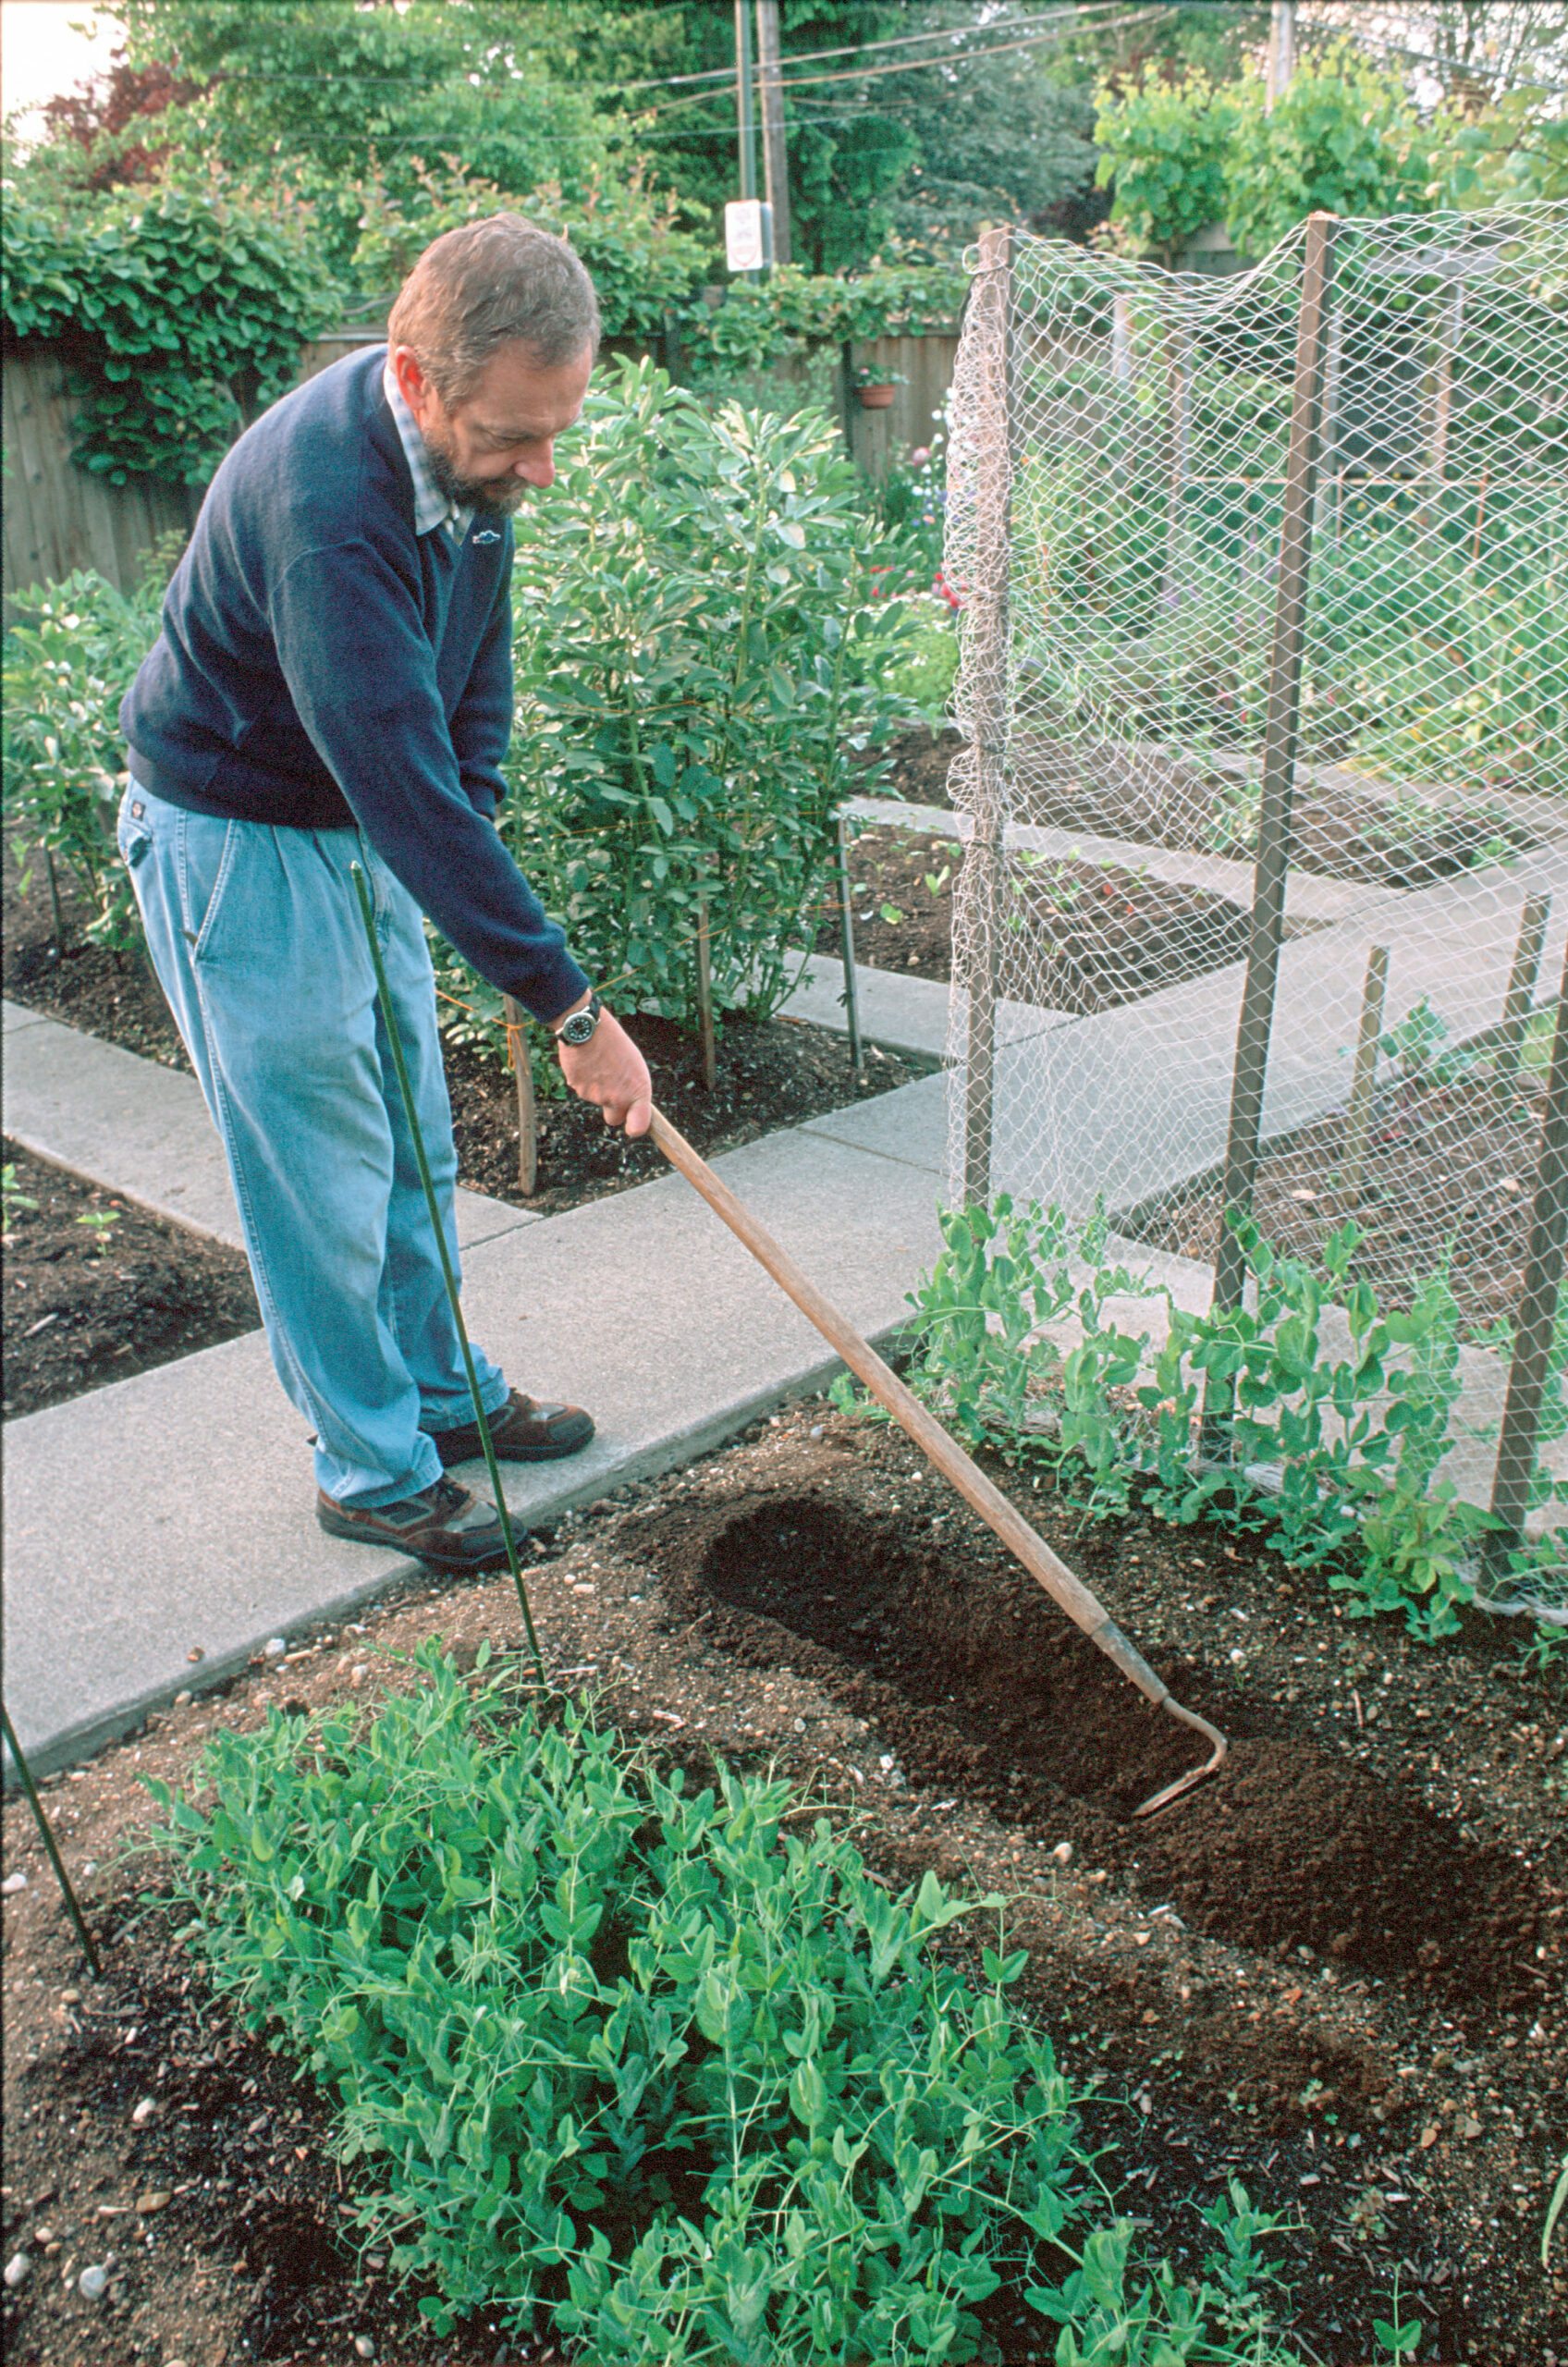 |
The author makes successive plantings every two or three weeks to ensure a steady supply of peas. |
In the South, gardeners usually plant peas in the fall and grow them as a winter crop. If your fall is cool and damp, viruses will often get the best of any autumnal sowing. You’ll have more success growing them in spring and early summer.
Since peas are legumes, which convert atmospheric nitrogen into nitrogen compounds in the soil, they don’t need much fertilizer. They will benefit, though, from a light, neutral soil with added organic material. If you want to enhance their nitrogen-fixing, coat seeds prior to planting with a pea inoculant, a natural bacterial powder that you can find at most garden centers.

Even short varieties benefit from support
Like most vines, low-growing peas benefit from some support. If you stick with the shorter varieties, this is an easy job and you have a number of choices. The first and easiest is to let the vines support themselves. Sow the seeds thickly in a rectangular block, and the vines will grow together into a fairly stable mass. Harvesting involves reaching into the block and picking the pods. I have modified this system a bit by stringing some twine around the whole planting to help keep the vines from falling over. Although a block of peas is a bit unorthodox, it’s worth trying, as you can produce a lot of peas in a small space.
More common support is known as pea brush—twigs and branches, usually prunings you have made that spring, stuck in along the row. The height of the brush should be equal to or greater than the height listed for the pea variety you’re planting.
With this method, it is best to make a trench about 6 inches wide and 3 or 4 inches deep for the length of the row. Sow the seeds fairly thickly in this trench and then cover them with about an inch of soil. This is the easiest time to place the brush before the seeds germinate. As the peas sprout and grow, gradually fill the trench in to support the vines until the ground is level with the rest of the garden. Once again, this makes good use of space. It works best if you can access both sides of the planting for harvest.
 |
|
| Branches from spring pruning, known as pea brush, provide unobtrusive support in this planting of dwarf peas. | Wire mesh or string netting makes classic pea support and works for low-growing peas as well as for taller vines. |
Another standard method of training is to construct a trellis from stakes and netting prior to planting. If the trellis is free-standing, seeds can be sown in a row on both sides of the net. I have found that it is better not to plant too thickly, sowing the seeds about an inch apart in a single line. Netting or string can also be used against a flat surface such as a fence or garage. You can plant and harvest from only one side, but you still use very little garden space.
Finally, you can construct a tepee as you would for runner beans. Keep the legs close together and wrap some string around the whole thing, from bottom to top. Because peas cling to tendrils, they need something narrower than the upright supports to grab on to.
Keep the soil moist and the pods picked

Once you have chosen your type of support and sown your crop, keep the bed watered. In sandy soil like mine, all it takes is a couple of windy, warm spring days to dry the soil out enough that the seeds don’t properly germinate. Peas need water the most at this point, when they are sprouting, and again when they are blooming.
Once you see the vines blooming, check the plants daily. Pods form very quickly, and you want to pick them just as the peas have filled out the shells but before they start getting too mature and starchy. Test a pod or two regularly and pick them when they are bright green, full-sized, and still sweet. Keeping pods picked also extends peas’ productive season.
A few pests and diseases can keep you from enjoying this idyllic scene. If you find birds attracted to your newly sprouted peas, throw some netting over them until they are a couple of inches tall. Another early spring pest is the pea weevil. It notches the leaves but generally disappears after the vines are up a few inches, and they usually outgrow the damage.
In the Pacific Northwest, my biggest problem is pea enation virus, which causes the vines to turn pale and the pods brown and warty. Fortunately, it doesn’t appear until the summer really gets warm and the pea harvest is almost over. There are other viruses and wilts that affect peas, but by delaying planting until the soil is warm and by planting resistant varieties, you can usually avoid these problems.
By choosing shorter varieties, planting when the soil has warmed up a bit, and harvesting at the right moment, you can enjoy that sweet, fresh taste available only to those who grow their own peas. And don’t discount the pleasure of shelling peas. It’s an old-fashioned activity requiring time and patience, best done sitting around with friends and family. The results should be cooked right away, tossed with a little butter, and enjoyed.
This article originally appeared in Kitchen Gardener #31 (February 2001).


Comments
Log in or create an account to post a comment.
Sign up Log in