

Let’s face it, growing gourds is confusing. Bottle gourds are cucurbits, members of the gourd family Cucurbitaceae. Both beginner and experienced gardeners generally can recognize the basic similarities they share with other cucurbits like squash or pumpkins, but what about growing them? Can we grow them in the Northeast. If we can, how do we do it?
A brief history of bottle gourds
Also called calabash and birdhouse gourds, bottle gourds are botanically known as Lagenaria siceraria, a species with a mysterious background that few botanists can agree upon. However, most think that they hail from tropical regions of Africa. We know that up to 8,000 years ago people used dried bottle gourds as bottles, bowls, and utensils. Clearly their use today as rattles, bowls, and birdhouses isn’t just a brief social media trend. I think we can safely say that bottle gourds have been a viral phenomenon for thousands of years.
How bottle gourds are different from other cucurbits
While most cucurbits are relatively easy to grow in the Northeast, if you’ve ever tried to raise a crop of bottle gourds, you may have discovered that they aren’t necessarily as easy to grow as, let’s say, pumpkins. Understanding a few basics about these plants will help us master growing them in cooler climates.
First of all, bottle gourds are true tropical plants; they relish hot and humid weather. Soil temperature is key here, so save direct-sowing outdoors for your butternut and blue Hubbard squash; bottle gourds need warmth and should be started indoors, under lights where it’s warm.
When to start bottle-gourd seeds
Timing is key as well. A pumpkin can reach maturity relatively quickly from an outdoor sowing in early June, but a tropical gourd like the bottle gourd requires a longer growing season. I sow single seeds in individual pots indoors in mid-April, which gives them a 7- to 8-week head start over outdoor-sown seeds planted in early June. Keep seedling pots under high-intensity LED lights where temperatures never drop below 70°F. It’s even better to provide heat from the bottom with a propagation mat, especially if you can regulate it with a thermostat to remain at 80°F so that the soil is warmer than the air.
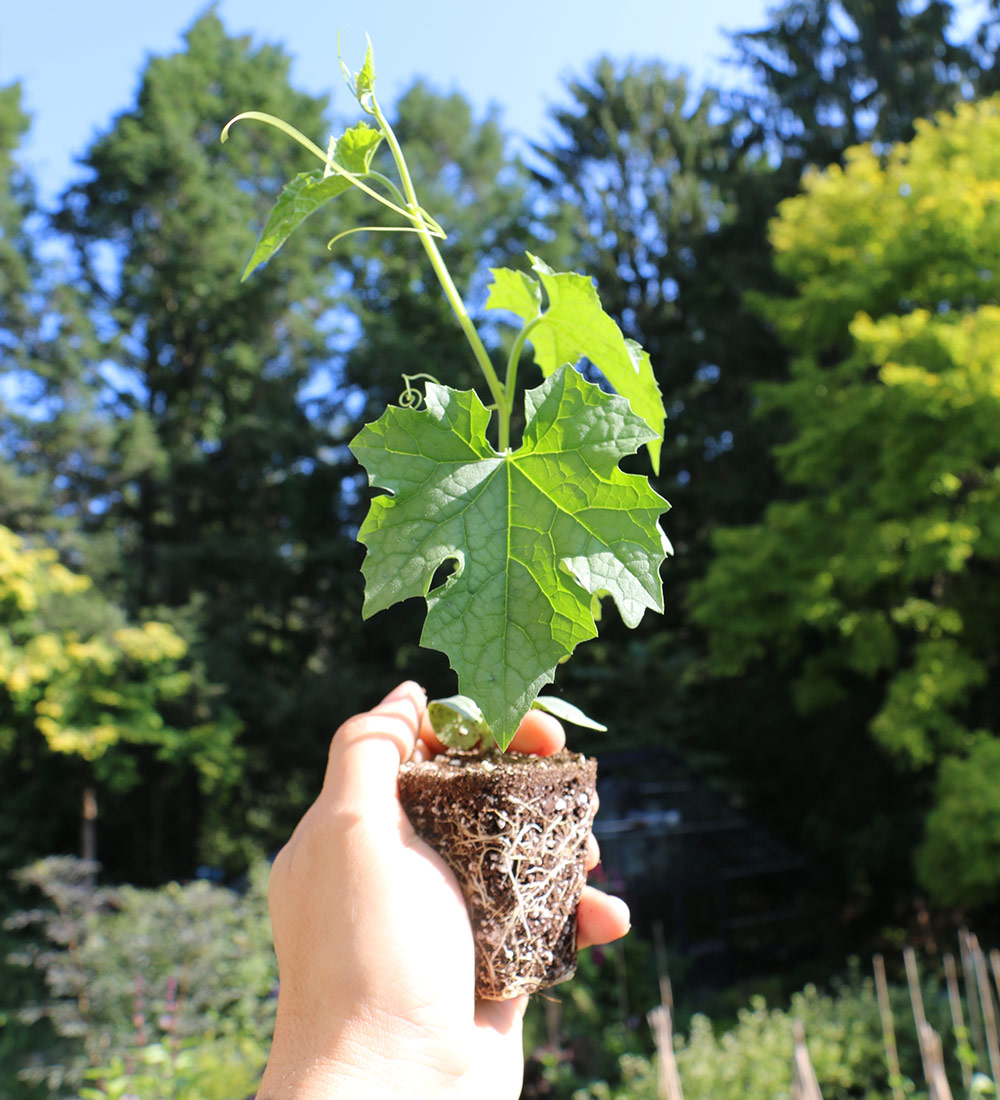
When to transplant seedlings outside
Harden off plants in early June outdoors, and plant them in the garden once the soil temperatures warm up and nighttime temperatures stay above 60°F. This might be as late as mid-June in some years, closer to the summer solstice. If done earlier, the plants’ growth may be stunted. In my garden, bottle gourds, along with other tropical gourds such as Asian melons, bitter melons, and luffa, are all the last plants to leave the comfort and warmth of the indoors.
Provide the right soil and climbing support
Tropical gourds like these require high fertility, warmth, and consistent moisture, which can be said for most cucurbits. But it’s even more essential with the tropical species, as they will need extra care to grow quickly without any stress during the hottest summer months.
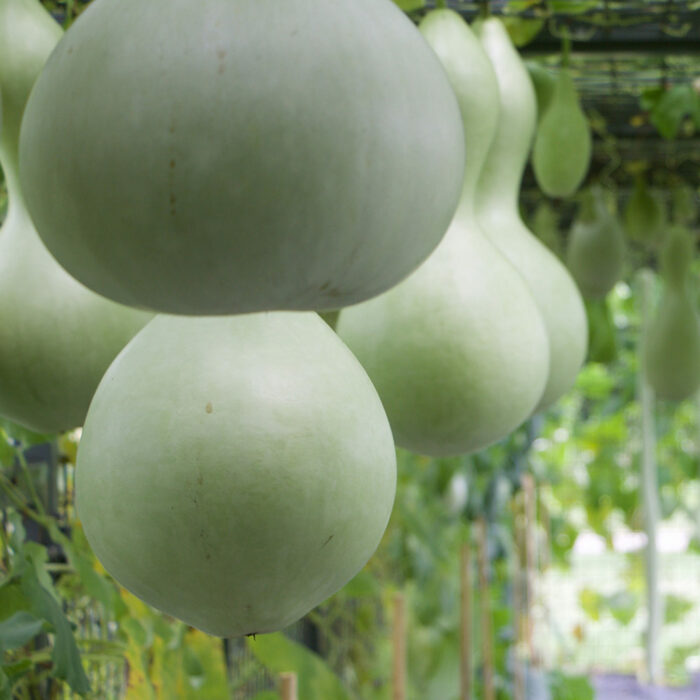
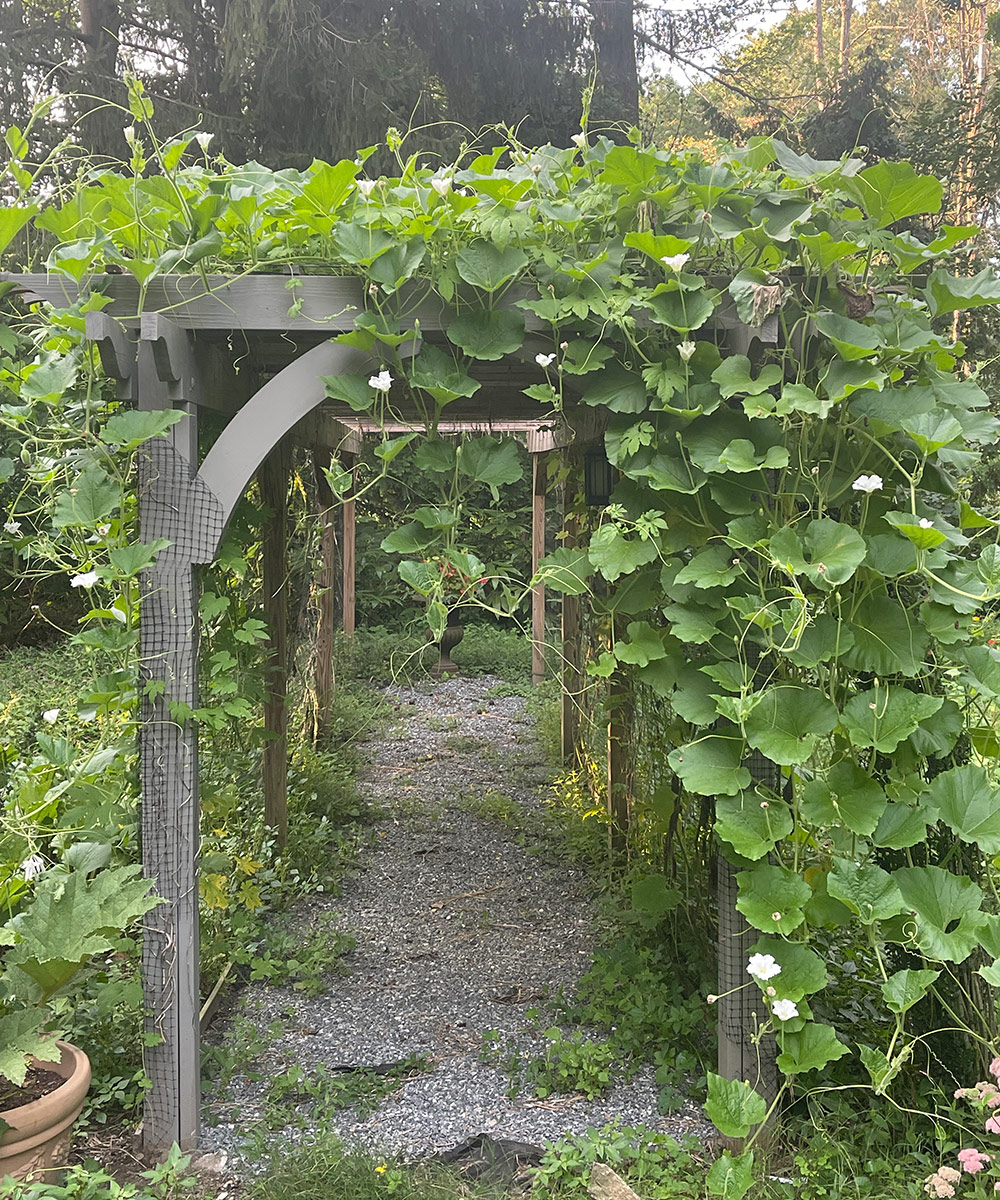
Bottle or birdhouse gourds are natural climbers, producing the best results when grown on a trellis or a mesh tunnel that is at least 7 feet high. Vines can reach great lengths (15 to 25 feet long or longer), so the sturdier the structure, the better. Some gourd tunnels can be beautiful in gardens, especially when they are experienced in late summer with pendant gourds of all types hanging above your head.
How to hand-pollinate gourds
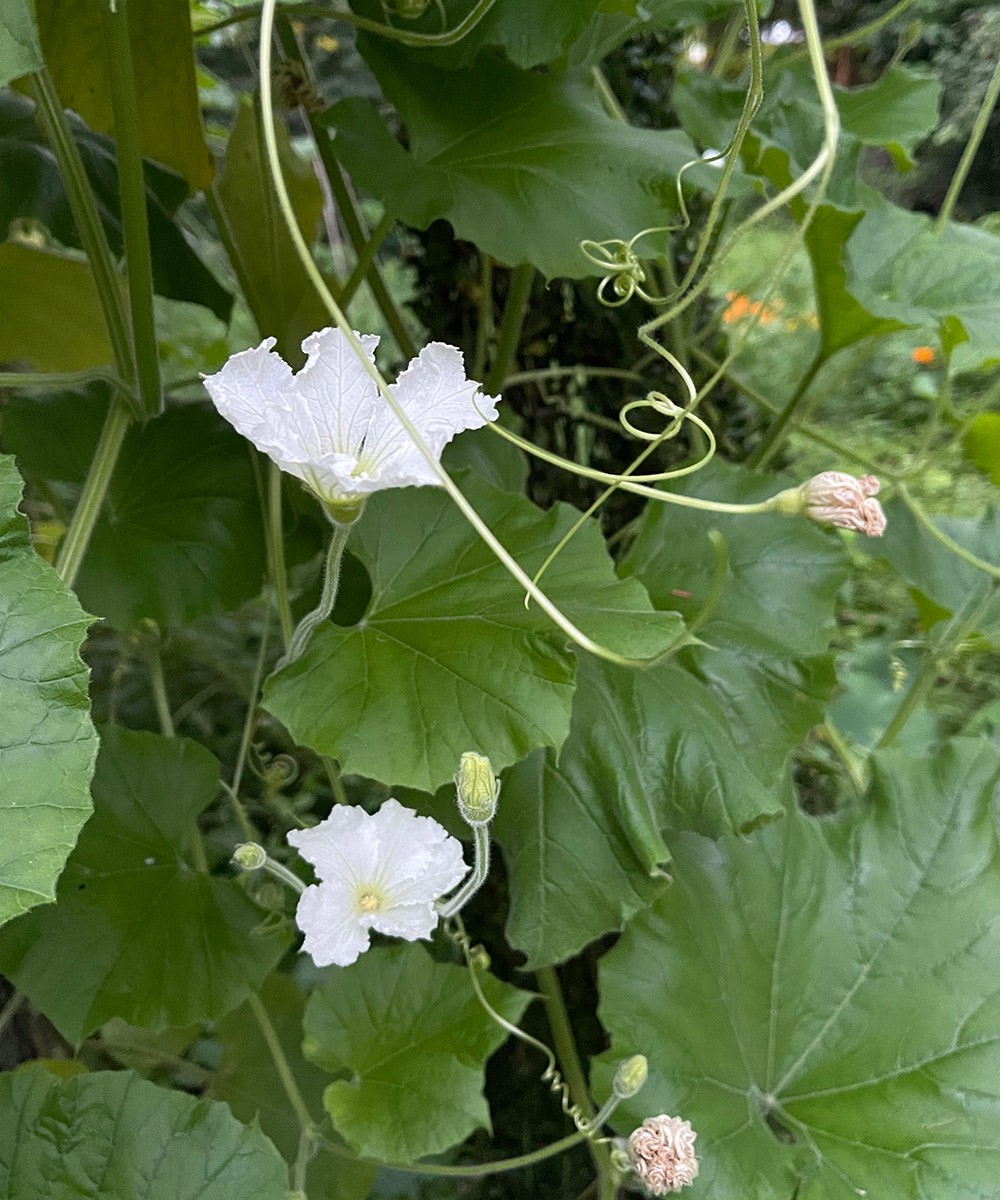
This group of gourds produces white flowers, which on some varieties open late in the day and remain open through the evening and night. This provides us a valuable hint, as night flowers generally aren’t pollinated by bees but instead by moths and beetles. Hand pollination is often helpful if you lack hawkmoths or beetles that will do the job in your area.
Hand pollinating is easy enough with a stepladder. Use a soft watercolor brush or a cotton swab taped to a chopstick. The goal is simple: remove pollen from the male flower (the bloom with just a thin stem at the bottom), then gently sweep the pollen into the female flower (the one with the baby gourd at the bottom of the flower).
Don’t be discouraged if your vines seem to be producing only male flowers; this is typical for a few weeks before the female flowers with the ovaries appear, usually in mid to late summer. You’re ahead of the game if you find young fruit maturing without hand pollinating. Thank the moths.
When to harvest bottle gourds
Harvesting these gourds at the right time can be challenging, especially if an early frost threatens your crop. Picking one too early is a problem too, as it will simply rot on the kitchen counter. You’ll know a bottle gourd is ready to be harvested if the stem that connects it to the plant starts to shrivel and turn brown. This indicates that the gourd is finished growing, as it is receiving fewer nutrients from the plant.
What to do with bottle gourds
You may be surprised to know that the bottle gourds are edible and can be harvested young for cooking. They’re often treated like a zucchini in many cultures, but most of us use them as dried, ornamental gourds. For crafts and for birdhouses, fruits must be harvested mature, cured in a dry place, and then either bleached, varnished, or painted.
Curing gourds for crafts
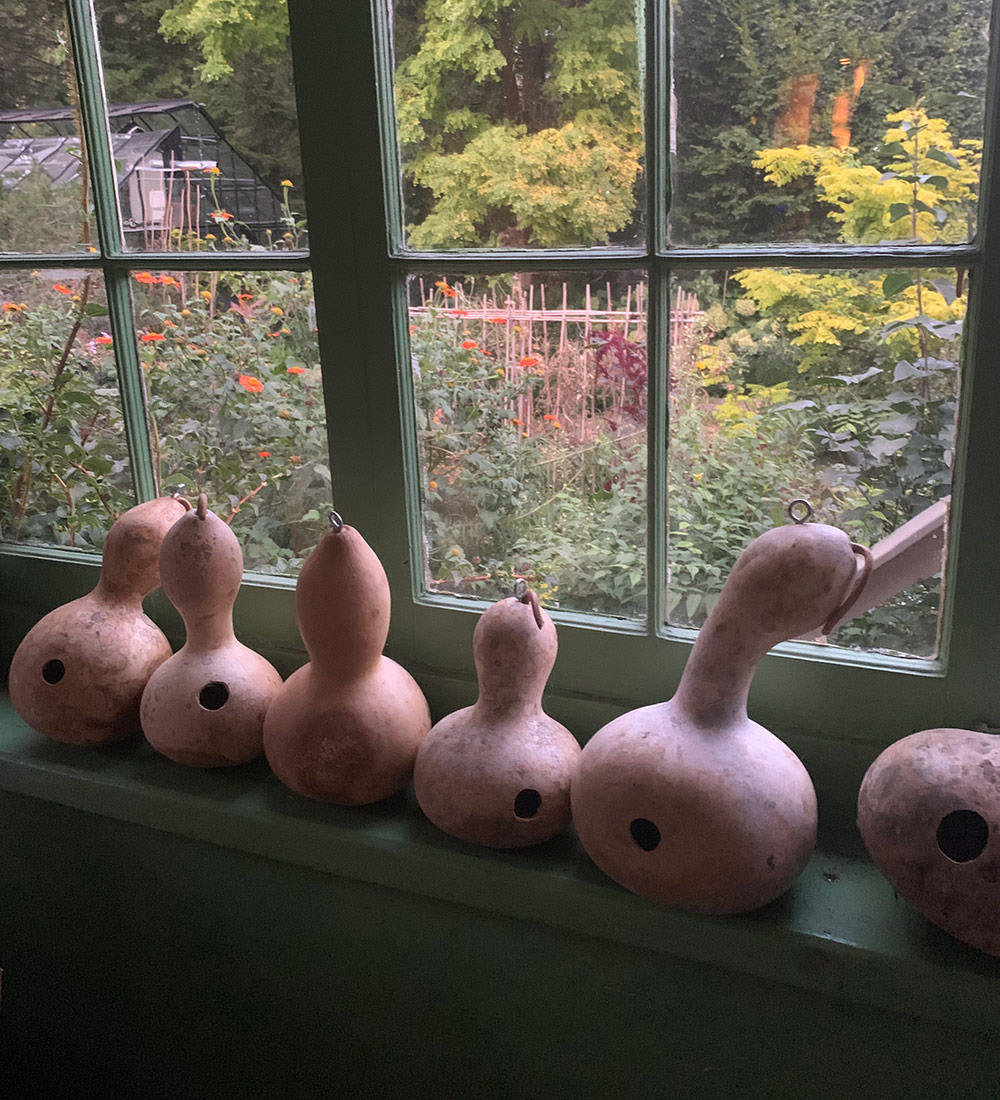
In tropical climates with long growing seasons, gourds are often dried on the vine, but in our temperate climate, a nearly mature gourd picked green may take 3 to 6 months to dry to its distinctive tan color properly. Since gourds are picked on the green side in cool climates, they often mold over a bit during the curing process, and dark spots may form on the skin. Some after-treatment, such as paint or sanding, will be required.
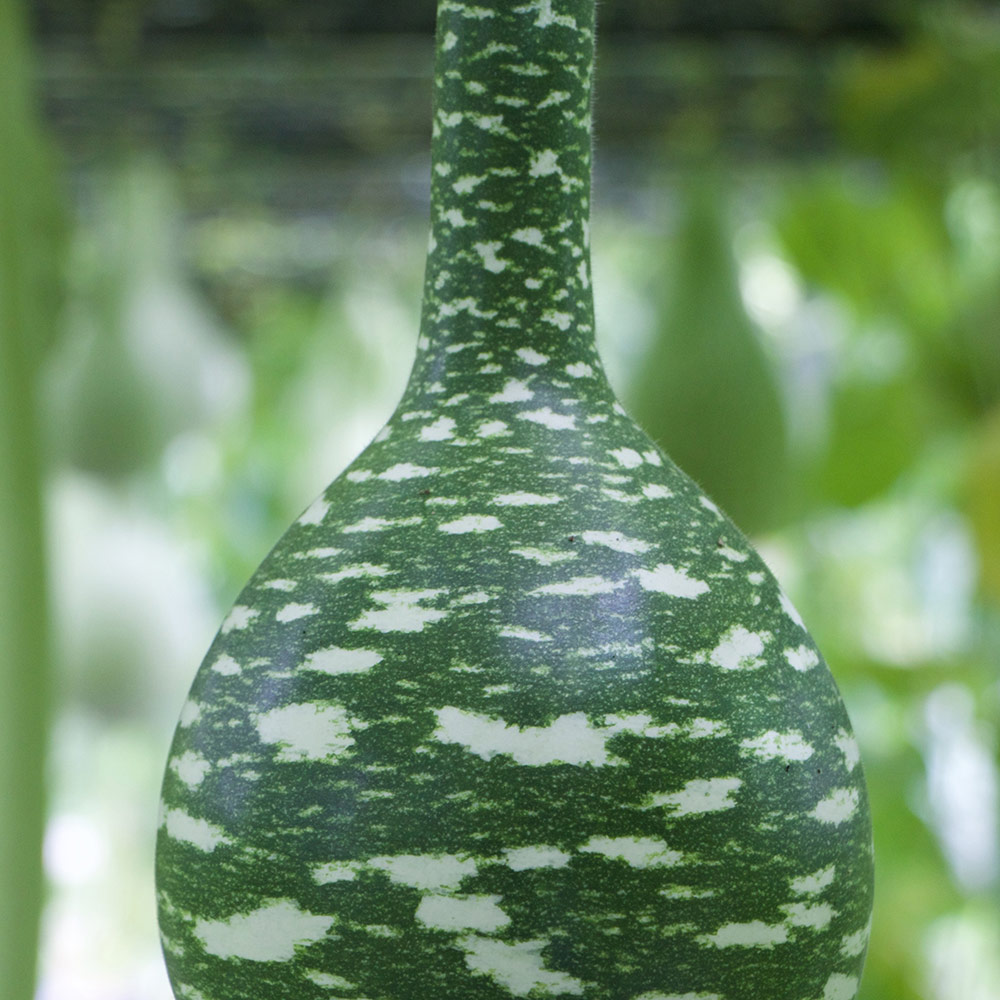
Of course, most of the fun with bottle gourds is creating crafts with them. Once fully dried, they can be painted or have holes cut in them for use as birdhouses (once you shake out the seeds), or for many other crafts. Dried gourds are as hard as wood and often can last a few years outside if brought indoors during the winter and cleaned out. Indoors they can last indefinitely. Aside from the classic bottle shape, bottle gourds can also be shaped like long snakes (up to 5 feet long) or enormous beach balls (great for bowls), or they can be short and used as spoons or baby rattles. This all depends on the variety you choose.
Use this guide to grow great bottle gourds for cooking, crafting, or anything else. Just be sure to provide the right growing conditions and to pick them at the right time.
For more Northeast regional reports, click here.
—Matt Mattus is the author of two books: Mastering the Art of Flower Gardening and Mastering the Art of Vegetable Gardening. He gardens in Worcester, Massachusetts.
Photos: Matt Mattus


Comments
Log in or create an account to post a comment.
Sign up Log in