

Growing Potatoes in Northern California
A step-by-step planting guide as well as favorite high-yielding varieties

Homegrown potatoes are delicious, easy to grow, packed with nutrition, and so much fun to harvest! Read on for tips on how to grow potatoes as well as my recommendations for the best varieties for our region.
Chitting
“Chit” your potatoes first to encourage early growth and hasten the development of a big, bountiful potato crop. Chitting is easy: Simply spread your seed potatoes in single layers in crates, boxes, or flats in a dry, bright, warm room. Strong sprouts will soon emerge from the bud eye clusters.
Cutting
Tubers up to the size of an egg may be planted whole. Larger tubers can be cut using a clean, sharp knife so that each piece contains one or more eyes. Make sure you cut the seed potato in a way that leaves plenty of flesh around the sprouted eyes since the new plant uses this as food during its first two or three weeks of growth. Plant immediately after cutting.
Timing
The earliest you should plant your potatoes is two weeks before your zone’s last spring frost. Then of course you can plant any time after that, giving yourself at least three months of the growing season for harvest before your region’s first fall frost.
Conditions
Potatoes prefer well-drained, moisture-retentive soil. Rich, sandy loam is ideal, but lighter or heavier soils are easily improved by adding nutrient-rich, organic compost. The goal is to have a loose, living soil full of beneficial microbes. The only fertilizer your potato crop truly needs is good, rich compost mixed into the soil before planting.
Planting
Dig a shallow trench about 8 inches deep, and place your seed potatoes 12 inches apart in rows at least 20 inches apart. Using a rake, cover the seed pieces with about 4 inches of soil, leaving the remaining soil for hilling up later when your plants have reached about 8 inches tall.
Hilling
Hilling cools the soil and creates space for tuber development, with all the new potatoes forming at the same depth of the original seed piece and higher. Another hilling of 1 to 2 inches of soil is beneficial two weeks after your first hilling. By gradually forming an ever-larger hill of soil around each plant, you are building the perfect environment for your potatoes to develop, and you will get a bumper crop.
Irrigation
Potatoes can be dry-farmed where soil moisture retention or rainfall is adequate, but for most of us Northern California gardeners, irrigation is necessary. Potatoes require about 2 inches of water per week while growing—enough to keep the soil evenly moist but not wet. Stop or slow down watering at the end of the growing season when the foliage goes brown, while still ensuring the soil does not dry out completely. Harvesting in drier soil is easier, and potatoes will be better cured and more ready for storage.
Harvesting
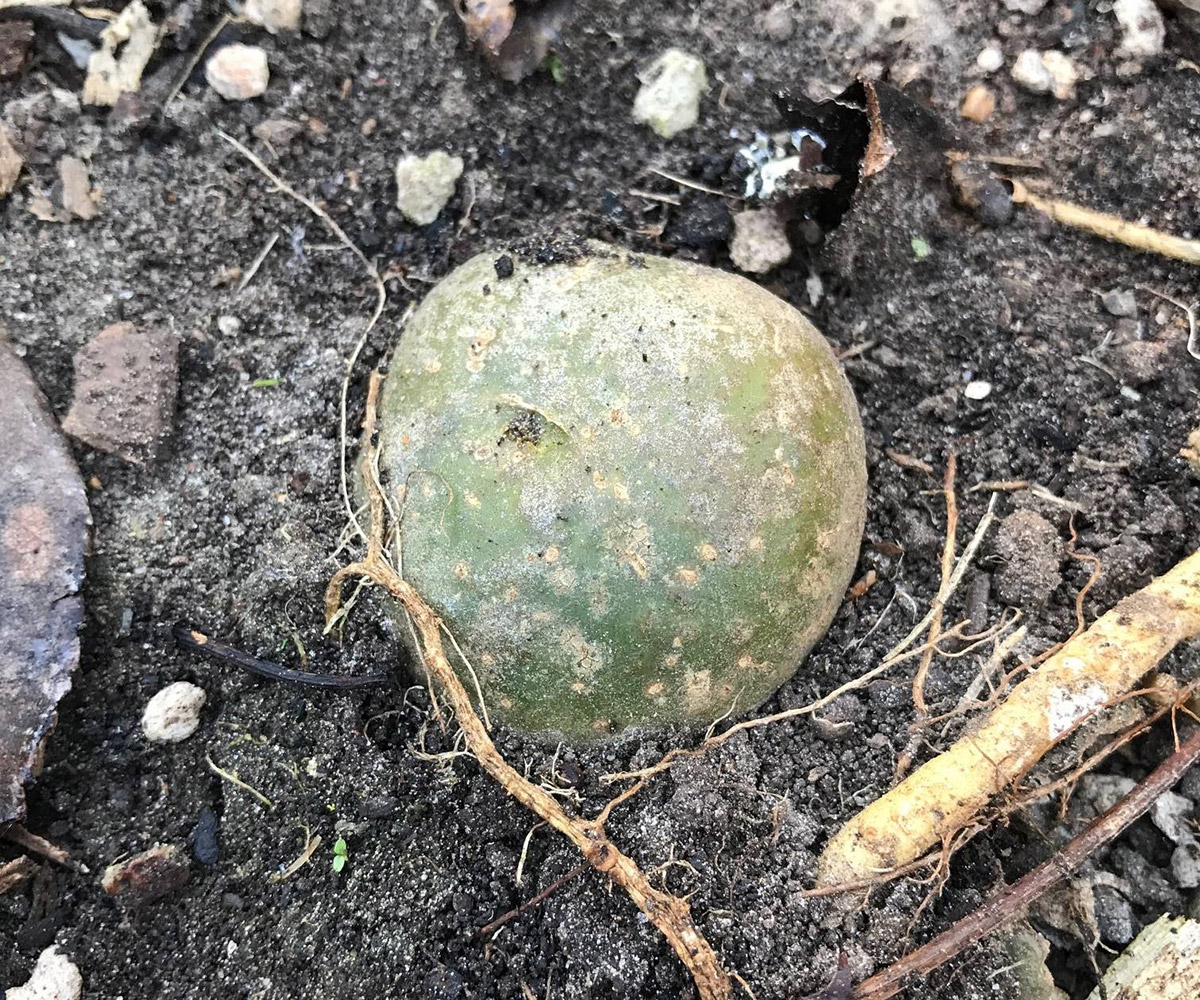
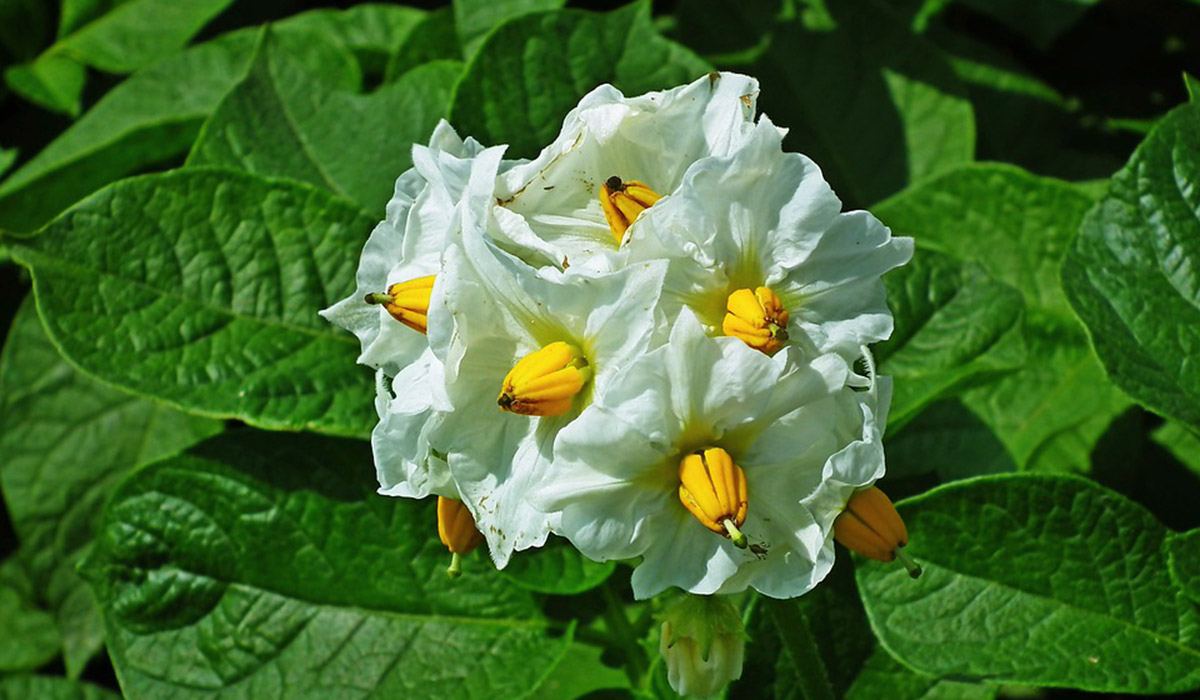
About 50 days after planting, your potato plants will be blooming, which is your sign that the baby potatoes are ready! Carefully reach into the potato hill to rob a few of these fresh, little potatoes from each potato plant, leaving the remaining potatoes to mature. For main crop harvesting, wait until the potato foliage has died back when the potatoes are big and full, thick-skinned, and ready for storing. Whether you’re digging for baby potatoes or maincrop potatoes, harvesting potatoes is like digging for treasure and is so much fun!
Be sure to harvest your potatoes in the morning while it is still cool out, being sure to avoid scraping, bruising, or cutting your potatoes. Damaged tubers will rot during storage.
Storage
After harvesting, cure your potatoes by keeping them in a cool, dark place for about two weeks (a dry, dark corner of a garage is perfect), giving the skins time to harden for longer storage.
Best varieties for Northern California
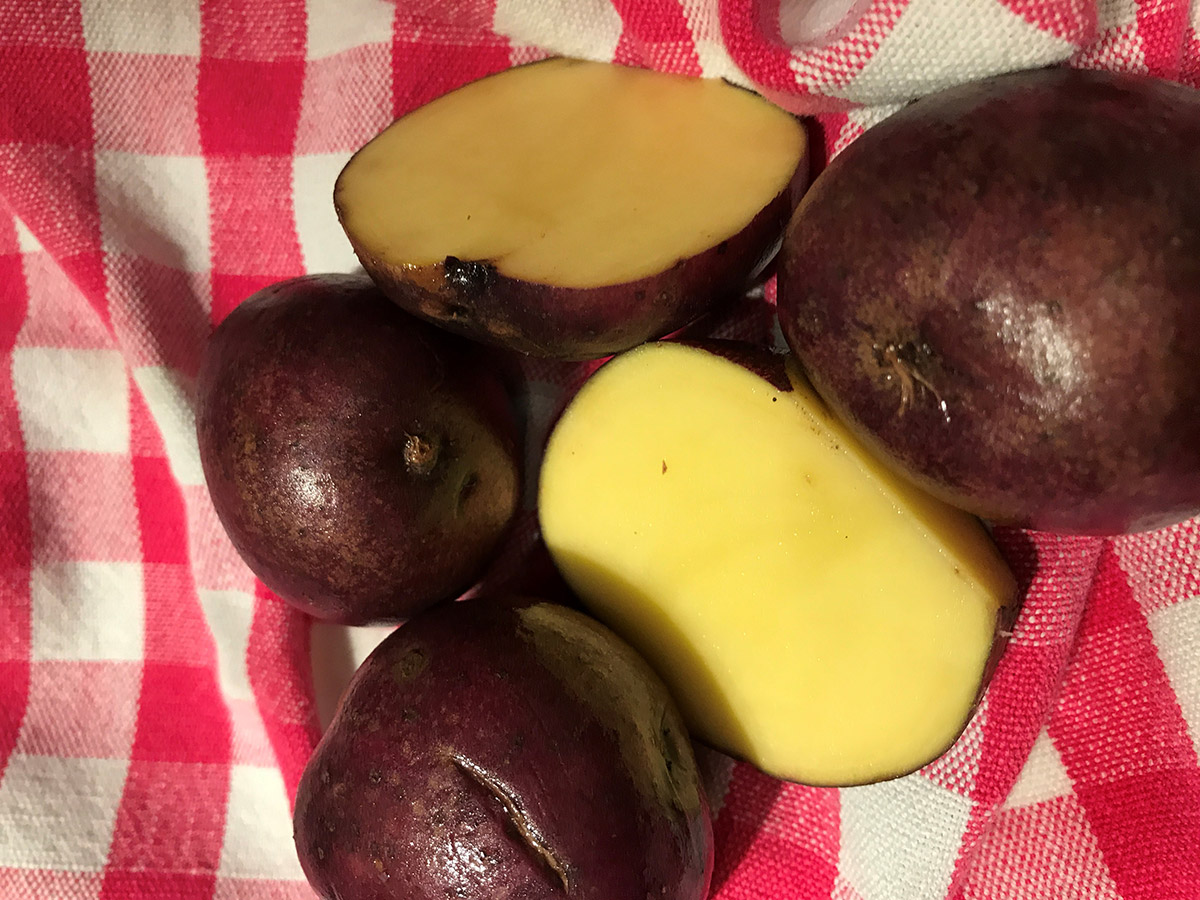
‘Huckleberry Gold’ produces big crops of round, medium-size potatoes with beautiful purple skin and delicious, bright yellow flesh in just 85 to 90 days. A newer variety developed at Montana State University, it’s higher in antioxidants and has a lower glycemic index than other potato varieties.
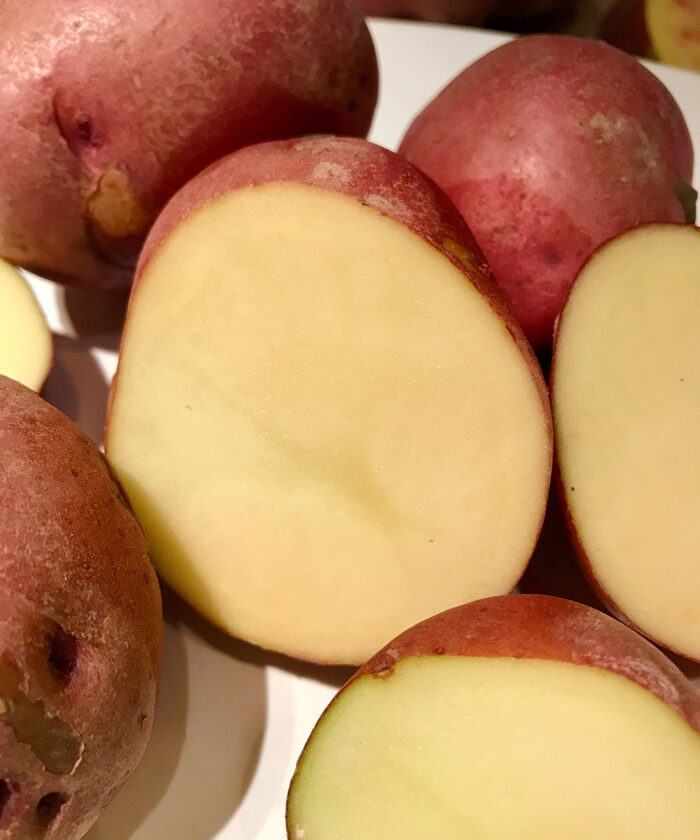
‘Red Johnny’ potatoes have bright red skin surrounding creamy white interiors. This disease-resistant variety is high-yielding, producing abundant, beautiful, and flavorful medium-size potatoes in just 85 to 90 days (or earlier still for new potatoes).
‘Harlequin Gold’ is a fabulous new variety with remarkable bright red and yellow skin and creamy yellow flesh inside. It’s very high-yielding and somewhat drought tolerant (more forgiving of dryness than others), producing big, colorful, tasty potatoes in 90 to 100 days.
‘Russet Norkotah’ is the best potato for baking, does great in storage, and is the highest-yielding russet potato you can grow. It has excellent flavor, uniform quality, and big crops of large, brown-skinned, white-fleshed potatoes in 90 days or less.
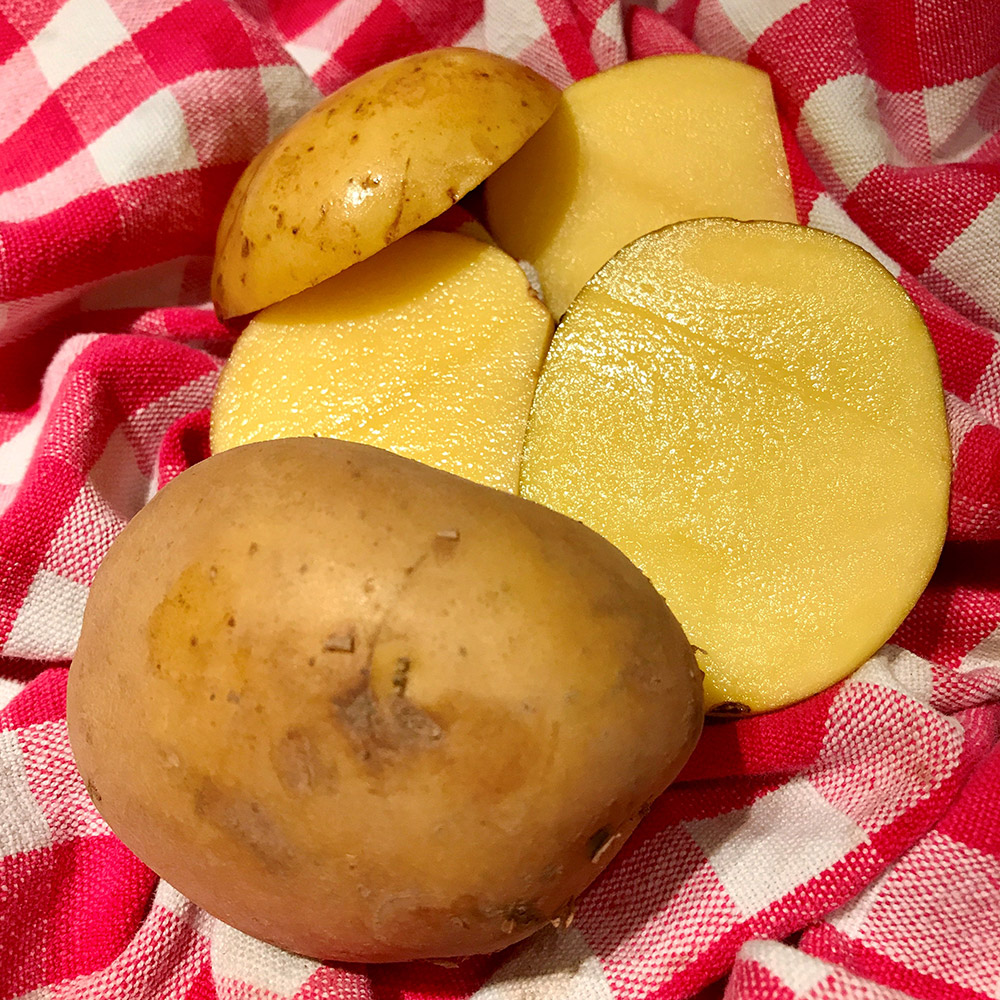
‘Gold Nugget’ is a highly productive potato, yielding abundant midsize produce with deep golden skin and bright yellow, creamy, moist interiors. This is a great candidate if you want to harvest baby potatoes, but crops reach full size in 90 to 100 days and do well in storage.
—Fionuala Campion is the owner and manager of Cottage Gardens of Petaluma in Petaluma, California.


Comments
Log in or create an account to post a comment.
Sign up Log in