

Grow Your Own Garlic
Once you taste homegrown garlic, you won’t be satisfied with supermarket varieties

Garlic isn’t hard to grow. In fact, growing garlic plants is almost ridiculously easy. It has a few important requirements that are easily met: decent soil, adequate moisture, and, of course, planting and harvesting at the right time.
When is the right time for planting garlic? Plant garlic four to six weeks before the ground freezes in your area. You can fudge the planting time a little. I have planted as early as September (by mistake) and as late as Thanksgiving (to experiment) and have had decent crops. Roots will start to grow soon after you plant. Your aim is to get good root development before the plants go dormant. Green shoots may appear in the fall, which is fine.
6 Easy Steps for a Bumper Crop of Garlic
1. Prepare the soil
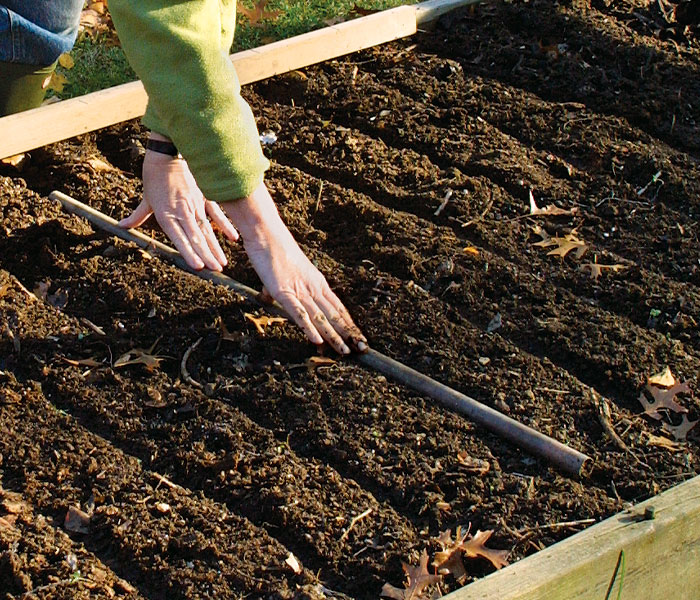
To grow nice, big heads of garlic, you need loose, fertile soil. Loosen the soil with a digging fork, spread a 2- to 3-inch-deep layer of organic matter over the area, and dig it in. For organic matter, I use a well-aged mixture of compost, leaf mold, and aged rabbit manure. To avoid disease problems, don’t plant garlic in the same spot two years running. Prepare several shallow furrows in the soil that are 6 inches apart.
2. Choose your varieties
|
|
|

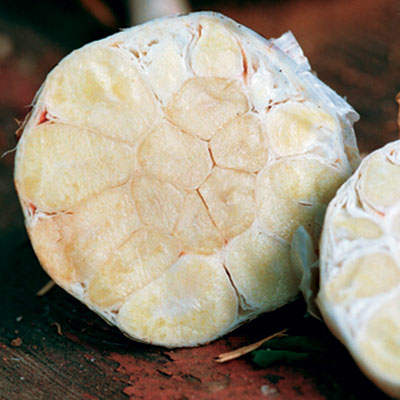
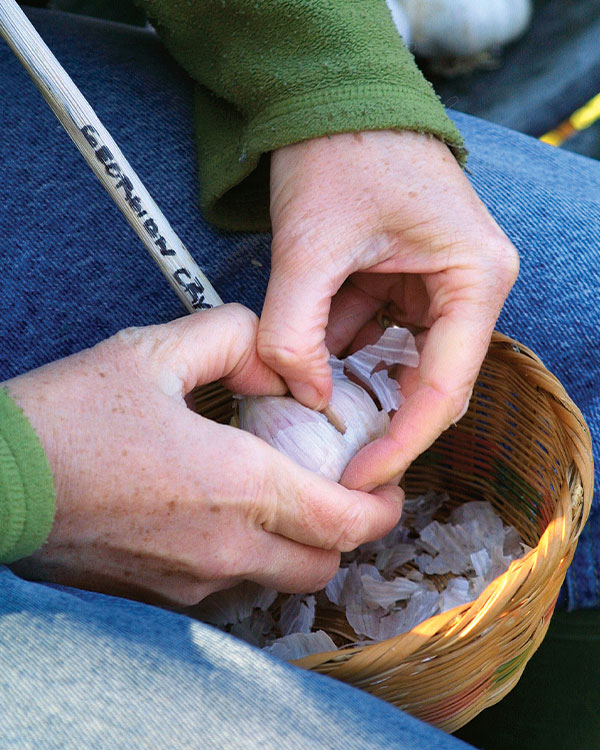
There are two main types of garlic: hardneck and softneck. Hardnecks have cloves growing around a hard central stalk. This stalk forms a curling scape (or flower stem) on top, which many growers cut off to redirect energy to the bulb. Softneck garlics form more cloves, with big ones around the outside of the head and numerous small ones at the center. Softnecks also tend to keep longer once harvested than hardnecks. Break apart a large head of garlic, and plant only the biggest cloves. The bigger the clove, the greater the likelihood it will yield a nice, big head of garlic. Save the smaller cloves to use in the kitchen.
3. Plant a clove, get a head
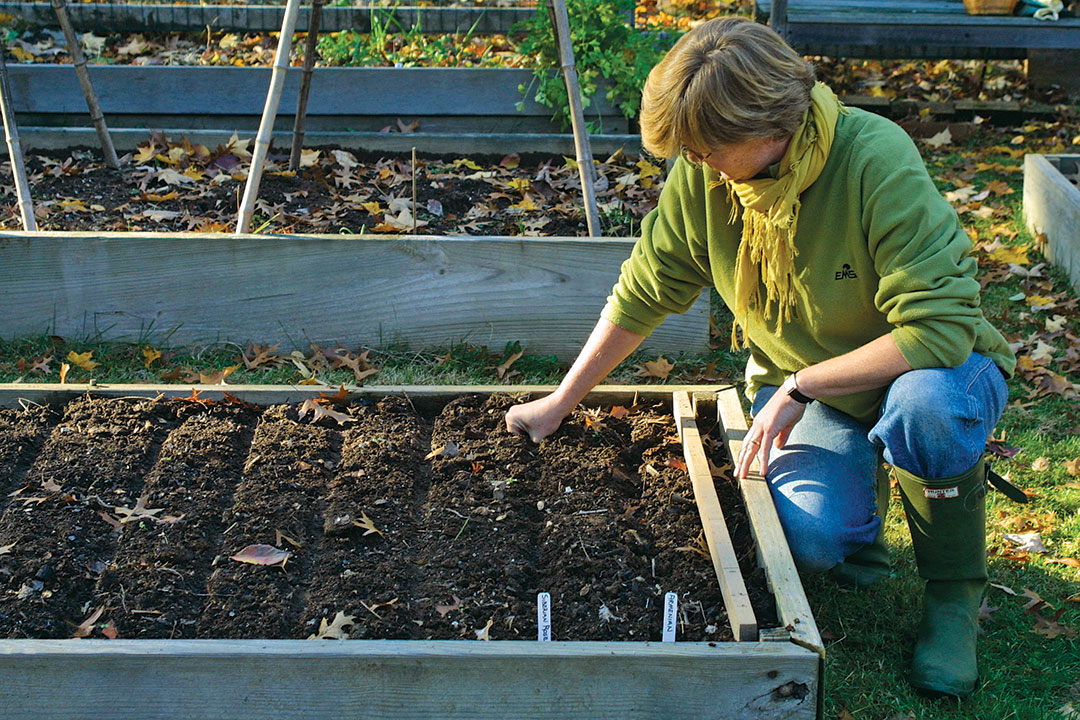
To plant, place the cloves 4 inches apart in a furrow. Hold each clove pointed end up, and push it into the soil about 2 inches deep. After all the cloves are in the ground, smooth the soil surface using your fingers or a rake to fill in the holes, and water well. If you’re planting more than one variety, be sure to label each one clearly. I also make a map of my planting, in case the labels go astray. I wait to mulch for a month or more after planting to give the soil a chance to cool down. When it’s leaf-raking season, I put several inches of chopped leaves over the bed.
4. Fertilize and water
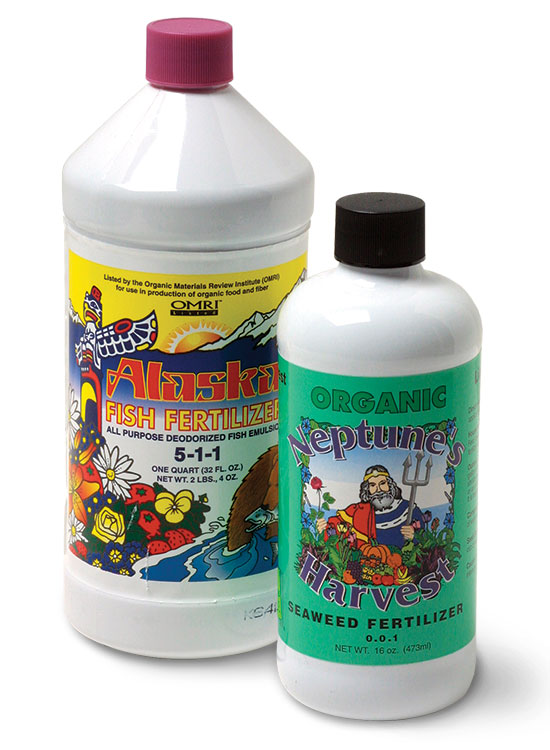
Top growth starts in earnest in spring when the weather warms and the days lengthen. I fertilize twice with a solution of liquid kelp and fish emulsion: once, when the garlic has started growing strongly—about mid-April in my area—and, again, a month later. Garlic isn’t greedy for water, but it doesn’t like to dry out, either. When the soil feels dry an inch below the surface, it’s time to water. In mid-to-late June, I stop watering. By that time, the garlic has sized up and the heads are starting to form cloves.
5. Time the harvest carefully
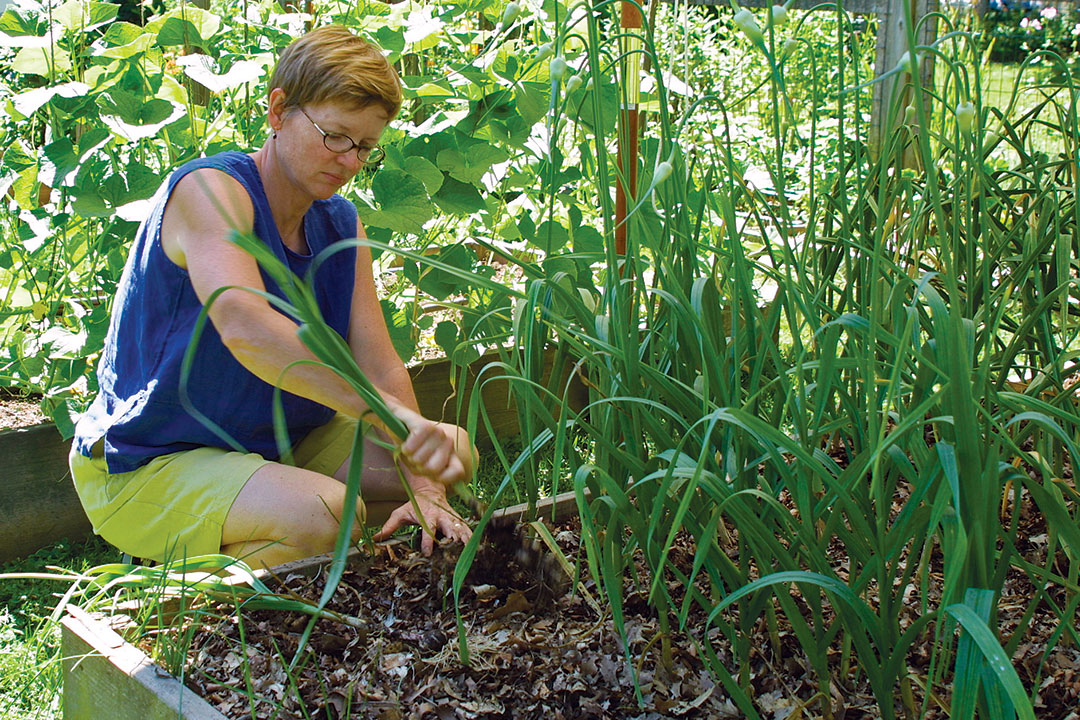
Harvest in late spring or early summer when the plants have five or six green leaves, with no more than one or two beginning to turn brown. Each green leaf represents a wrapper layer surrounding the head. During harvest, you’re liable to damage the outer layer. Later, while cleaning the heads, you’re apt to lose another one or two layers. Your goal is to end up with two or three tight, papery layers enclosing each bulb. To harvest, drive a garden fork beneath the plants (be careful not to damage the bulbs), gently pry them loose, and then pull them out. Shake off any excess soil, and lay the plants in a pile. As soon as you’ve finished harvesting, move the plants to an airy location that is protected from sun and rain. If you’re growing more than one variety, keep each variety separate and well labeled so that you know what’s what.
6. Cure, clean, and store the heads
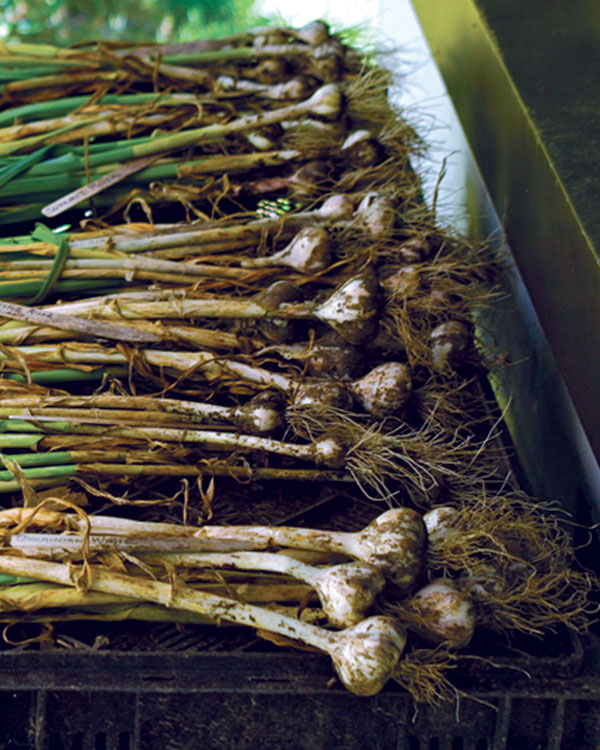
To cure garlic in preparation for storage, hang the bare bulbs with their foliage in bundles or spread them out on a table or rack. You can begin eating them right away, but bulbs intended for storage must be cured.
After a few weeks of curing, it’s bulb-cleaning time. Trim the stalks to 12 inches above the bulb, and trim the roots close to the bulb. Rub off the outer layer of skin around the bulb, and use a nailbrush or toothbrush to gently remove any soil clinging to the base. Try not to remove more wrapper layers than you have to. Store the bulbs in a well-ventilated, dark spot. If you want, set aside the biggest bulbs for planting in the fall.
Ruth’s favorite cloves of garlic
• ‘Georgian Crystal’—hardneck; four to six immense cloves per head; smooth, mild flavor
• ‘Gypsy Red’—hardneck; five to six large cloves; hot flavor
• ‘Inchelium Red’—softneck; 10 to 20 cloves; stores well; tops for taste, not too strong
• ‘Siberian’—hardneck; five to seven good-size cloves with beautiful, pinkish brown skins; rich flavor
—Ruth Lively is a former senior editor for Kitchen Gardener. She grows garlic by the dozens in her garden in New Haven, Connecticut.
All photos, except where noted: Jennifer Brown
More on garlic:
How to Plant Garlic
Garlic Begets Garlic
Garlic as an Herbal Medicine


Comments
This is an informative piece on organic garlic production. Garlic's health promoting qualities make it *worth waiting for*. Thanks for the helpful information.
A fantastic food memory for me was about 10 years ago when my husband and I went to visit friends who had a lakeside home with no power or modern conveniences. It was absolutely gorgeous and peaceful. They also had an abundant organic garden, featuring amazing garlic. One evening, she harvested garlic, chopped a massive amount of fresh, organic basil leaves and made the best pesto I've ever tasted. What a treat.
I'm interested in a new method of organic gardening I've discovered. It boasts shorter prep time and excellent outcomes. For information, go here: http://corashealthyfamily.com/Food4Wealthb and,
http://corashealthyfamily.com/healthy-family-feasting/food4wealth-review-can-you-actually-grow-organic-and-make-money-too/
Thanks for the helpful information
very helpful. thanks.:-)
Log in or create an account to post a comment.
Sign up Log in