

If you’re a gardener who lives with children, you’re well aware of how great it is to have them grow up with gardening. They see how veggies grow and become something they can enjoy. While they can certainly assist you in your garden, another option to consider is to give them their very own area or bed.
This project will give kids a 2-foot by 3-foot raised bed that’s just the right height for them to work easily and efficiently. While it’s not a large bed by adult standards, it’s big enough (and deep enough) to plant a sampling of most veggies. Plus, it’s movable.
The things you’ll need
|
|
Skill level
Easy to intermediate, depending on your woodworking/carpentry skills
Construction
For this project I wanted to go with a bed that was approximately 2 feet by 3 feet. That way I could use a standard-size piece of plywood for the base, or floor, of the bed.
1. Cut the 2×10 into two 32-inch side pieces (length) and two side pieces (width) that are about 22½ inches.
2. Drill pilot holes and then start the 3-inch screws on each end of the two length pieces (photo A). Screw the four sides together to form the outside frame (photo B).
|
|
|


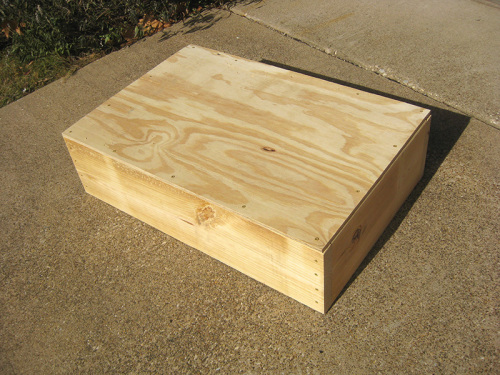
3. Attach the frame to the plywood base using the 1½-inch screws (photo C).
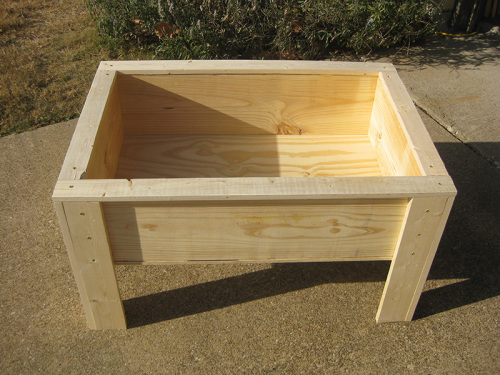
4. From the 1x4s, cut eight equal pieces for the legs. (Your child’s height will determine how tall the raised bed should be. I went with a height of 20 inches.)
5. Using the 1½-inch screws, attach the leg pieces to the bed frame, aligning the top edge of the leg pieces with the top edge of the frame (photos D and E). The two pieces at each corner meet to form a stable raised bed frame (photo F).
|
|
|
|


6. Using the 1×3, cut two length side pieces and two width side pieces. They will be about 32 inches and 22½ inches, respectively, but measure the exact length and width of the bed to confirm.
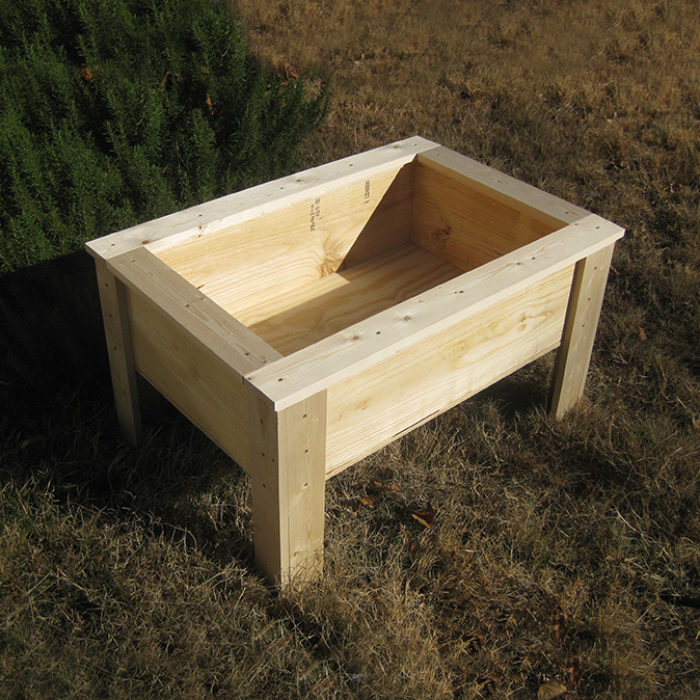
7. Screw these pieces to the top edge of the frame (photo G).
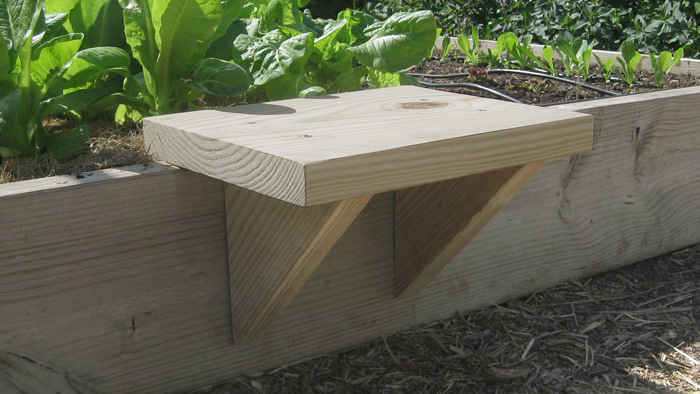
8. Using the 1×4, cut two length side pieces and two width side pieces. Here’s the tricky part: Center the 4-inch-wide boards over the 3-inch-wide boards (photo H). This creates a “ledge” around the bed that overlaps the inside sides of the frame.
|
|
|


9. Sand any edges and rough areas of the wood with sandpaper or a sanding block. You’re done (photo I)!
Note: I did not drill any holes in the bottom board to allow for drainage, pipes, etc. This would need to be done prior to putting in the soil or growing medium. Another option would be to attach a pipe to collect the excess water and direct it away from your deck, patio, etc.
If you desire, you can apply a stain or paint finish of your choice, or simply leave it as is.
Your future green thumbs now have a raised bed all their own!


Comments
Log in or create an account to post a comment.
Sign up Log in