
Along one of my favorite hiking trails near my home is a clear spring and the stone foundation of an old farmhouse that was abandoned more than a century ago. Though we no longer know the names and habits of the people who once lived there, they left behind something that draws me to the ruins nearly every spring. While the rest of the woods is bare, the area that was once the old dooryard is a blanket of spring-flowering snowdrops (Galanthus spp. and cvs.). Hundreds of dark-green leaves and white nodding blossoms form a cheerful naturalized carpet of bulbs perhaps where a garden once stood. The perky nature of the flowers is a visual delight, and their vigor and self-reliance inspire me to arrange and plant bulbs in a naturalized pattern in my own garden.

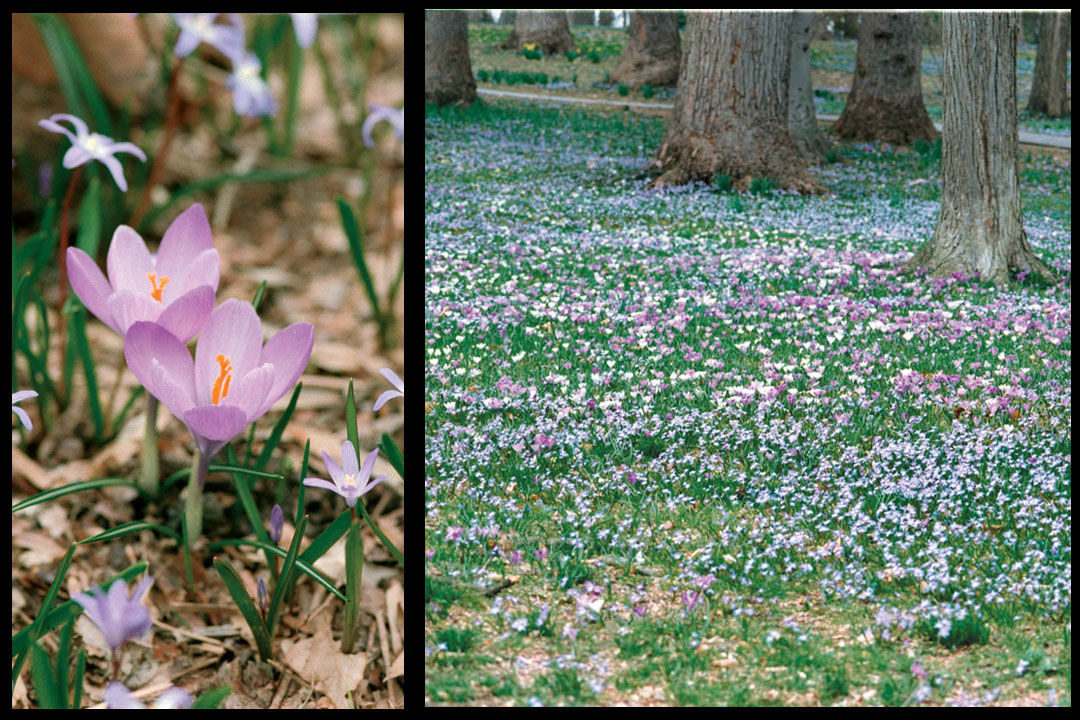
In gardening, the term “naturalizing” often refers to informal-looking, unplanned plantings of bulbs. Naturalized areas flourish when planted with self-propagating bulb species and varieties that spread freely in fields, meadows, lawns, and along wooded paths. Over time, these plantings tend to redesign themselves, each year expanding into a pattern governed more by nature than by the senses of the gardener and resulting in a garden that gives pleasure year after year without needing much in return.
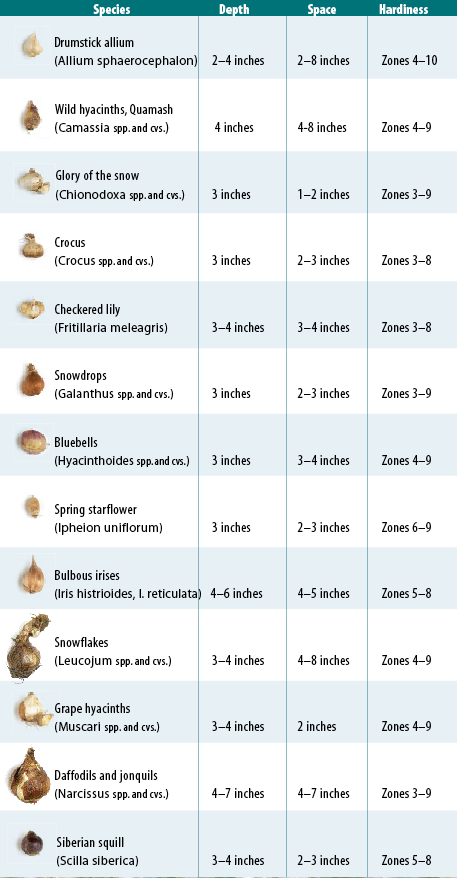
When selecting bulbs for a naturalized planting it is important to choose those that will grow prolifically with no additional human care after planting. While some plants, such as Japanese knotweed (Fallopia japonica), become invasive once they are “naturalized,” destroying native plants as they spread, others, including many spring-flowering bulbs like grape hyacinths (Muscari spp. and cvs.), are well behaved, spreading slowly over the years and causing minimal disruption to natives. See the chart “Bulbs for naturalizing” for more examples and planting specs.
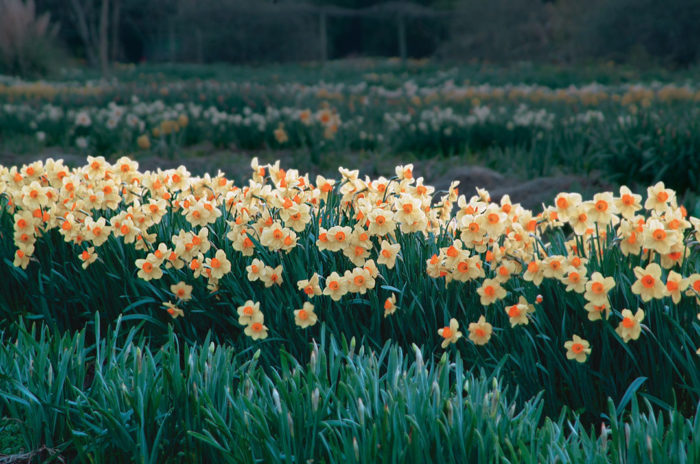
The best spring-flowering bulbs for naturalizing are those that adapt to a broad range of climates, aren’t terribly fussy about moisture, light, or soil type, and are vigorous without being invasive. These include many old favorites, like Crocus species and cultivars, daffodils and jonquils (Narcissus spp. and cvs.), and bluebells (Hyacinthoides spp.).
Plant bulbs for naturalizing in five easy steps
Naturalized plantings are designed with gentle curves and undulating lines to create flowing, informal designs that appear as if no gardener had a hand in planting them. There are many ways to achieve this look, from scattering bulbs across the planting area like chicken feed in a barnyard to placing each bulb with deliberate care. The first method can produce excessively random patterns, while the latter can be too time consuming. A nice compromise blends the two techniques.
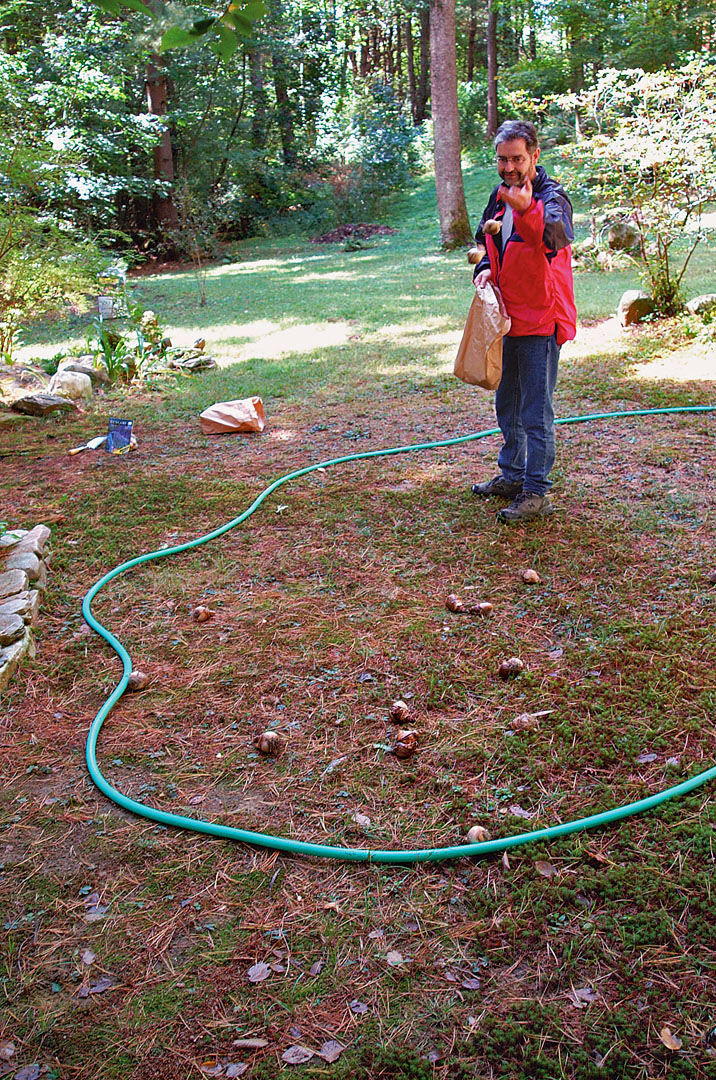
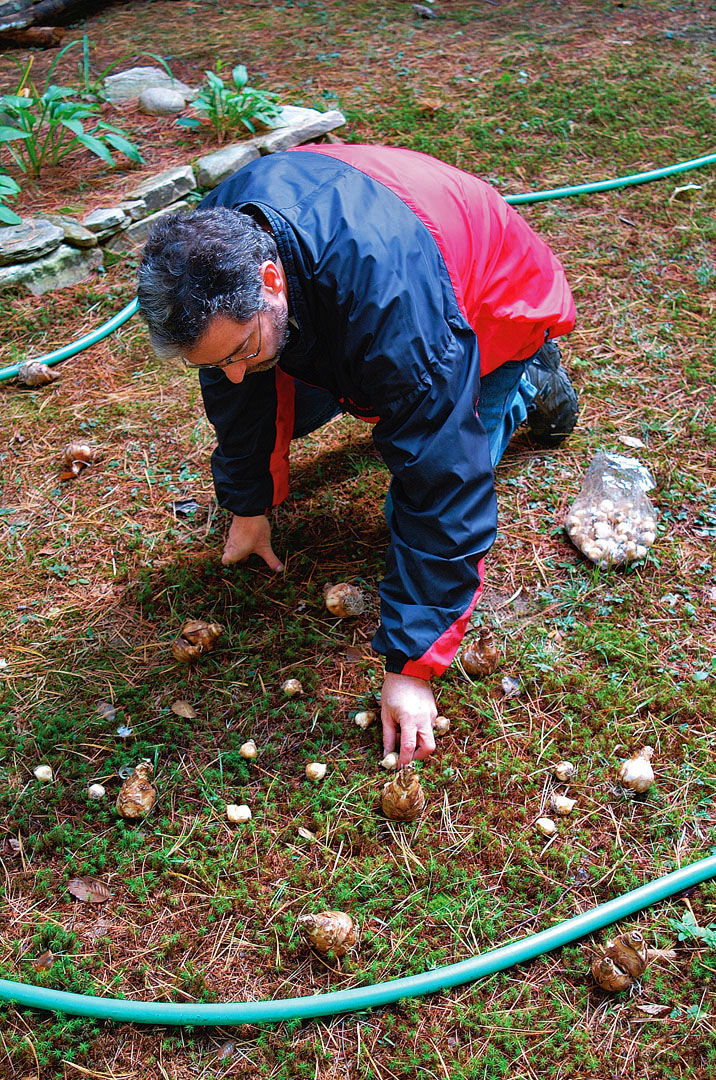
1. Scatter the bulbs
Outline the boundaries of the planting area with a garden hose, a rope, or some ground limestone. To imitate a natural plant colony, the planting area should have an irregular shape with rounded edges. Then scatter the bulbs by tossing about three-quarters of them here and there across the planting area.
2. Adjust the spacing
Once the bulbs are in place, go back and space them the proper distance apart (see chart above), moving some bulbs outside the boundary line to make the planting appear even more natural. Fill in the empty spaces in the planting area with the remaining bulbs. Repeat these steps if your planting plan contains more than one species of bulb. Always set in place one species at a time, beginning with the largest, since their size makes them the focus of the planting while the smaller species create the background. When all the bulbs are finally in place, put on your kneepads and start digging.
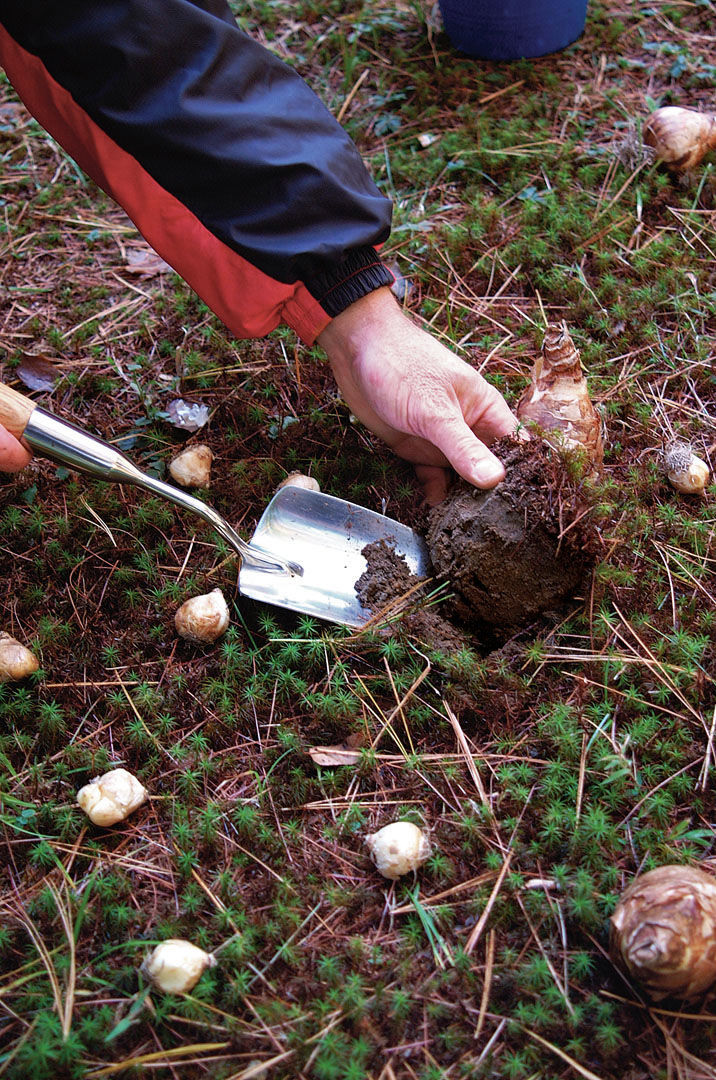
3. Dig in
Use a drainage spade, trowel, or bulb planter to penetrate the soil to the proper planting depth (see chart above), and place the bulb in the hole. Leave the holes open until all of the bulbs are planted. This allows easy monitoring of where bulbs have already been placed.
4. Add compost
When closing the holes, pour screened compost atop each bulb until the planting hole is nearly full. Water well and push the hole closed with the remaining soil, taking special care not to injure the nose of the bulb. There will probably be a little bump, but it will settle over the winter.

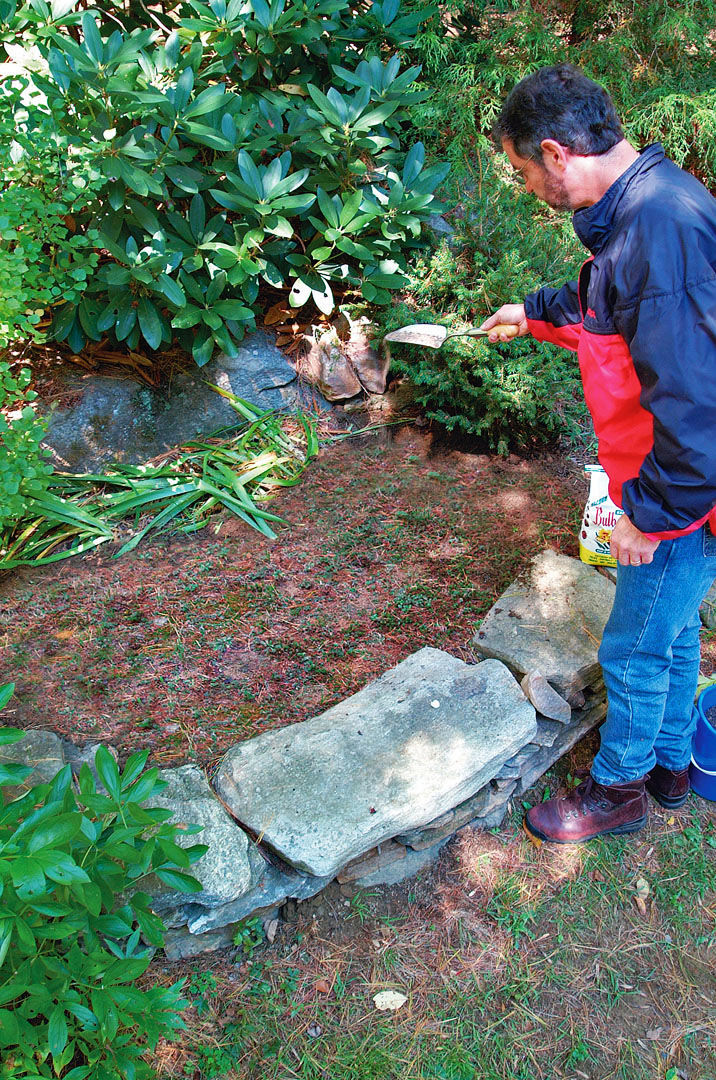
5. Fertilize
After planting the bulbs, broadcast fertilizer over the planting area to encourage strong growth. Many people recommend using bonemeal, but this product, while a good source of phosphorus, doesn’t supply enough nitrogen and potassium and attracts rodent pests to the planting area. Natural fertilizers that are better suited to the task include alfalfa meal and dried seaweed. If using a synthetic fertilizer, choose a product blended specifically for bulbs or a balanced 10-10-10 fertilizer. Last, send your bulbs off with a final boost: Top-dress the entire planting area with a 1/2-inch-deep layer of screened compost.
| Tip: Although planting bulbs is one of the easiest tasks in gardening, the large number of bulbs used in naturalized design can make it tiring. I recommend recruiting a helper to make planting easier. Each person can being planting the bulbs at opposite ends of the planting area, working toward the middle. |


Comments
Thanks for sharing this wonderful info
Excellent post you share here!
Log in or create an account to post a comment.
Sign up Log in