

How to Prune Raspberries
A hard late-winter thinning is the secret to healthier plants and bigger, sweeter berries
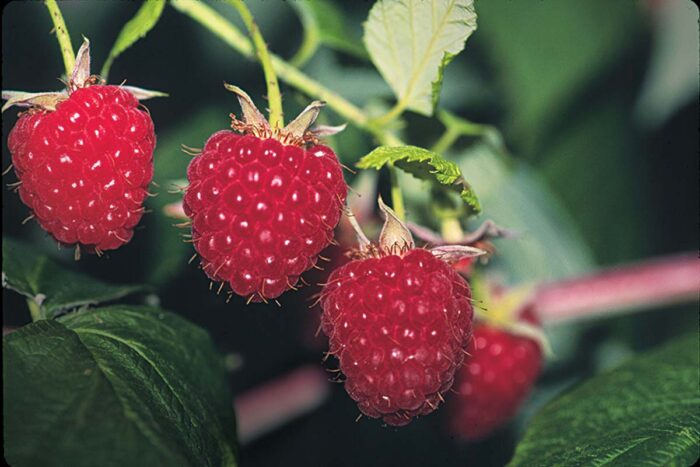
Left unpruned, red raspberries are their own worst weed. When canes get overcrowded, they compete for sunlight, causing the shaded leaves and buds on the lower half of the plant to die. Without those buds, you’ll have fewer fruiting branches and a much smaller crop.
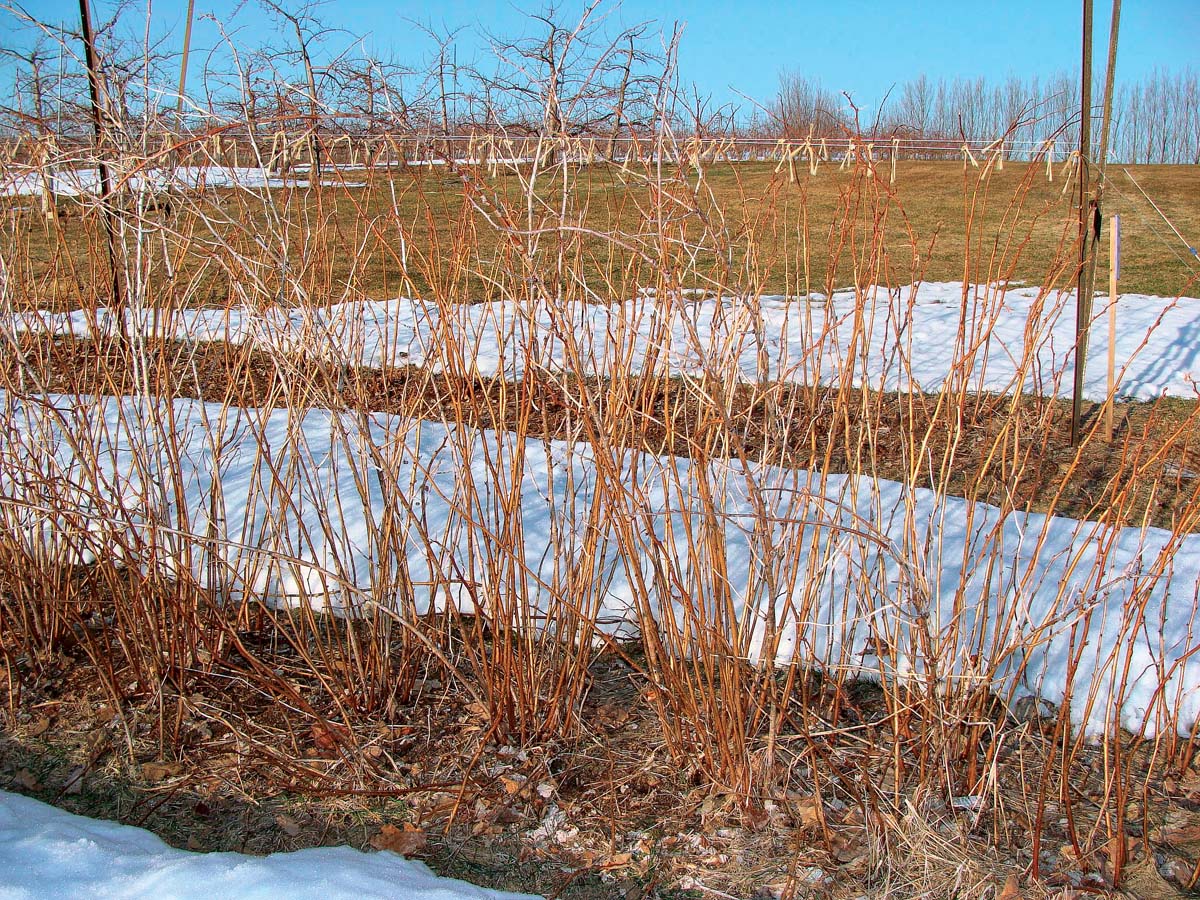
Crowded canes (photo above) also compete for nutrients and water, which leads to small, poor-tasting fruit. And the shady, moist conditions around a dense thicket are a magnet for fungal diseases, such as gray mold, spur blight, and anthracnose.
Pruning is the most effective way to avoid these headaches. A yearly thinning allows plenty of sunlight and air to penetrate the bramble (as in the photo below), which means you’ll have bigger, healthier crops and a much easier time picking those sweet red berries.

Before you start, know your primocanes from your floricanes
To prune any plant properly, you need to understand its growth cycle. In the case of red raspberry, the roots and crown are perennial but the canes are biennial (they live for only two years). The first year, they emerge as green primocanes and form fruiting buds. If you have a summer-bearing variety, these buds won’t flower until the following year. If you have an ever-bearing variety, the buds at the tips of your primocanes will give you a small fall crop, and the buds lower on the canes will remain dormant until next season. As winter nears, primocanes drop their leaves and develop a thin brown bark.
In their second year, the canes are called floricanes. The previous year’s buds grow into fruiting branches and bear a summer crop. As their berries ripen, floricanes begin to senesce. Their leaves turn red or yellow, and they die as winter approaches. A big part of pruning a red raspberry is getting rid of these spent floricanes. To keep your plants from getting unruly during the growing season, cut back any new canes that emerge outside the desired row width of 2 feet; however, don’t touch the new green shoots growing within the prescribed row width. It’s not until late winter that you prune the entire plant.
In fall, resist the temptation to cut out the dying floricanes that fruited that summer. Research conducted at Cornell University indicates that these canes send carbohydrates to the crown and roots well into early winter, helping the plant survive dormancy.
Four simple steps to pruning raspberries

1. Remove last year’s canes
The first step of the late-winter pruning process is to remove all of last year’s spent floricanes. By removing these dead canes, you prevent disease spores from overwintering on them and spreading to new canes. Floricanes have peeling gray bark and old fruiting lateral branches on them. Cut all of these dead canes right to the ground.
2. Narrow the row
The recommended row width is 1½ to 2 feet. Prune to the ground any canes that are growing outside of this perimeter. It doesn’t matter how nice a cane looks; if it’s out of bounds, cut it off. Keeping the rows narrow is critical for preventing disease and making fruit easy to reach during harvest time.
3. Cut out the weaklings
 Go into the plant row, and cut out any canes that appear weak, spindly, or short or that are showing obvious symptoms of insect injury or disease. The final cuts are thinning cuts. All that you want to have remaining in the row are the tallest, thickest, healthiest-looking canes. Continue to cut away the less vigorous canes, and space out the ones you plan to keep. Make sure that the canes aren’t so close together that they will crowd and shade each other. You’ll know that you are finished pruning when the raspberry planting has only three to five canes per linear foot. This should look drastically thin to you.
4. Attach canes to a trellis
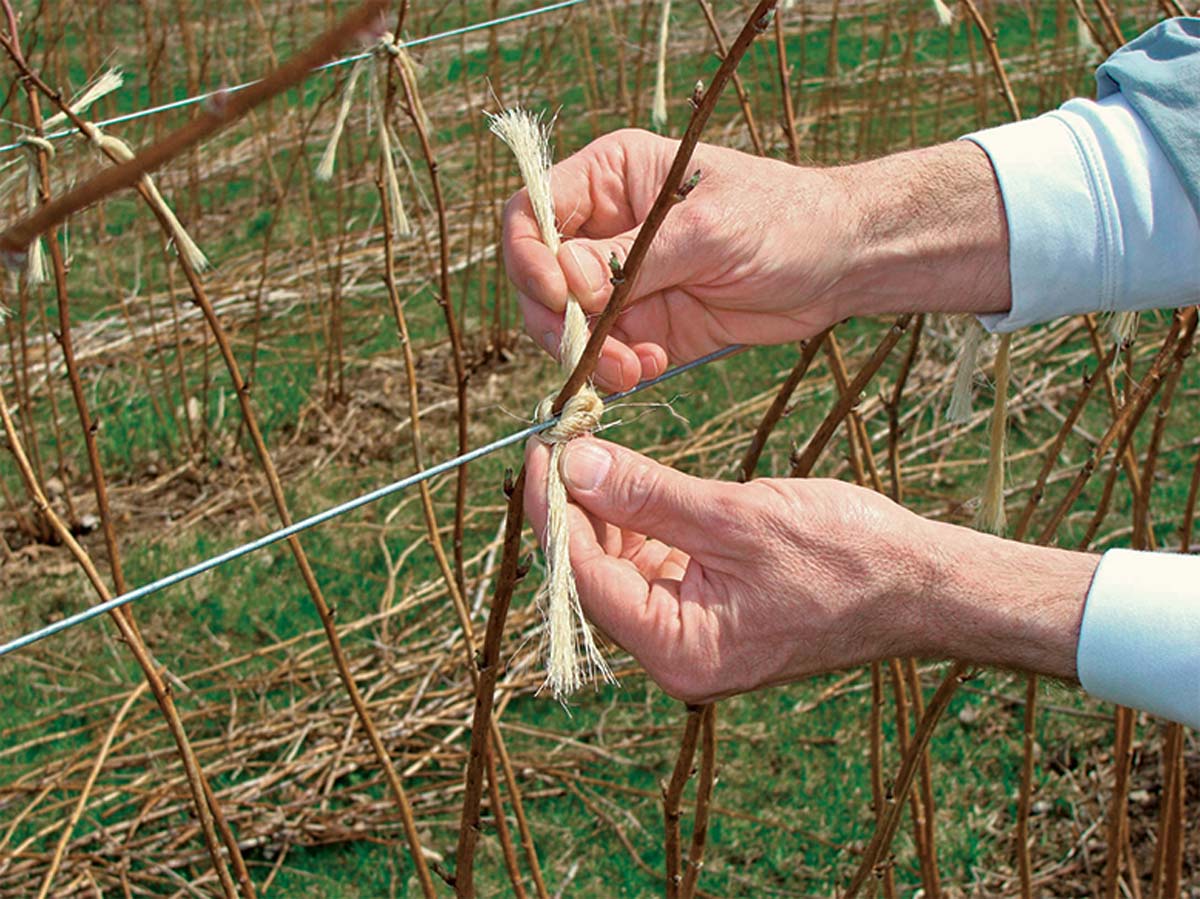
There are a number of different trellis styles, but I like V-trellises best for red raspberries (see photos below). In this design, two parallel wires, spaced 3 feet apart, run along the outside of your row of raspberries. The wires are attached to support posts at each end and set about 4 feet off the ground.
Attach each cane to a wire using twine, twist ties, tomato ties, or rubber bands. (Make sure that the ties you use are easy to take off. The primocanes you tie to the wire this year will be the spent floricanes you’ll need to remove next year.) Tie the canes so that roughly half of them are on one side of the row and half are on the other side. Because the row is only 1½ to 2 feet wide at its base and you are spreading the canes out to 3 feet wide on the trellis wires, the row of canes will form the shape of a V. This opens up the center of the row to improve light penetration and air movement, thus inhibiting the growth of fungal diseases and encouraging new canes to grow in the center of the row, rather than along the outside edges. Furthermore, this trellis method puts the fruiting canes on the outside and keeps most of the new canes on the inside of the row, which makes for easier harvesting and less wasted fruit.
Once you’ve tied each cane to a wire, gather all of the cut canes and dispose of them. Leaving them at the foot of your plants attracts diseases and pests.
 |
 |
What about black raspberries?
The canes of black raspberry are biennial, just like those of red raspberry. But because black raspberry’s growth habit is different, this plant requires an extra pruning step.
The canes of black raspberry tend to grow longer than those of red raspberry. The tips of the canes arch down to the ground and form their own roots, essentially creating new plants. While this makes black raspberry easy to propagate, it also leads to overcrowding. The other major difference is that the primocanes of black raspberry develop side shoots or branches, which only develop on the floricanes of the red variety. These shoots form buds that will bear fruit the following year. To encourage more fruit-bud development and prevent the cane tips from rooting, you should tip the primocanes of black raspberry in summer before they get too tall. When the canes reach about 30 inches long, simply cut off the top 2 to 3 inches of stem growth. This will encourage more side shoots and fruit buds as well as keep the canes at a more workable height. In late winter, prune the canes as you would for red raspberry.
Note: Although you can train black raspberry on a V-trellis, a single-wire trellis will better accommodate the plant’s branching habit.


Comments
How are you preventing disease spores on dead canes from over wintering if you don't prune them until late winter?
Can I prune in the spring if I didn't in the winter
Best to prune in the Spring. The dying canes provide nutrients to the root crown over the Winter.
I have two rows of raspberries. I mow down one row every second year to avoid pulling out the old canes. Does this cause any problems?
A garden helper accidentally cut our raspberries to the ground. Will they come back?
Yes, of course. Then you can start over. Actually, a lot of people choose to just have one crop each year in the case of Everbearers like Heritage. The autumn crop is usually smaller ,so they feel that they can skip it. They prune all the way down to the ground instead of the floricane system. The canes always come back.
When I was a child we had a huge raspberry patch. We never pruned or thinned it. We got gallons and gallons of berries out of that patch, every year.
for the last few years the yield of my wild raspberries has dropped to about half from 2-3 yrs ago, does picking them reduce future plants? these are on the side of my pasture field among some dead fall trees.theres also some blackberries among the raspbs ,do they hinder the raspb?when or should i fertilize , and with what????? thanks for any help
What is with my berries that have been so beautiful. We do prune out at end of the season. but now some of the berris are beautifulo red on one side and perfectly white on the other. Why? Then in the other patch the berries were nice sized and firm in the past and are now smaller and when you pick them they come apart in pieces. What should I do to restore the nice firm berries that I have previously had on these plants?
I mistakenly removed the green canes. Thought they were weeds as they looked just like the stinging nettle that was within the bushes. The brown stems are producing lots of berries. Have I destoyed the bushes?
Not destroyed -- they will grow back. But you probably will not get many raspberries next year. The following year you should be fine again.
If you just cut off excess canes at ground when thinning bed wont the continue to grow back? If you try to pull them out you seem to damage root of larger plant to which they are attached.
should I prune now as I had a good spring harvest and a small end of summer? or do I let them go until spring and prune?
There's a lot of questions here from readers that are growing raspberries and need help. I wonder hrblockemerald card if the author will return to answer questions.
We just bought a hobby farm, it has a HUGE area of raspberries, I didn't get any fruit from them this summer.
How do I take care of them? Should I mow them all down and start fresh. They are probably 20 feet wide.
I am growing Latham red raspberries. We had a terrific crop this year, and I have just removed the spent canes. The new canes are 8-9 feet tall! Would it be okay to prune them back to 5 feet tall now (in the fall) or do I have to wait until spring?
Mine are 8-9 feet tall too. I am wondering the same as you. Did you ever get a reply?
I have Latham raspberries and was wondering how best to winterize them as I live in the northeast. Some of mine are 8-9 feet tall and have a fence around them. Should I prune them, leave them alone, or what?
Hi everyone if you are connect the right way then you have choose the more option are available and you are connect the download firefox any time the web browser are nice working if you are choose.
https://storeplayapk.com
GB FACEBOOK APK
Film Maker Pro Mod APK
UC Browser Mod Apk With the explosion of the Internet that comes with today’s web browsers, choosing a suitable and useful quality
Smurfs’ Village Mod Apk The evil wizard Gargamel and his ever present cat companion, Azrael, have finally found the Smurfs’ village and
Google Play Store Mod Apk Today, human entertainment needs become very popular. Games and applications are the top choices, and almost
https://androjungle.com/
Funimate Pro Mod APK
so here whats new in Sony Liv we are just making it perfect trying to add more secure user expirence.. please check...
Hello friend, your post very informative and thanks sharing with us. Jejakterkini.com
Log in or create an account to post a comment.
Sign up Log in