

Making Leaf Mold
Recycle fall’s debris to create this organic soil amendment and mulch

As a graduate student, I once rented a house and was delighted to discover, tucked into the edge of some woods along the back of the yard, a gold mine: a large, old pile of leaf mold, or composted leaves, representing years and years of accumulated leaves that had been raked from the property and piled there.
Learn more: Video: How to Make Leaf Mold
I eagerly used my new hidden treasure throughout the garden and believe me, my plants were much happier for it. Although not particularly rich in nutrients itself, when incorporated into the soil, this organic amendment physically alters the soil so that it becomes spongier, holding both moisture and air—a heavenly environment to plant roots. When applied to the soil surface as mulch, leaf mold prevents extreme fluctuations in soil temperature, keeps the soil surface loose so water penetrates easily, and retains soil moisture by slowing water evaporation. Leaf mold also stimulates biological activity in the soil, creating a microbial environment that helps thwart pests.

How to make leaf mold
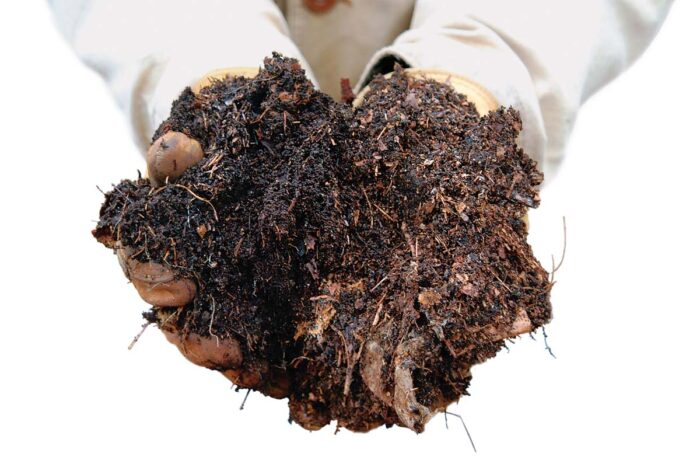
Nothing could be easier than making leaf mold: All you really need is leaves and time. Since I have only a few deciduous trees in my yard, I import leaves into my garden each November. They arrive by the truckload in plastic bags from my neighbors and from a local landscaper. I create a 6-foot-diameter ring with 3- or 4-foot-tall wire fencing and just dump the leaves in, packing the pile down as I add to it. An enclosure isn’t necessary, but I find that it helps to keep the leaves contained and more compacted. About two years after I build a pile, it has shrunk considerably, and the leaves have been transformed into a rich, brown, crumbly leaf mold.
Leaf mold is something gardeners can never have too much of. It is useful in container plantings, in the ground, and on the ground. When sieved through half-inch hardware cloth (steel mesh), it becomes an organic amendment for potting soils, helping to increase the mix’s aeration and water retention. Substitute it for peat moss in potting mixes by combining it with equal parts of soil and perlite or, for a soilless mix, with an equal part of only perlite.
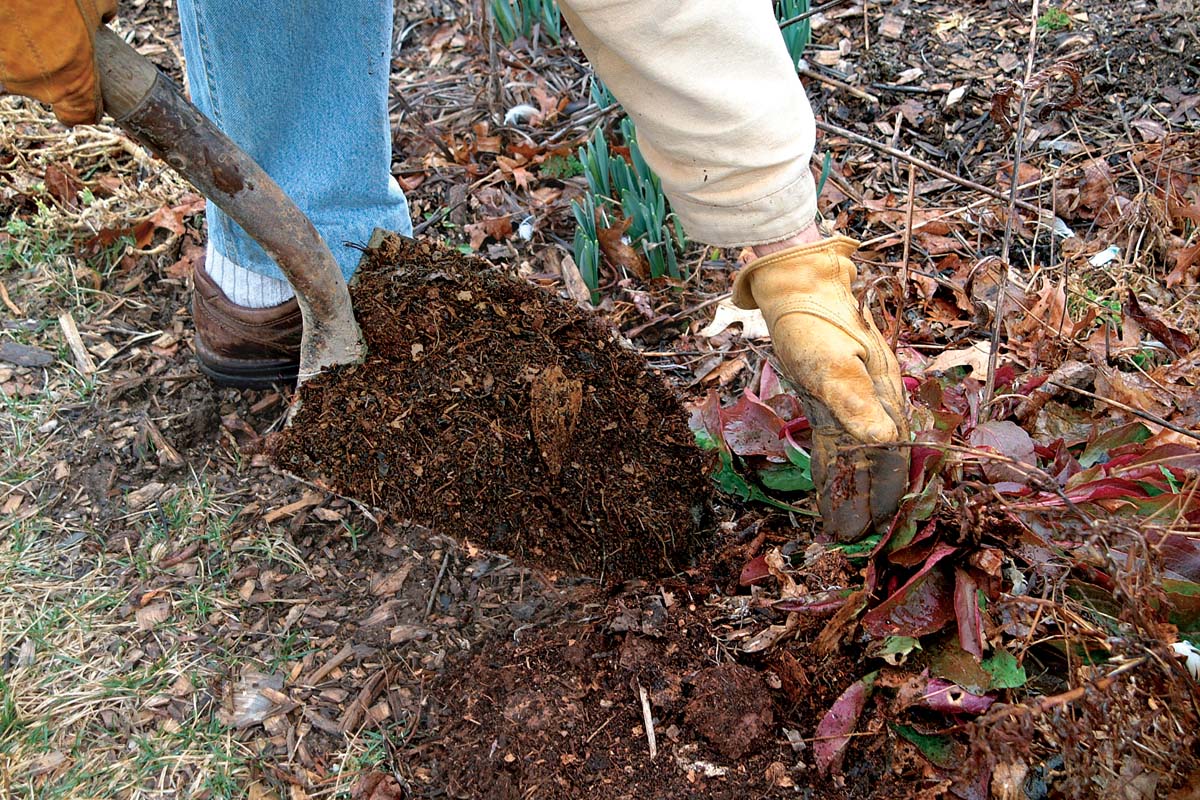
Out in the garden, mix abundant quantities of leaf mold into the top 6 to 12 inches of soil where you need to loosen up sticky clay. When laid on top of the ground, leaf mold is an attractive and functional mulch and a natural foil for flowering plants, especially in a formal flower bed. There’s no need to dig the material in at the end of the season, either; just pile more on top. Another bonus of leaf mold is that it is essentially weed-free. Occasional tree seedlings do appear, but they are easily pulled and never attain the weed status of plants like quackgrass or creeping Charlie. Such weeds can, over time, insinuate themselves into a leaf mold pile from the edges or from seeds dropped by birds, but this minor problem can be averted by being more careful with material skimmed off a pile’s edge or top. This highlights another advantage of larger piles: The edge makes up a smaller percentage of the total mass.
The beauty of making leaf mold is how simple it really is. Very little effort is needed beyond making the pile large enough that you’re left with something substantial at the end; nature does all the rest. So gather those leaves every year and pile them up. Before you know it you’ll have a continuous supply of this rich, organic soil amendment. Now if only I could find some use for all those plastic bags I’ve saved from collecting my neighbor’s leaves.
Three ways to speed up the leaf mold processIf two years seems like a long time to wait for leaf mold, here’s how to hasten the process. 1. Shred the leaves If you like, you can use a shredder to shred the leaves, giving the microorganisms more surface area to work on. However, to me, using a noisy, energy-guzzling machine to shred leaves seems contradictory to the environmental soundness of recycling leaves. 2. Provide shade and water Pile the leaves in the shade where evaporation is reduced, so the leaves stay moist. Watering the pile as you add leaves ensures that it’s moist right from the get-go. If you want to wait until the pile is built before watering it, be aware that enormous amounts of water will be needed to wet the spongy mass throughout. 3. Add nitrogen Carbon and nitrogen are the two foods the microorganisms need in greatest quantities. Autumn leaves are high in carbon, so the lack of nitrogen becomes the limiting element. Therefore, sprinkling some high-nitrogen material on the pile as it is built is another way to speed the transmutation of raw leaves into leaf mold. High-nitrogen materials I’ve occasionally used include soybean meal and grass clippings, which often are conveniently mixed in with leaves after late-autumn mowings. |


Comments
If you add the grass or other nitrogen source, it is no longer leaf mold. It is compost.
Log in or create an account to post a comment.
Sign up Log in