
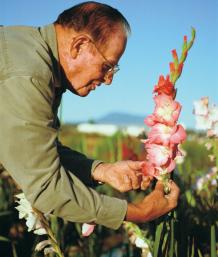
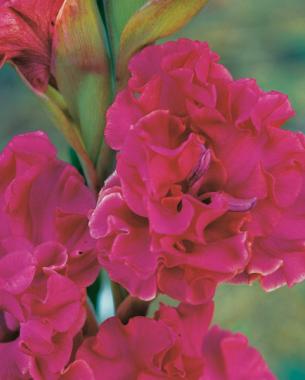
Creating new gladiolus hybrids is so easy and so rewarding that it can quickly become an obsession—which is exactly what it is for me. Even so, I still find it challenging after growing these plants for more than 30 years. After all, what could be more exciting than creating a beautiful or unusual gladiolus that isn’t available commercially?
As for ease, I’ve taught eight-year-old children how to pollinate gladiolus. You can view your hybridizing results quickly—sometimes the same year the seeds are planted. And once you have created an exceptional seedling, it can be multiplied into hundreds of additional corms within two or three years.
The challenge lies in that no two seedlings are ever the same. By crossing two pure-white gladiolus, you could just as easily end up with seedlings that are pink, blue, yellow, red, or rose as seedlings that are white. But despite this amazing variation, hybridizing is not entirely random. White parents produce a preponderance of white offspring, and heavily ruffled parents usually pass ruffling on to their seedlings. Any breeder soon learns that certain cultivars are superior parents, and that an undistinguished cultivar may be the progenitor of seedlings far better than the parent. Conversely, some gladiolus which are beautiful beyond words may be duds as parents. Selecting the best parents is a kind of mystery—something you only learn from trial and error.
Interestingly, all modern gladiolus evolved from crosses of only six or seven of the more than 200 species. But these modern hybrids, despite their variety and charm, generally lack such qualities as fragrance or a true blue color. Now, at long last, a few adventurous breeders are delving into this great genetic pool to see what breakthroughs in hybridizing may be possible.
How to breed gladiolus hybrids

Gather your tags and tweezers
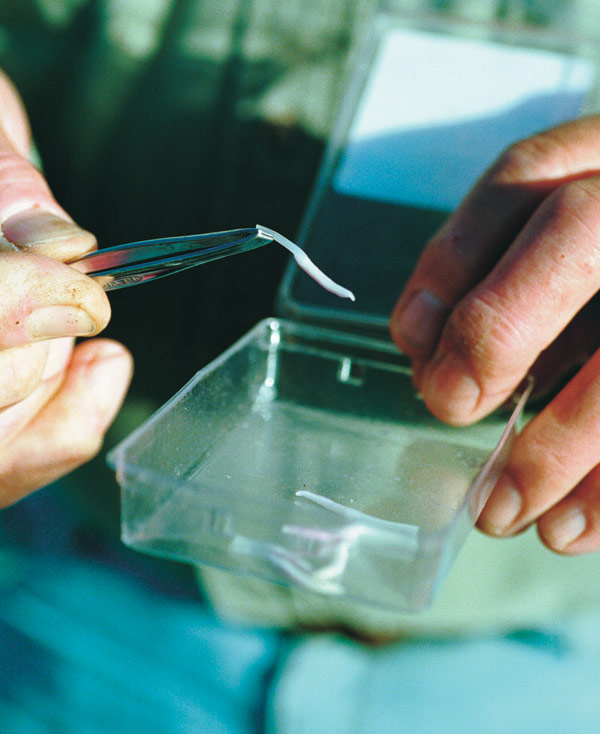
It doesn’t take many tools to get started. All you need are some tweezers, tags, and a pen with indelible ink. Tweezers are used to gather the pollen from the anthers. I prefer those with a skewed or slanted end. Rounded-tip tweezers are useless, and pointed ones can damage the delicate anther. Some breeders use toothpicks or the tip of a knife, but these methods don’t work well for me. I know of no hybridizer who uses a brush.
As for tags, I use two kinds. The first are like price tags with strings attached. I use these to mark the plants after pollination. Then later, once seed is gathered and sown, I mark the plantings to keep track of the parentages. For this I use plastic stakes, and I mark them with a Sharpie pen—the only indelible pen I have found which stands up to rain and weathering. Other supplies you may need are envelopes for gathering seed at the end of the season, and a small notebook to keep track of your activities.
Hybrids are grown from seed, not corms
Seedlings come only from growing seed found in the pods remaining after the floret has withered away. Cormels, which develop underground and are offshoots of the corm, produce clones of the mother plant. To create new cultivars, you must grow plants from seed.
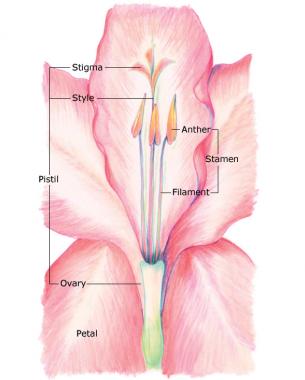
Within each floret there is a central stalk called a pistil, surrounded by three stamens (see illustration). The pistil is the female organ. It ends in a three-lobed stigma that looks like a tiny propeller. When this stigma becomes receptive to pollen, it exudes a sticky substance to capture and hold the grains of pollen. Also arising from the center of the floret are three stamens. These are slender filaments with pollen-bearing anthers attached to the tips. These pollen vesicles look like twin, tiny canoes attached side by side; the central groove holds the pollen.
Mother Nature does not want the gladiolus to inbreed by pollinating itself, so the anthers open and release their pollen a day or two before the stigma becomes receptive. Gladiolus can be inbred, and some wonderful cultivars have been intentionally created by inbreeding. Perhaps the most beautiful and exotic cultivar I have ever seen (multicolored with intense ruffling) is named ‘Bridesmaid’. It was introduced by Ervin H. Doerr, who inbred ‘Boise Belle’ through 17 successive generations.
Gather the pollen, and transfer it to the stigma
All gardeners have their own approach to hybridizing. Some just let the bees handle things. They then grow the seeds to see what may result. Some famous gladiolus such as ‘King David’ came from chance pollination. This seems too haphazard for me, since I want to control my results.
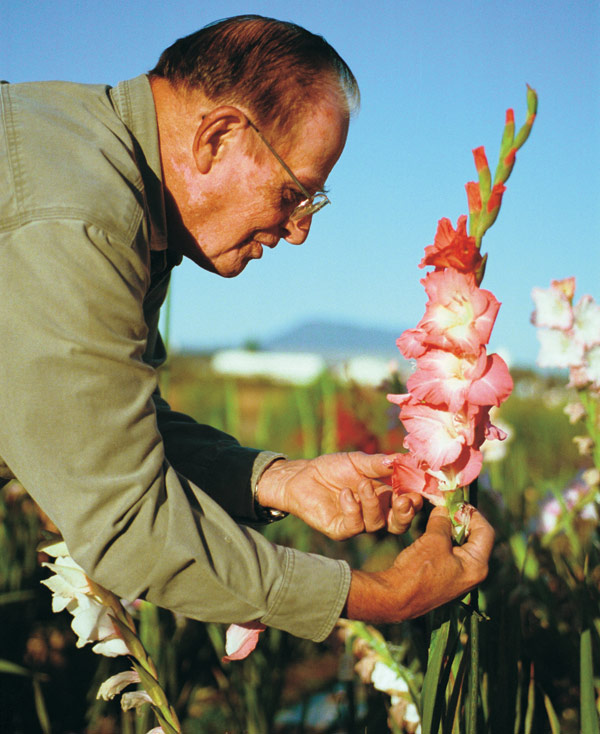
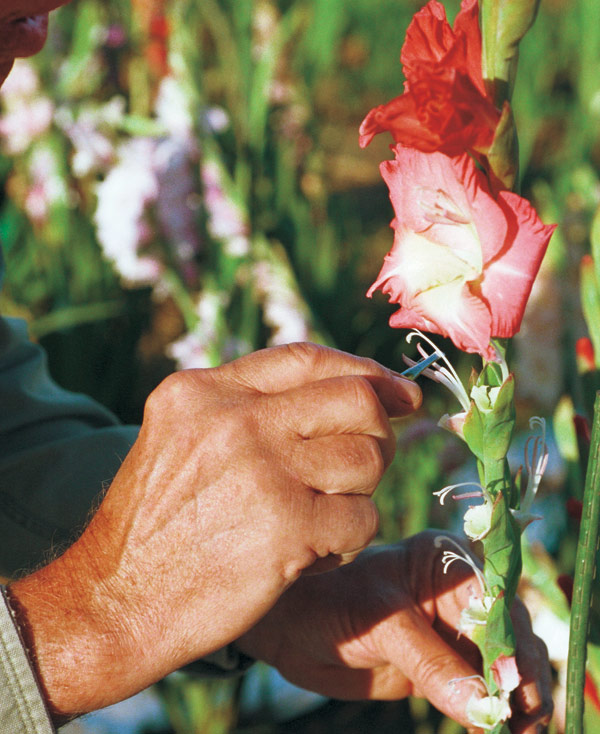
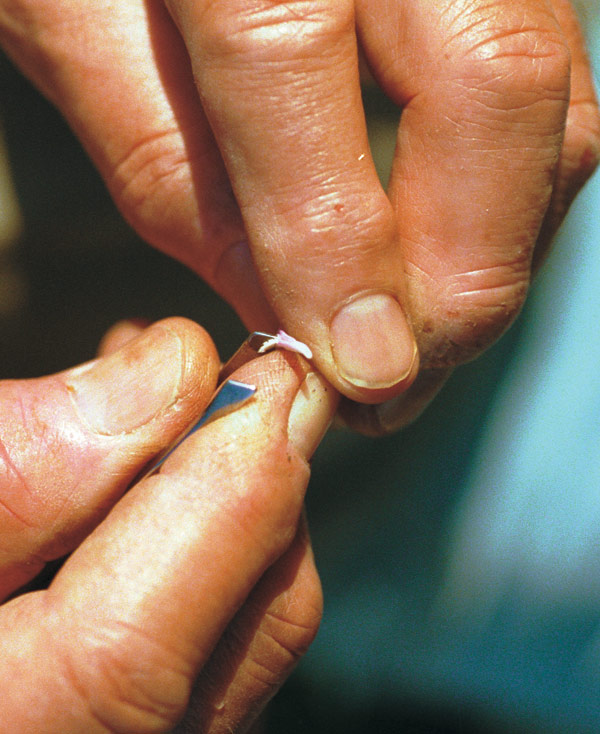
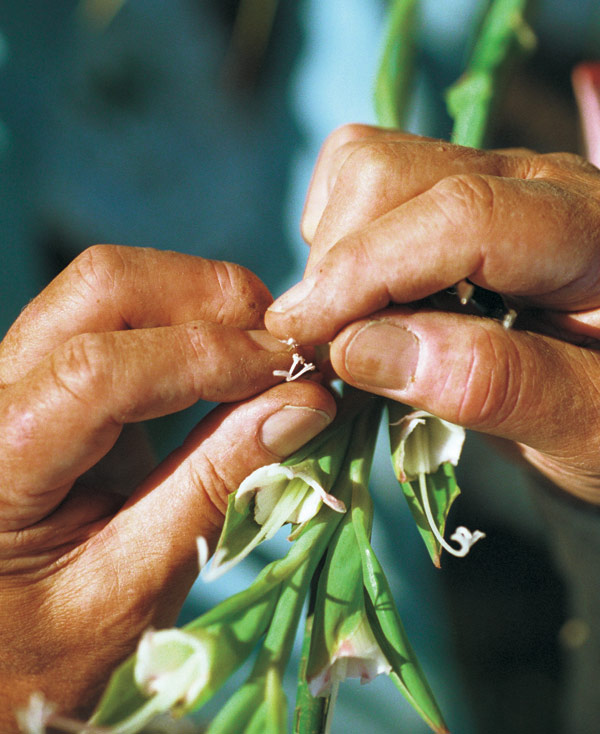
To prevent bees from adding random pollen to my fertilized pistil, I snap off all the petals of the flower Iam pollinating, leaving only the base of the floret with a naked pistil (step 1). With the petals gone, bees are not attracted, and even if they were, there is no place for them to land.
I always use green pollen, which is scraped out of the anthers on the first day the floret opens. Green pollen is easier to handle and can be packed onto the stigma better than the dry and dusty, ripe pollen. To do this, I pluck all the stamens out of a floret immediately after it opens (step 2), and extract the pollen with the tip of my tweezers (step 4). I dab the pollen onto a fingertip, then wipe the pollen onto the sticky surface of the stigma of the floret I have selected to be the seed parent (step 5). Before moving on to other garden chores, I tie a label on the plant indicating the names of both the seed parent and pollen parent (step 6).
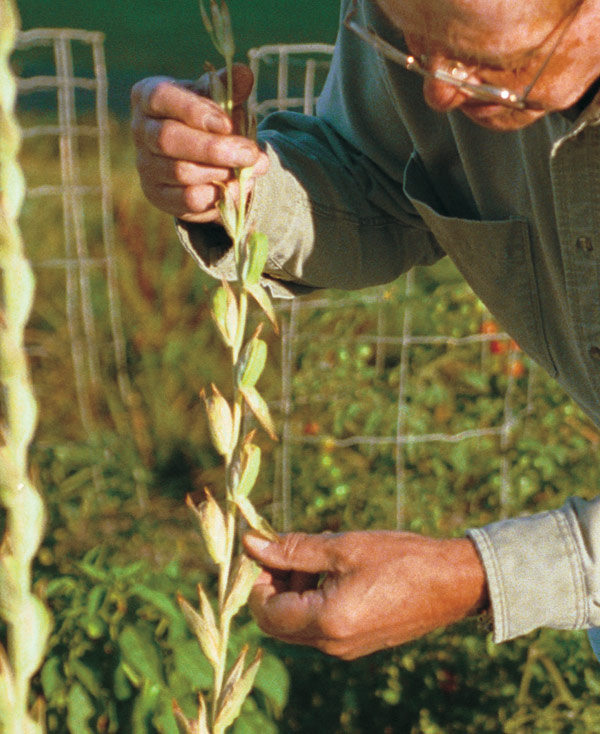
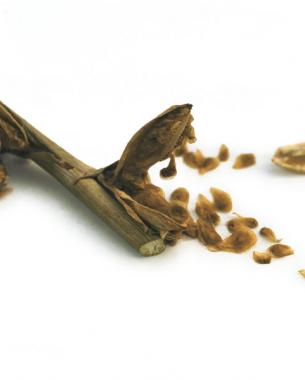
Shortly after pollination, the ovary starts to swell and becomes a green seedpod. It will reach the size of a hickory nut, and then turn brown and dry. As the pods begin to split open, I collect them in envelopes on which I write the parentage data (step 7). Later on, at my convenience, I remove the seeds from the pods. The seeds will be viable for planting the following spring. No stratification or special treatment is needed; seeds will germinate in 10 to 14 days. If kept for two years, some will germinate, but many may not.
Sow seed in a light soil mix
My favorite way to grow seeds is in raised beds filled with roughly one-third each of loamy garden soil, peat moss, and perlite. The perlite assures excellent drainage while the peat keeps the mix light and moisture retentive.
I sow the seeds after all danger of frost has passed, which is April in my Oregon garden. Using a 1×3-inch board, I make a shallow depression in the soil, sprinkle seeds thickly along the bottom of this depression, and then cover the seeds with moistened, fine-grade vermiculite to a depth of about 3/8 inch. I used to cover the seed with soil, but found that this sometimes made it difficult for the tiny, grasslike sprouts to emerge. I get better results with the vermiculite, which is light as a feather, holds moisture well, and permits the tiny, green leaves to sprout easily. The vermiculite is bone-dry in its bags, so I pour in enough water to make sure it is nice and moist before using.
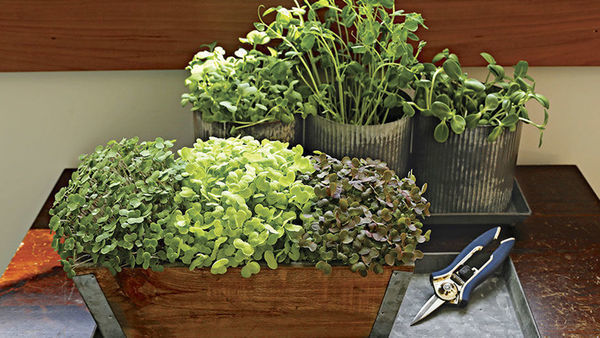
The seeds sprout as thickly as grass, but this does not deter them from developing usable little seedling corms. The seedling corms range in size from that of a tiny pea to about an inch across. It is critical that the seedbed be kept moist. Even a day or two of dryness stresses the tiny plants and interferes considerably with their growth.
Some gardeners cover the seedbeds with burlap for better germination. I have better success with a covering called Reemay—a featherweight sheet of non-woven fabric. It transmits 75 to 80 percent of the light, allows rain to pass through readily, and provides a blanket of warmth and humidity. It can be left in place until the plants are several inches high. Germination and growth under this covering is much better than in an uncovered bed. Reemay holds up well, and can be reused.
If I can’t stand the suspense, I start seeds indoors under lights. Seeds started in early March and transplanted outdoors in April (after being hardened off for a few days) will often bloom the first year. My regular outdoor sowing produces an occasional bloom spike the first year, but most bloom in their second season.
Gladiolus have an odd but tantalizing habit—the new florets open only at night. This makes a morning visit to the patch a delight. Although all of your flowers will be pretty, you must be ruthless in your evaluations. On average, only one in a thousand will merit consideration as a commercial introduction. With luck, you might find two or three worthy hybrids from among just a few dozen plants. You must learn to discard the gorgeous near-misses—an exceedingly difficult task. But unless you grow and multiply only the very best, you will soon be up to your hips in gladiolus, and will be unable to care for them all.
Once you have an exciting new seedling, growing a large number of corms is easy and rapid. Each mother corm will have a cluster of cormels encased in brown, shell-like husks attached to it when dug in the fall. They range in size from a pinhead to a macadamia nut and can number from a paltry few to several hundred. Just plant them in the spring like a row of garden peas (1/2 to 1 inch apart). They sprout better if you peel off the brown shell, but even with no special care, most will grow into blooming-sized corms during the year. If planted early, a surprising number will bloom their first year, producing small, but usable flower spikes.


Comments
Log in or create an account to post a comment.
Sign up Log in